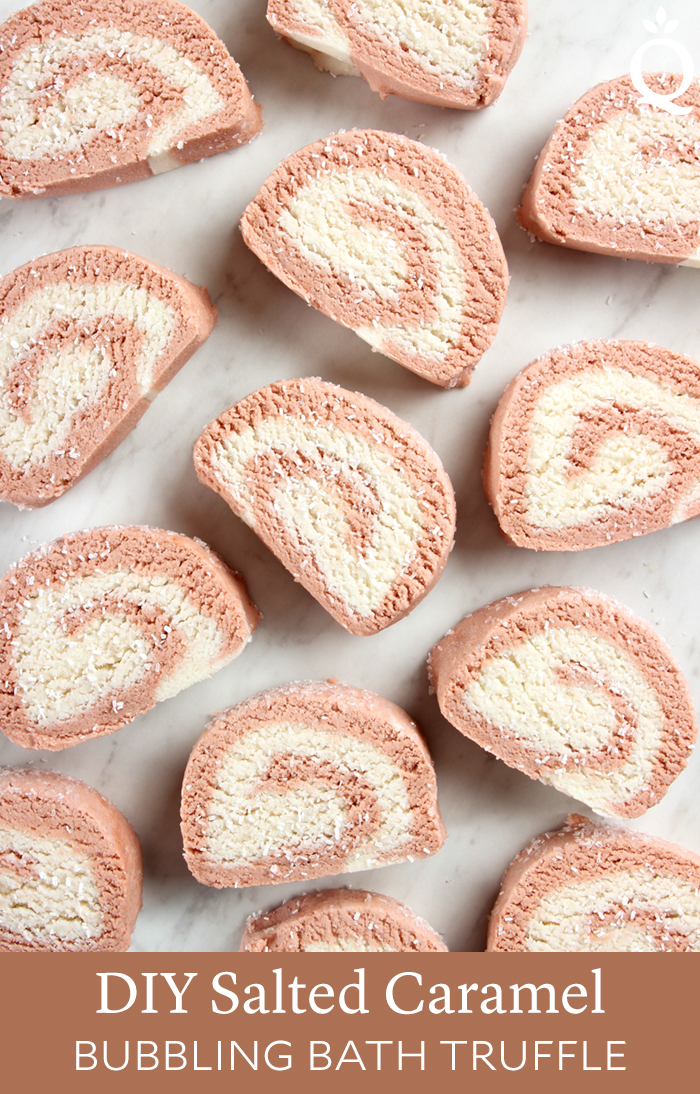
Ever since we created the formula for Rainbow Bubbling Bath Truffles, we can’t stop putting new spins on it. Our first recreation was the Mermaid Bubbling Bath Truffles, complete with an aquatic color scheme and tropical scent. Now we are looking to the holidays with the latest iteration – Salted Caramel Bath Truffles.
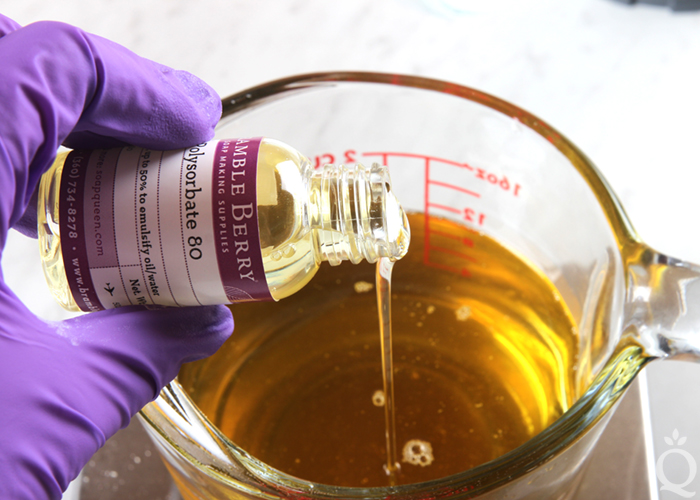
Scented with delicious Burnt Sugar Fragrance Oil, these bath truffles smell good enough to eat. Epsom salt is sprinkled on top to give texture, but it’s also a skin-loving bath additive. Cocoa butter and shea butter add plenty of moisture to the bath. Polysorbate 80 helps emulsify the butters and bath water to prevent large pools of oil in the tub.
In the water, the formula creates a slow fizzing reaction and with small, creamy bubbles. If you want more bubbles, place the bar directly under the running faucet while breaking it into small pieces.
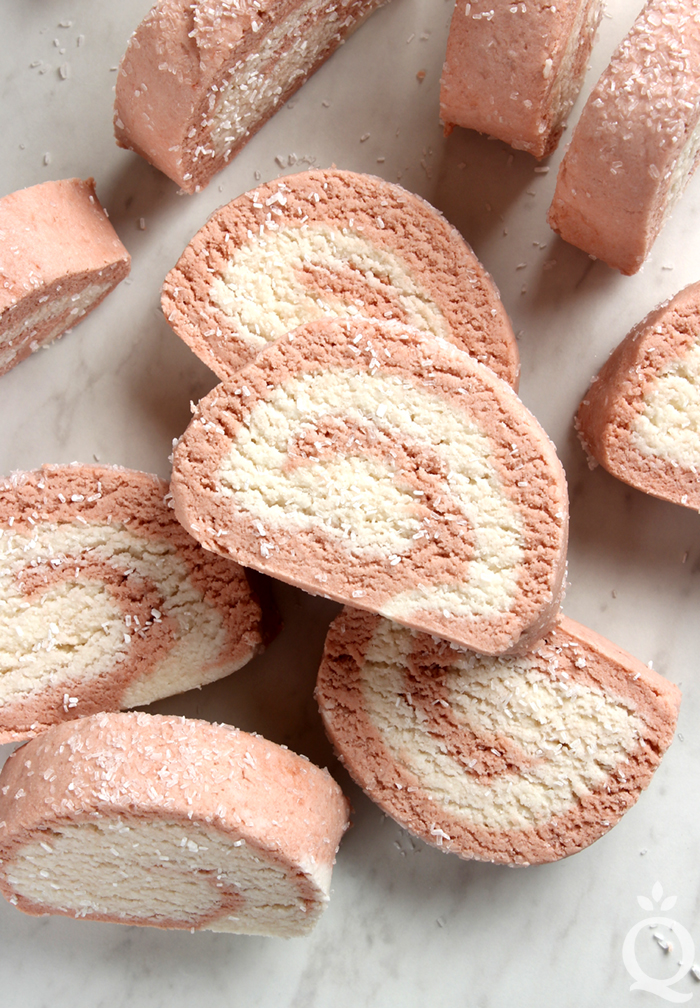
Burnt Sugar Fragrance Oil does discolor to a deep tan. Discoloration in bath bombs is tricky; sometimes the discoloration happens and sometimes it doesn’t. We have found that in general, the discoloration takes about a week to show up. We made these bath bombs about two weeks ago, so they may continue to discolor. We chose this color scheme on purpose – if the bars do turn more brown, they’ll still look like rich caramel.
What You Need:
25 oz. Sodium Bicarbonate (Baking Soda) (41%)
7 oz. Citric Acid (12%)
13 oz. SLSA (21%)
2.5 oz. Cream of Tartar (4%)
6 oz. Shea Butter (10%)
4.5 oz. Cocoa Butter Pastilles (7%)
1.5 oz. Liquid Glycerin (3%)
0.5 oz. Polysorbate 80 (1%)
0.5 oz. Burnt Sugar Fragrance Oil (1%)
3/4 tsp. Bronze Mica
Extra Fine Epsom Salt

Click here to add everything you need for this project to your Bramble Berry shopping cart!

ONE: In a small heat-safe container, add the shea butter and cocoa butter cubes. Place the container in the microwave and melt the butters using 30-60 bursts. The cocoa butter takes a little while to melt. Be careful when removing it from the microwave, as it may be very hot.
TWO: Add the Burnt Sugar Fragrance Oil, polysorbate 80, and glycerin to the melted butters. Use a spoon to thoroughly incorporate. Set aside.
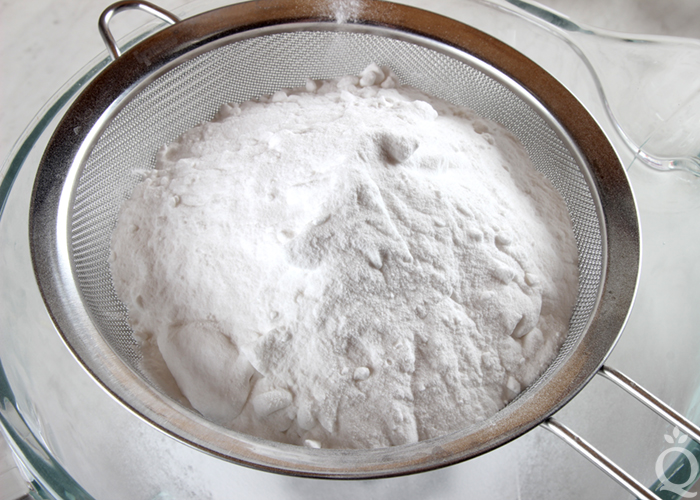
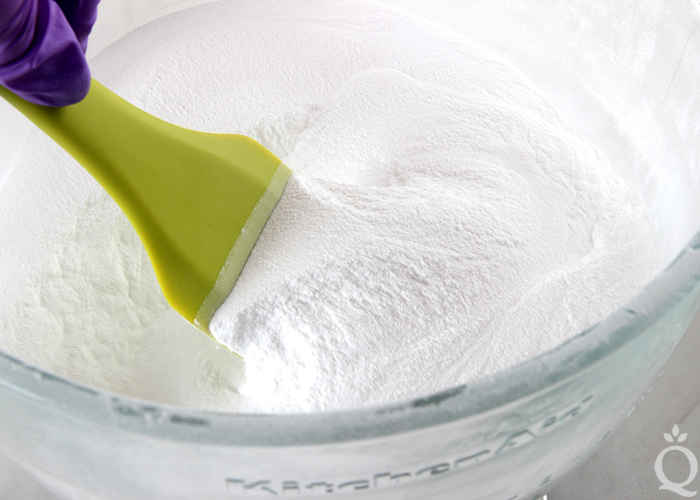
THREE: Place a fine mesh sifter over a large container. Add the baking soda, citric acid, and cream of tartar. Pour the ingredients through the sifter to get rid of chunks. Use a whisk to mix the ingredients together. Very carefully, add the SLSA to the large container (do not put it through the sifter). I recommend adding the SLSA very last because it’s extremely fine and powdery and can become airborne very easily. You may want to wear a mask during this step to avoid breathing in any SLSA. It is irritating if you breathe it in. Once everything’s added, slowly mix together the dry ingredients.
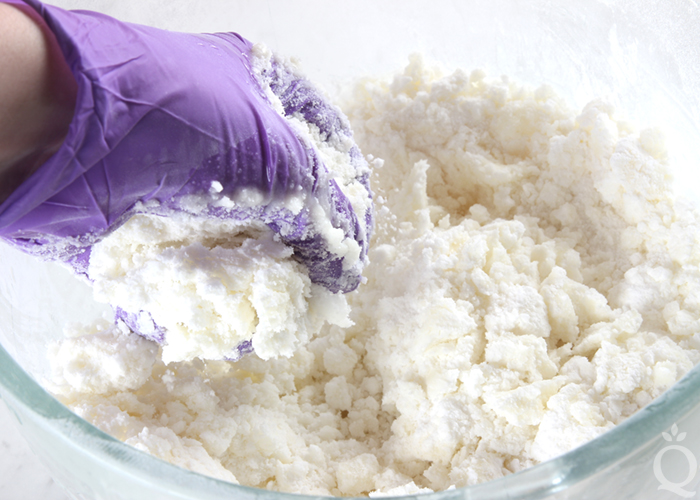
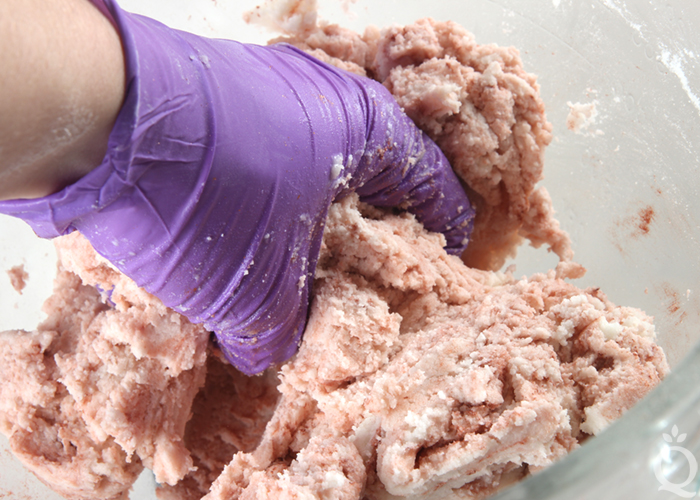
FOUR: When the liquid ingredients are about 180 ° F, add 1/3 to the dry ingredients. This is quite hot, so gloves are recommended. The hotter the liquid ingredients are when added, the softer the final "dough" will be. Adding the liquid when it's hot reduces the need to microwave it later. Use your hands to incorporate the liquid and powder ingredients together. If you prefer, you could also use a stand or hand mixer for this step, but we prefer using our hands.
FIVE: Continue adding the liquid ingredients in 1/3 increments to the dry and mix together until fully incorporated. The final texture will be very similar to bread dough – soft, workable, and slightly sticky. The texture of the mixture depends on the temperature of the butters. The warmer the dough, the softer it will be. We found a dough temperature of about 85-100 ° F is a great moldable texture. If your dough is cooler than that, place the entire mixture into the microwave for 10-20 seconds to warm it.
SIX: You will have about 60 ounces of mixture. Split the batch into two equal containers. You can eyeball it, or weigh it depending on your preference.
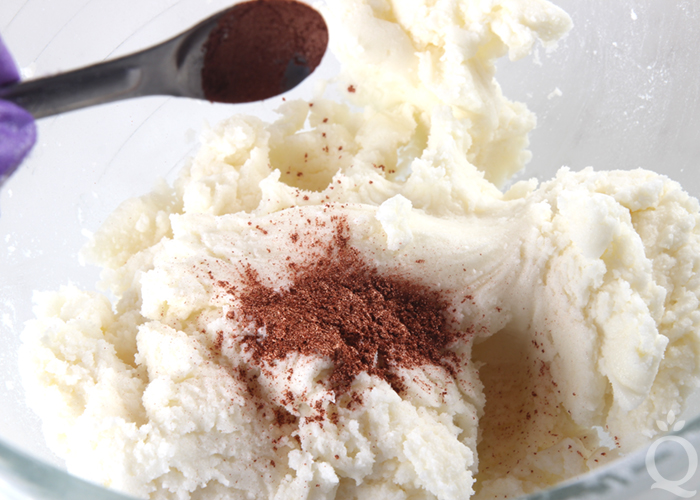
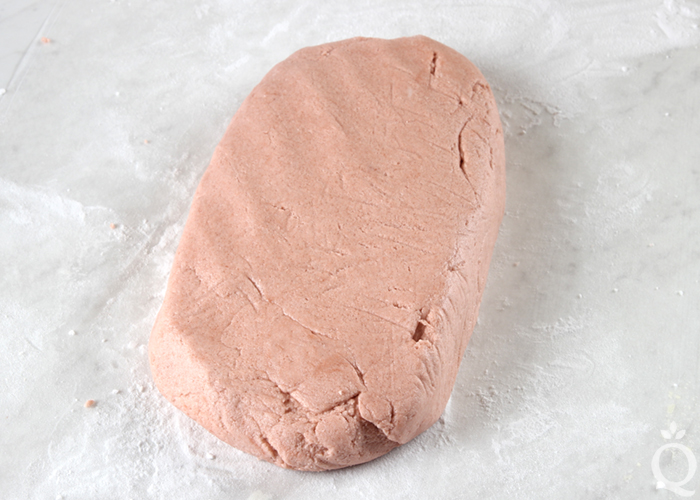
SEVEN: To one container, add 3/4 teaspoon of Bronze Mica and use your hands to thoroughly mix in the colorant into the dough. If you’d like a darker color you can add more mica, just keep in mind this may leave behind more color in the bathtub.
EIGHT: Once the mica is thoroughly mixed and there are no streaks of color, lay down a sheet of wax paper on the counter and sprinkle on a thin layer of baking soda. This prevents the bath truffles from sticking to the counter, and is used to roll up the batch.
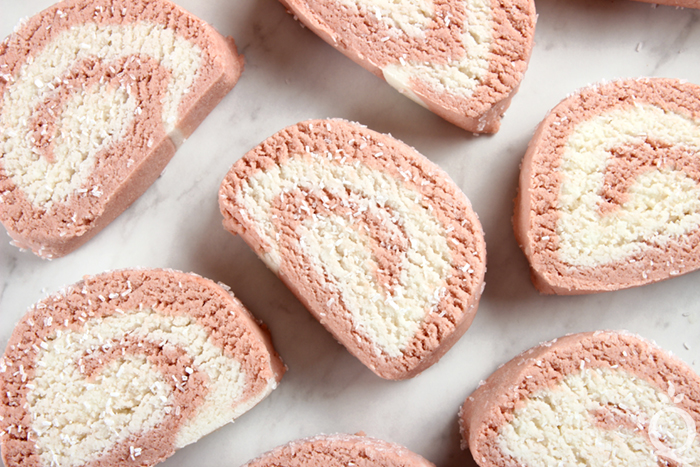
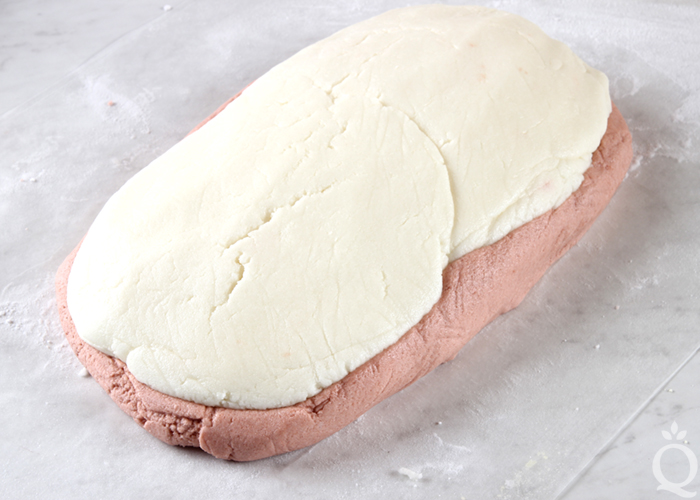
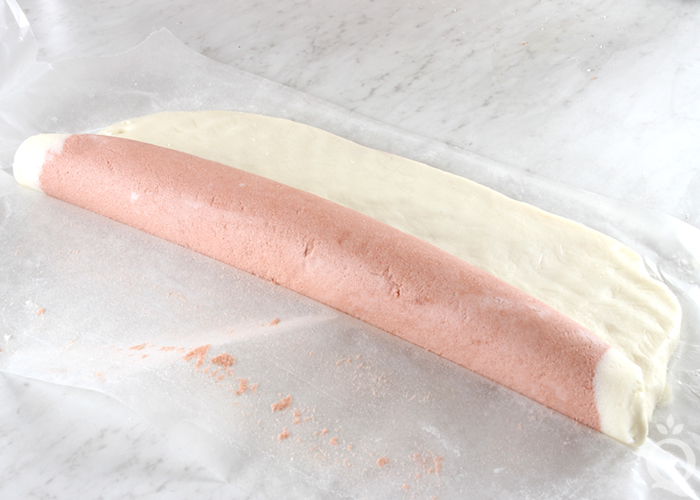
Lay the brown mixture on the wax paper, and begin forming it into a rectangle shape. Place the white mixture on top, and use your hands to spread it evenly onto the brown. Create a flat rectangle shape – about 14 inches long by about 7-8 inches tall.
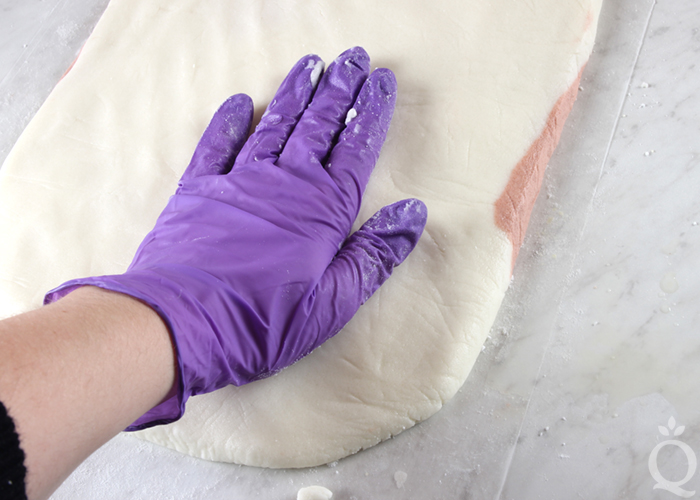
NINE: Use the wax paper to roll the bubble bars. The bars may stick to the paper slightly, but that's okay. You can use your hands to smooth out the roll if necessary.
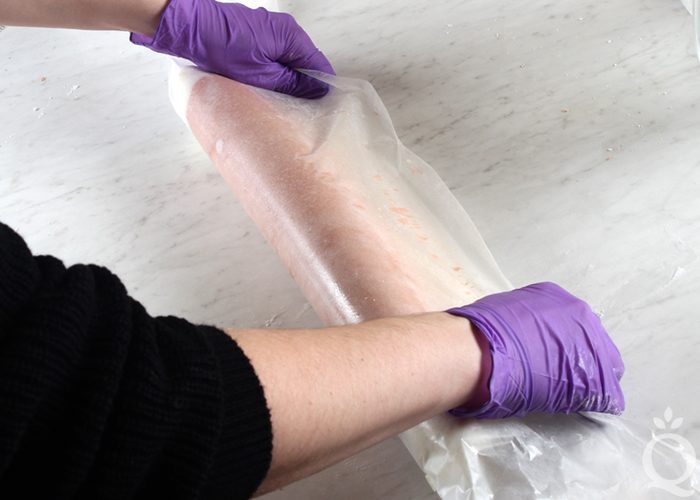
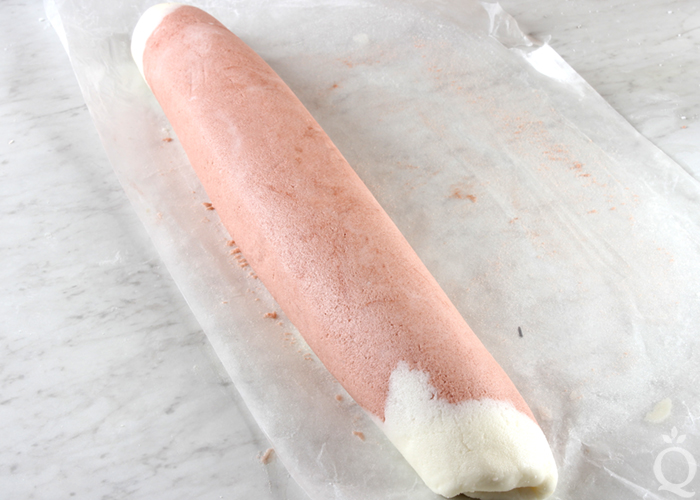
TEN: Continue rolling, and use your hands to help create a smooth, even log.
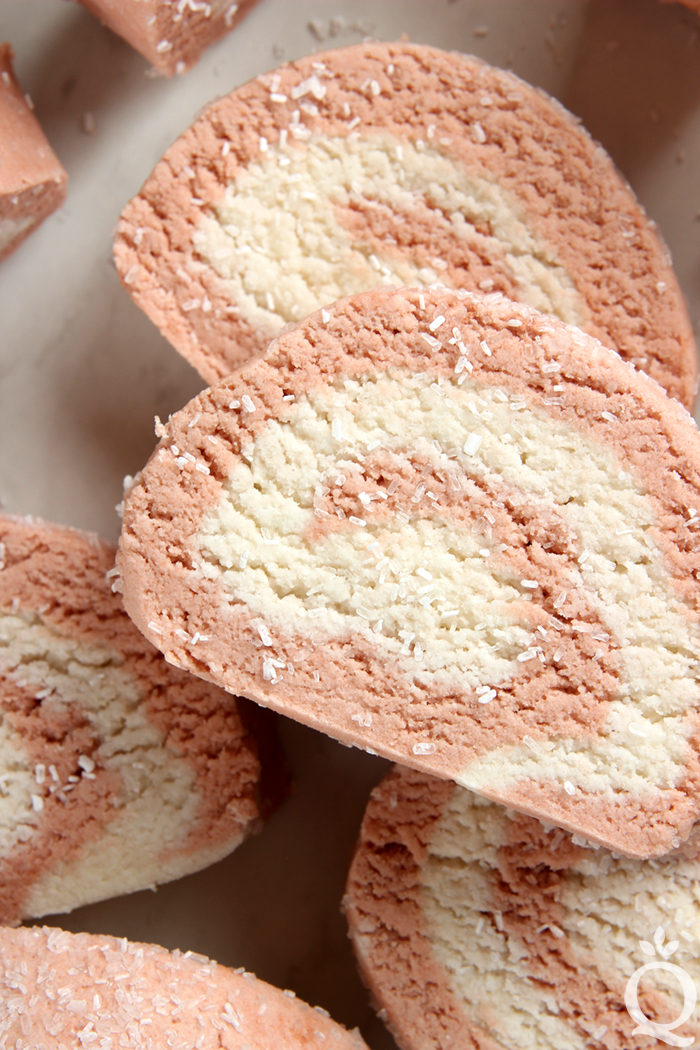
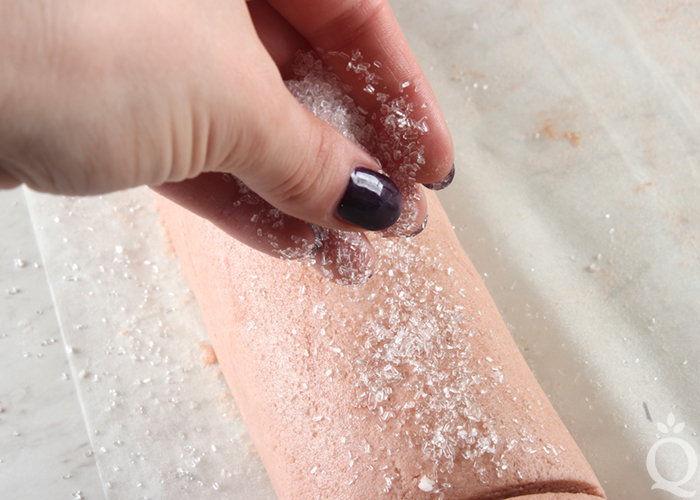
ELEVEN: Once you're happy with the shape, sprinkle the top with Epsom salt and press it gently into the log to help it stick.
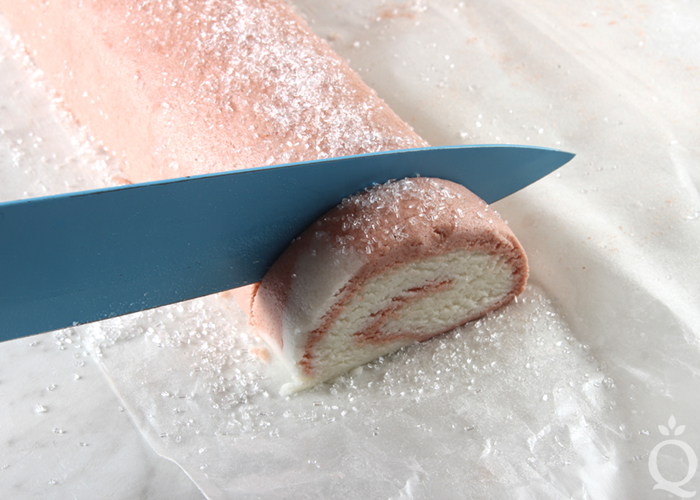
TWELVE: Use a sharp non-serrated knife to cut the log into bars. If the log is extremely soft, it can be a little sticky and needs to be handled very carefully. You can wait for about 30 minutes for it to harden slightly, or cut the bars very gently. How soft the log is will depend on how hot the butters were when mixed in, and if you placed the mixture in the microwave.
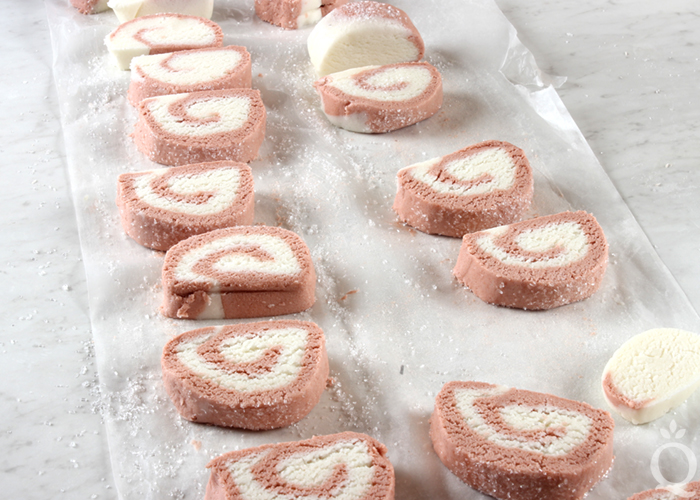
THIRTEEN: Once the bars are cut, place them gently on a piece of parchment paper or wax paper. Use your hands to give them a more uniform shape, smooth the edges, or fix any chunks that may have fallen off while cutting. Sprinkle more salt on top if you’d like. As the butters in the bath truffles cool, they become hard. It takes about 3-4 hours for the bars to become firm depending on your room temperature. It can be hard to wait, but be patient!
Once you're ready to use the bath truffles, place them in the tub for a slow fizzing reaction with a small amount of foamy bubbles. If you want to "activate" more bubbles, hold the bar directly under the running bath faucet while breaking off small amounts of the bar.
DIY Salted Caramel Bath Truffles
Author: Soap Queen
Recipe type: Bath Truffles
- 25 oz. Sodium Bicarbonate (Baking Soda) (41%)
- 7 oz. Citric Acid (12%)
- 13 oz. SLSA (21%)
- 2.5 oz. Cream of Tartar (4%)
- 6 oz. Shea Butter (10%)
- 4.5 oz. Cocoa Butter Pastilles (7%)
- 1.5 oz. Liquid Glycerin (3%)
- 0.5 oz. Polysorbate 80 (1%)
- 0.5 oz. Burnt Sugar Fragrance Oil (1%)
- ¾ tsp. Bronze Mica
- Extra Fine Epsom Salt
- In a small heat-safe container, add the shea butter and cocoa butter cubes. Place the container in the microwave and melt the butters using 30-60 bursts. The cocoa butter takes a little while to melt. Be careful when removing it from the microwave, as it may be very hot.
- Add the Burnt Sugar Fragrance Oil, polysorbate 80, and glycerin to the melted butters. Use a spoon to thoroughly incorporate. Set aside.
- Place a fine mesh sifter over a large container. Add the baking soda, citric acid, and cream of tartar. Pour the ingredients through the sifter to get rid of chunks. Use a whisk to mix the ingredients together. Very carefully, add the SLSA to the large container (do not put it through the sifter). I recommend adding the SLSA very last because it's extremely fine and powdery and can become airborne very easily. You may want to wear a mask during this step to avoid breathing in any SLSA. It is irritating if you breathe it in. Once everything's added, slowly mix together the dry ingredients.
- When the liquid ingredients are about 180 ° F, add ⅓ to the dry ingredients. This is quite hot, so gloves are recommended. The hotter the liquid ingredients are when added, the softer the final "dough" will be. Adding the liquid when it's hot reduces the need to microwave it later. Use your hands to incorporate the liquid and powder ingredients together. If you prefer, you could also use a stand or hand mixer for this step, but we prefer using our hands.
- Continue adding the liquid ingredients in ⅓ increments to the dry and mix together until fully incorporated. The final texture will be very similar to bread dough – soft, workable, and slightly sticky. The texture of the mixture depends on the temperature of the butters. The warmer the dough, the softer it will be. We found a dough temperature of about 85-100 ° F is a great moldable texture. If your dough is cooler than that, place the entire mixture into the microwave for 10-20 seconds to warm it.
- You will have about 60 ounces of mixture. Split the batch into two equal containers. You can eyeball it, or weigh it depending on your preference.
- To one container, add ¾ teaspoon of Bronze Mica and use your hands to thoroughly mix in the colorant into the dough. If you'd like a darker color you can add more mica, just keep in mind this may leave behind more color in the bathtub.
- Once the mica is thoroughly mixed and there are no streaks of color, lay down a sheet of wax paper on the counter and sprinkle on a thin layer of baking soda. This prevents the bath truffles from sticking to the counter, and is used to roll up the batch. Lay the brown mixture on the wax paper, and begin forming it into a rectangle shape. Place the white mixture on top, and use your hands to spread it evenly onto the brown. Create a flat rectangle shape – about 14 inches long by about 7-8 inches tall.
- Use the wax paper to roll the bubble bars. The bars may stick to the paper slightly, but that's okay. You can use your hands to smooth out the roll if necessary.
- Continue rolling, and use your hands to help create a smooth, even log.
- Once you're happy with the shape, sprinkle the top with Epsom salt and press it gently into the log to help it stick.
- Use a sharp non-serrated knife to cut the log into bars. If the log is extremely soft, it can be a little sticky and needs to be handled very carefully. You can wait for about 30 minutes for it to harden slightly, or cut the bars very gently. How soft the log is will depend on how hot the butters were when mixed in, and if you placed the mixture in the microwave.
- Once the bars are cut, place them gently on a piece of parchment paper or wax paper. Use your hands to give them a more uniform shape, smooth the edges, or fix any chunks that may have fallen off while cutting. Sprinkle more salt on top if you'd like. As the butters in the bath truffles cool, they become hard. It takes about 3-4 hours for the bars to become firm depending on your room temperature. It can be hard to wait, but be patient!
- Once you're ready to use the bath truffles, place them in the tub for a slow fizzing reaction with a small amount of foamy bubbles. If you want to "activate" more bubbles, hold the bar directly under the running bath faucet while breaking off small amounts of the bar.
3.3.3077
The post DIY Salted Caramel Bath Truffles appeared first on Soap Queen.

Keine Kommentare:
Kommentar veröffentlichen