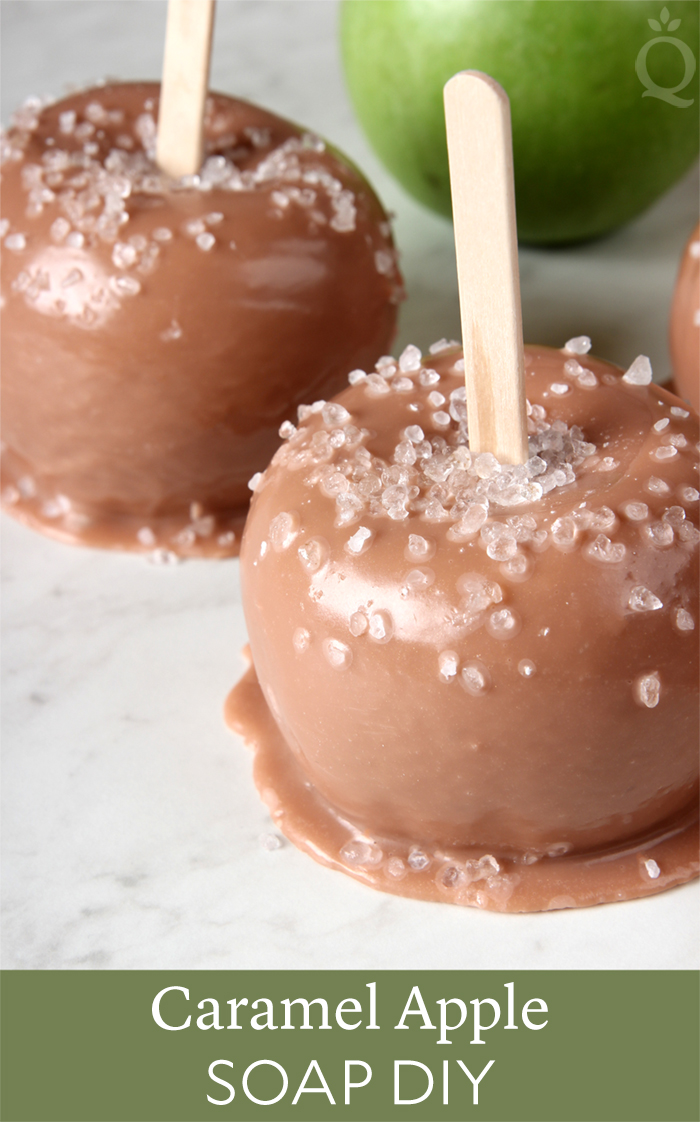
 When you see treats like candy corn, apple cider, and pumpkin spice everything hitting the store shelves, you know fall isn't too far away. Caramel apples are another classic. Who doesn't love the combination of creamy, sweet caramel and tart, crunchy apples? We certainly do, which is why we decided to recreate the look in soap.
The original Caramel Apple Soap Tutorial was shared in 2011. The new version is made with delicious Hot Apple Pie Fragrance Oil. Flexy Fast Molding Putty is the key to getting the realistic shape. It's easy to use – just combine the pink and white components and mold it over an apple. Once it's set, you have a silicone mold you can pour your caramel soap in and then reuse for future projects. The bars are finished with more caramel soap and a sprinkle of Dead Sea salt. They're the perfect way to celebrate fall.
The exact amount of soap you need depends on how many apple molds you create and how large they are. If you only want to make 1-2 apple molds, the trial size of Flexy Fast Molding Putty will do the trick. If you’d like to make more at one time, we recommend the full size. This provides enough putty for several apples with plenty leftover. Learn more about working with it in this Soap Queen TV video.
What You Need:
16 oz. White Melt & Pour Soap Base
32 oz. Clear Melt & Pour Soap Base
Flexy Fast Molding Putty
About 4 Whole Apples (to create molds)
1.3 oz. Hot Apple Pie Fragrance Oil
Liquid Yellow Colorant
Liquid Brown Iron Oxide Colorant
Gold Sparkle Mica
Medium Grain Dead Sea Salt
Craft Sticks

Click here to add everything you need for this project to your Bramble Berry shopping cart!
Make the Molds
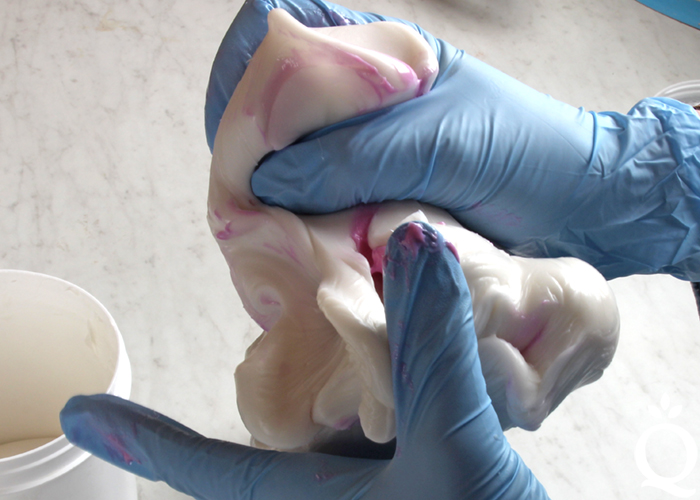
ONE: Flexy Fast Molding Putty comes as two parts, Part A and Part B. The usage rate is 1:6 (B:A) by weight or 1:20 (B:A) by volume. If mixing by volume, a good rule of thumb is about a golf ball size of the white stuff (Part A) to a marble size of the pink stuff (Part B). With vinyl gloves on, quickly knead the two components together until fully incorporated. Use as much as you’d like depending on how many molds you’d like to make. You're done when you have a nice bubblegum color with no pink streaks, which will take about 1 minute.
TWO: Once the putty is mixed, quickly cover the apples. Really press the putty into the apple to ensure that you get all of the realistic details and to release any air bubbles. Keep in mind where the top and bottom of the apple is and leave a small hole at the bottom of the apple. This will become the top of the mold. Continue this process with as many apples as you’re making.
TIP: We found a thin mold was more flexible when later removing the apples, so don’t apply the putty too thick. The putty shown below is actually a little on the thick side.

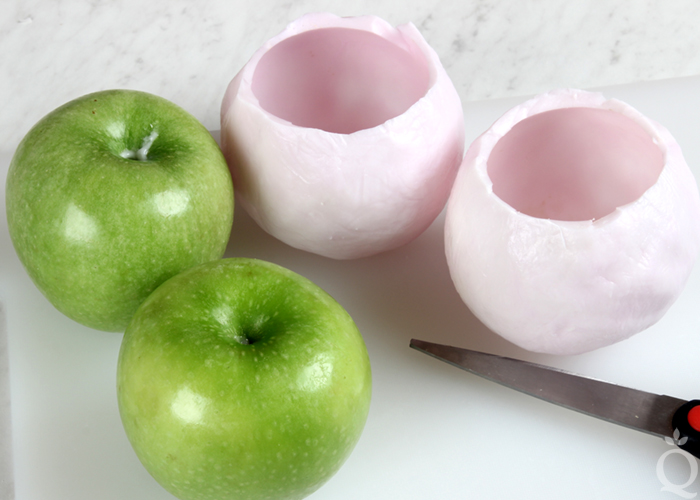
THREE: Once the apples are covered, allow the putty to fully harden. This takes about an hour or up to several hours. Once the putty is firm, flexible, and pulls away from the apples, use scissors to cut the hole large enough to push the apple through. If it’s not large enough, the mold could tear. If this happens, you can super glue it back together (this happened to one of our molds, but it turned out okay). Carefully push the apple out of the mold. The top of the apple will become the bottom of the mold. Set molds aside while you prepare the soap.
Make the Soap
FOUR: Cut 16 ounces of White Melt & Pour Soap Base into small even pieces. Then, chop 32 ounces of Clear Melt & Pour Soap Base into small even pieces. If you’re making a smaller batch, use the same ratio of 1 part White Soap Base to 2 parts Clear Soap Base. This gives the soap an opaque look without being too light. You need enough soap to make the apples and the “caramel dip” later. In this case, having extra soap is better than not having enough.
FIVE: Place the soap in a large heat-safe container and melt using 30 second bursts. Stir in between each burst to help evenly melt the soap. Then, begin adding drops of the Liquid Yellow Colorant and the Liquid Brown Iron Oxide Colorant until you get a caramel color. Begin adding them in equal parts, then add more yellow or brown colorant to adjust the color as you see fit. Then, add a dash of Gold Sparkle Mica. For this large batch, we used 1/4 teaspoon. Stir in the colorants thoroughly.
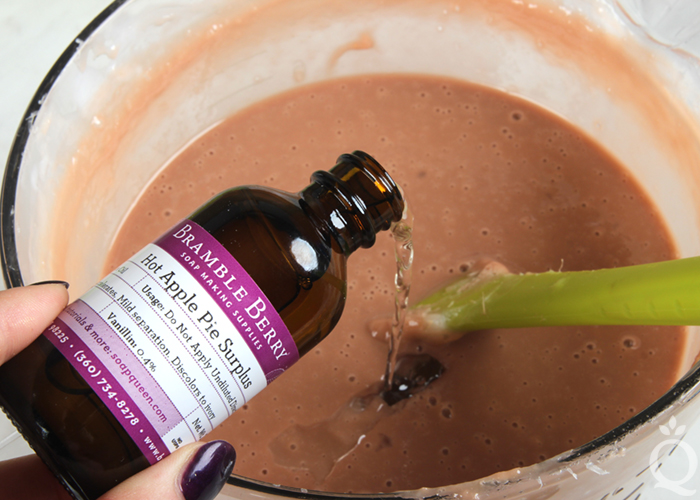
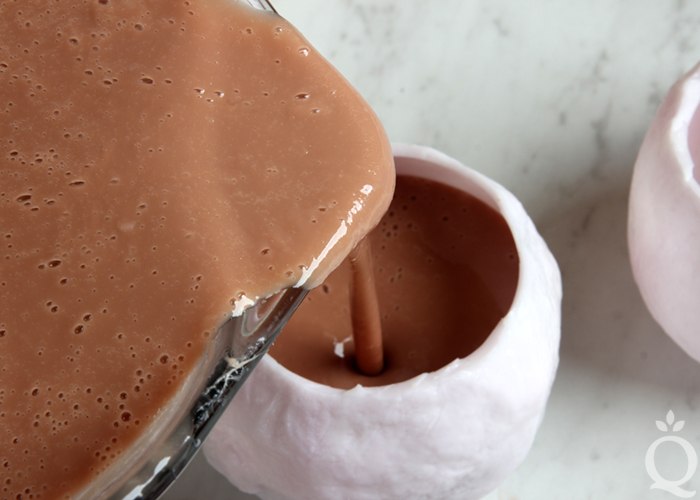
SIX: Stir in the Hot Apple Pie Fragrance Oil. Then, carefully pour the soap into your apple molds. Spritz with alcohol to help get rid of bubbles. Set the remaining soap aside. It will become the “caramel dip” later.
SEVEN: Allow the soap to cool in the mold for about 30 minutes, then check on it. Once the soap is hard enough to remove but is still warm, carefully remove from the mold and push the craft sticks into the center of the apple on the top. The soap needs to be removed from the mold while still slightly warm in order to push the craft sticks in.
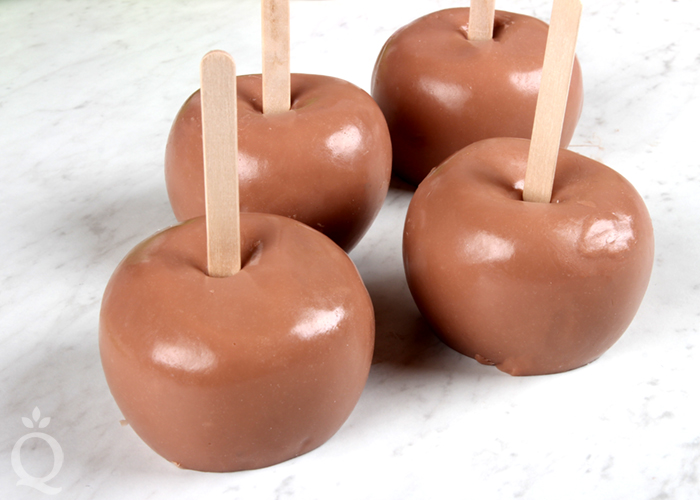
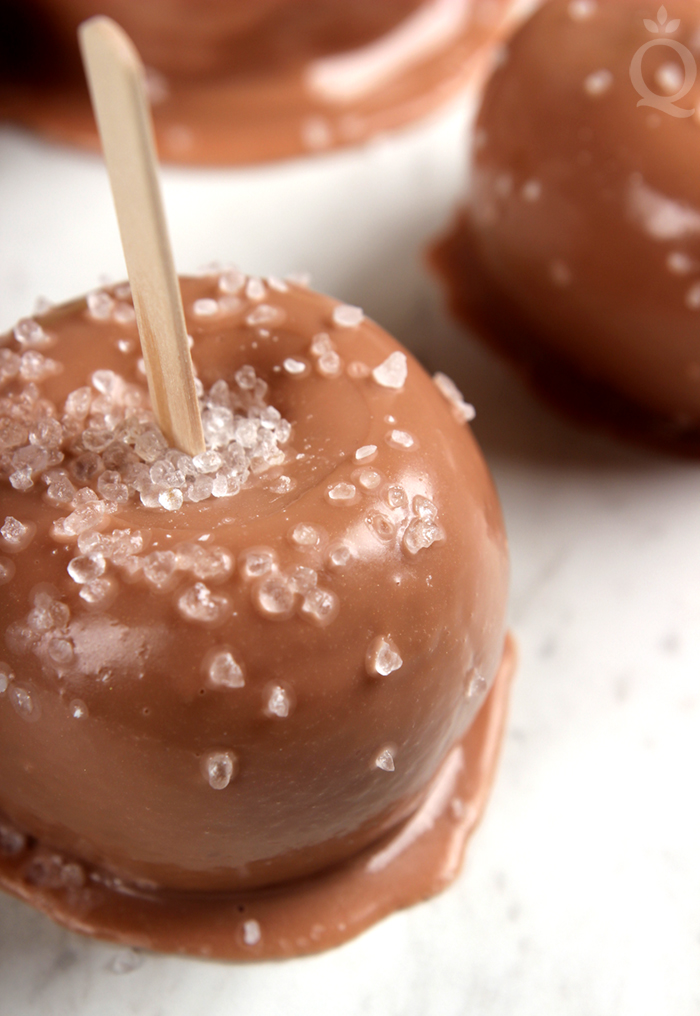
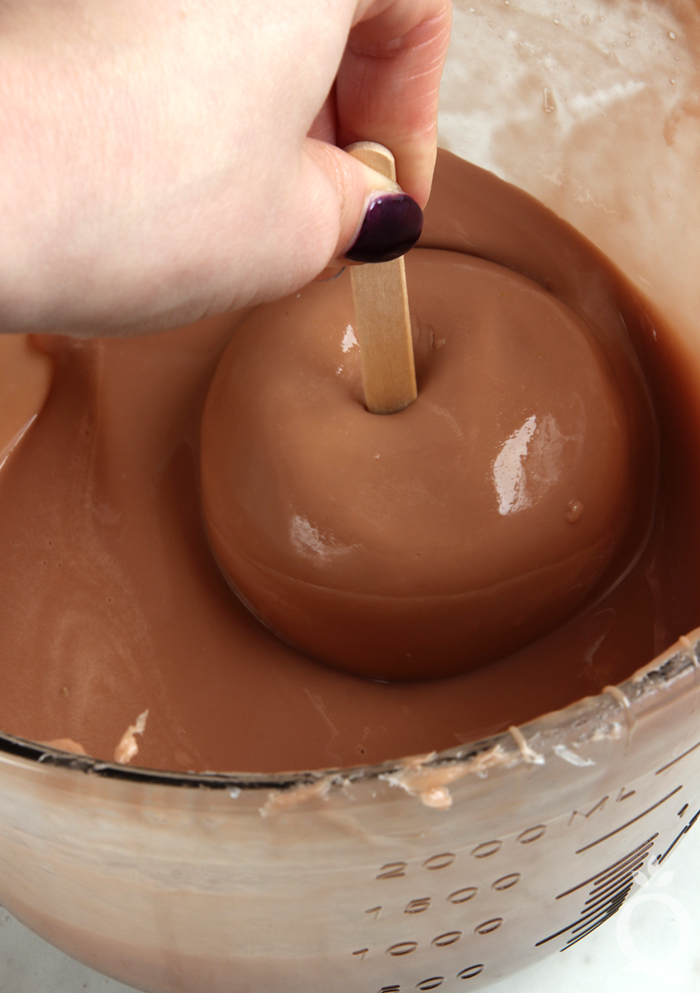
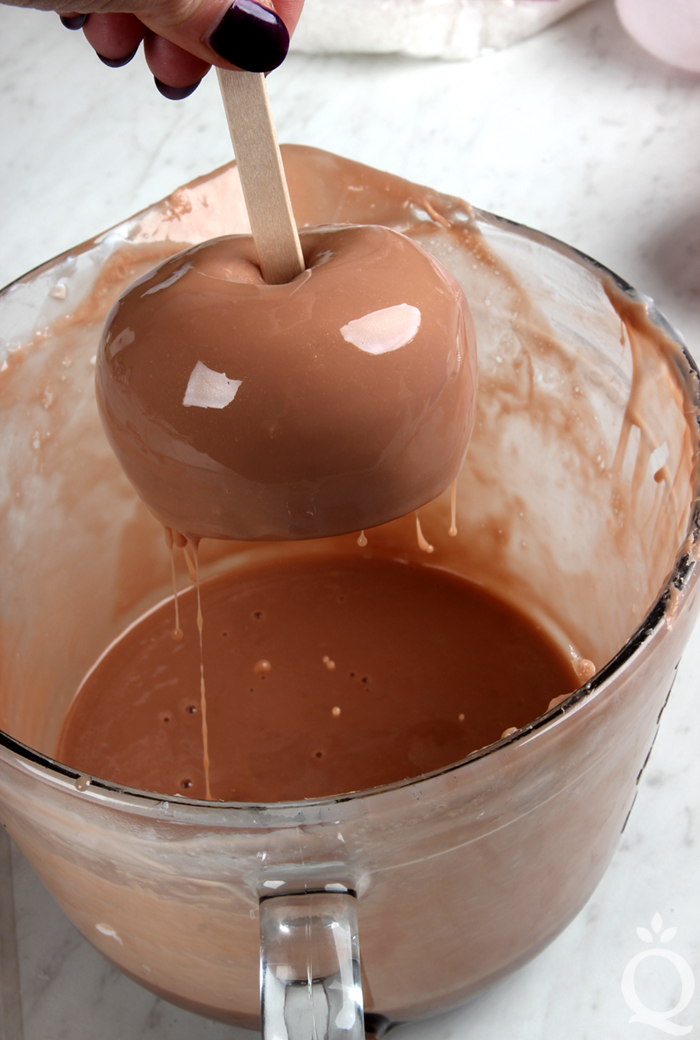
EIGHT: Reheat the caramel colored soap in the microwave using 30 second bursts. Once it’s completely melted and around 135-140F, dunk each soap apple into the melted soap. Twirl it around and move the bowl around if necessary to fully cover the apple. Lift the apple up and out of the soap, and place onto a piece of wax or parchment paper.
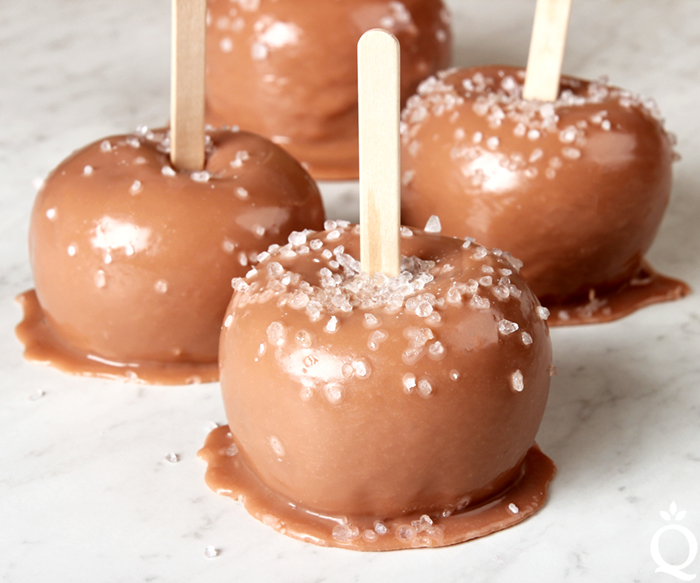
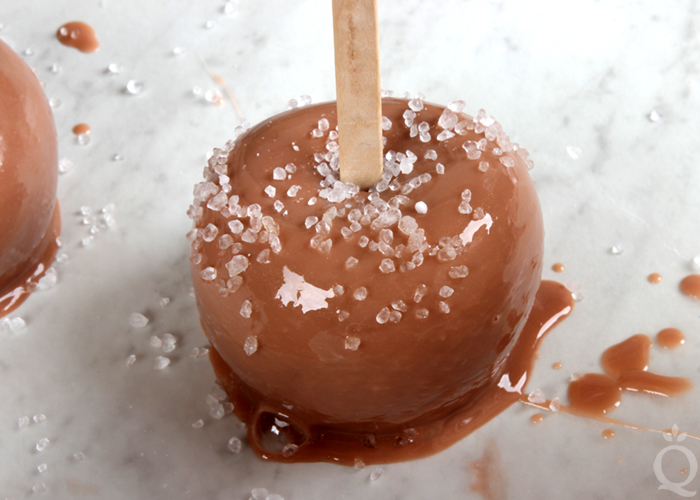
NINE: Very quickly sprinkle the Dead Sea salt onto the apple and spritz with alcohol to help get rid of bubbles. Repeat until your soap is gone, and pour any extra soap into a different mold. Allow the soap to fully cool and harden, then enjoy! Once you’re ready to use this soap, we have found cutting it into pieces works best.

Caramel Apple Soap DIY
Author: Soap Queen
Recipe type: Melt and Pour Soap
- 16 oz. White Melt & Pour Soap Base
- 32 oz. Clear Melt & Pour Soap Base
- Flexy Fast Molding Putty
- About 4 Whole Apples (to create molds)
- 1.3 oz. Hot Apple Pie Fragrance Oil
- Liquid Yellow Colorant
- Liquid Brown Iron Oxide Colorant
- Gold Sparkle Mica
- Medium Grain Dead Sea Salt
- Craft Sticks
- Flexy Fast Molding Putty comes as two parts, Part A and Part B. The usage rate is 1:6 (B:A) by weight or 1:20 (B:A) by volume. If mixing by volume, a good rule of thumb is about a golf ball size of the white stuff (Part A) to a marble size of the pink stuff (Part B). With vinyl gloves on, quickly knead the two components together until fully incorporated. Use as much as you'd like depending on how many molds you'd like to make. You're done when you have a nice bubblegum color with no pink streaks, which will take about 1 minute.
- Once the putty is mixed, quickly cover the apples. Really press the putty into the apple to ensure that you get all of the realistic details and to release any air bubbles. Keep in mind where the top and bottom of the apple is and leave a small hole at the bottom of the apple. This will become the top of the mold. Continue this process with as many apples as you're making. TIP: We found a thin mold was more flexible when later removing the apples, so don't apply the putty too thick. Once the apples are covered, allow the putty to fully harden. This takes about an hour or up to several hours. Once the putty is firm, flexible, and pulls away from the apples, use scissors to cut the hole large enough to push the apple through. If it's not large enough, the mold could tear. If this happens, you can super glue it back together (this happened to one of our molds, but it turned out okay). Carefully push the apple out of the mold. The top of the apple will become the bottom of the mold. Set molds aside while you prepare the soap.
- Cut 16 ounces of White Melt & Pour Soap Base into small even pieces. Then, chop 32 ounces of Clear Melt & Pour Soap Base into small even pieces. If you're making a smaller batch, use the same ratio of 1 part White Soap Base to 2 parts Clear Soap Base. This gives the soap an opaque look without being too light. You need enough soap to make the apples and the "caramel dip" later. In this case, having extra soap is better than not having enough.
- Place the soap in a large heat-safe container and melt using 30 second bursts. Stir in between each burst to help evenly melt the soap. Then, begin adding drops of the Liquid Yellow Colorant and the Liquid Brown Iron Oxide Colorant until you get a caramel color. Begin adding them in equal parts, then add more yellow or brown colorant to adjust the color as you see fit. Then, add a dash of Gold Sparkle Mica. For this large batch, we used ¼ teaspoon. Stir in the colorants thoroughly.
- Stir in the Hot Apple Pie Fragrance Oil. Then, carefully pour the soap into your apple molds. Spritz with alcohol to help get rid of bubbles. Set the remaining soap aside. It will become the "caramel dip" later.
- Allow the soap to cool in the mold for about 30 minutes, then check on it. Once the soap is hard enough to remove but is still warm, carefully remove from the mold and push the craft sticks into the center of the apple on the top. The soap needs to be removed from the mold while still slightly warm in order to push the craft sticks in.
- Reheat the caramel colored soap in the microwave using 30 second bursts. Once it's completely melted and around 135-140F, dunk each soap apple into the melted soap. Twirl it around and move the bowl around if necessary to fully cover the apple. Lift the apple up and out of the soap, and place onto a piece of wax or parchment paper.
- Very quickly sprinkle the Dead Sea salt onto the apple and spritz with alcohol to help get rid of bubbles. Repeat until your soap is gone, and pour any extra soap into a different mold. Allow the soap to fully cool and harden, then enjoy! Once you're ready to use this soap, we have found cutting it into pieces works best.
3.3.3077
The post Caramel Apple Soap DIY appeared first on Soap Queen.

Keine Kommentare:
Kommentar veröffentlichen