Spring brings to mind images of sunny skies and colorful blooms. Here in the Pacific Northwest, we have a few months to go until that kind of spring happens. Currently, we are experiencing lots of rain and gray skies. But that’s what keeps Washington state so beautiful and green, so no complaints!
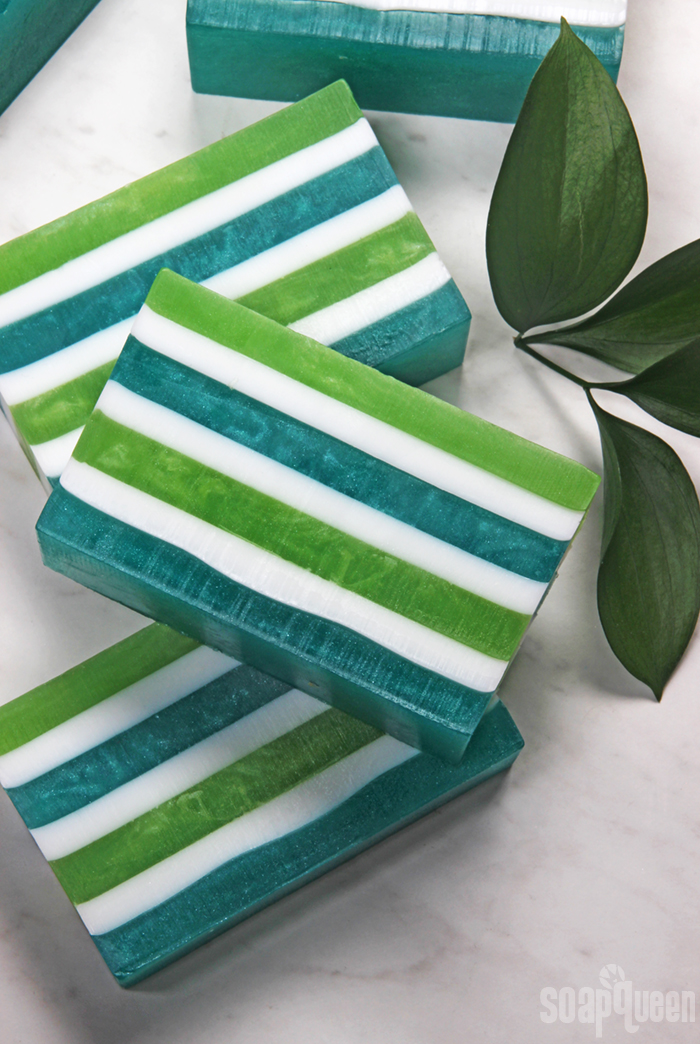
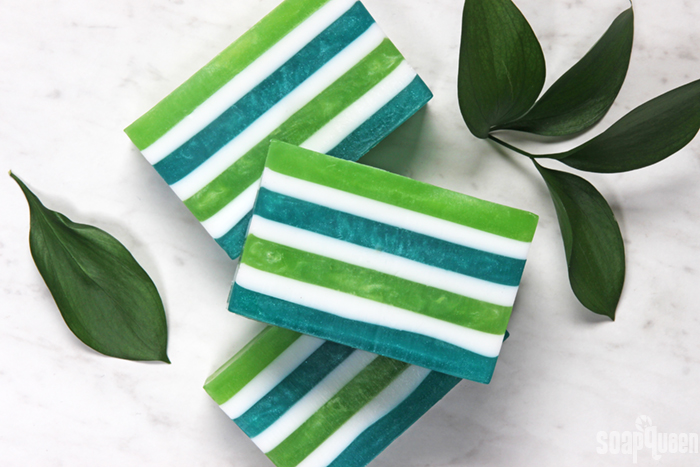
This melt and pour project was inspired by spring in the Pacific Northwest – plenty of green and blue and a fresh ozone scent. The colors are created with Kermit Green and Aqua Pearl Mica. To help the micas mix into the soap easier and prevent clumps, mix them with 99% isopropyl alcohol. Amazon Lily & Rain Fragrance Oil gives the soap crisp green scent, with notes of fresh cut grass and light florals.
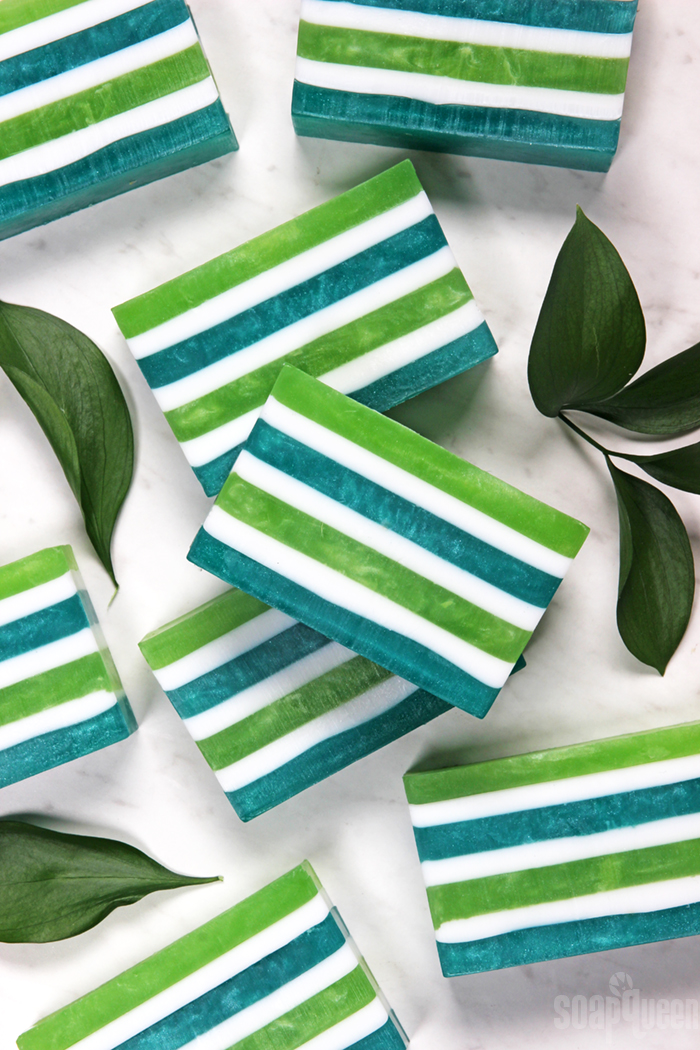
The key to layering melt and pour is a spray bottle of 99% isopropyl alcohol and a thermometer. This soap has seven layers and does require some patience. Spraying the soap with 99% isopropyl alcohol before and after each layer helps the layers stick together and gets rid of bubbles. A thermometer comes in handy to make sure each layer isn’t too hot. If a layer of soap is poured while extremely hot, it will melt the layer below. Learn more tips for layering melt and pour here.
What You’ll Need:
10″ Silicone Loaf Mold
32 oz. Clear Melt and Pour Soap Base
16 oz. White Melt and Pour Soap Base
Kermit Green Mica
Aqua Pearl Mica
0.6 oz. Amazon Lily & Rain Fragrance Oil
99% Isopropyl Alcohol in a Spray Bottle
Recommended: Infrared Thermometer

Click here to add everything you need for this project to your Bramble Berry shopping cart!
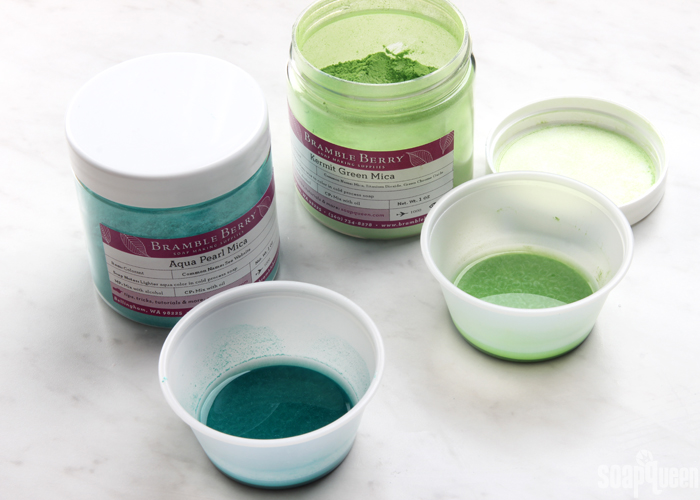
COLOR PREP: Add 1/2 teaspoon of the Kermit Green Mica and 1/2 teaspoon of the Aqua Pearl Mica into separate containers. Then, add 1/2 tablespoons of 99% isopropyl alcohol to each container and mix together to get rid of any clumps. Set the colorants aside.
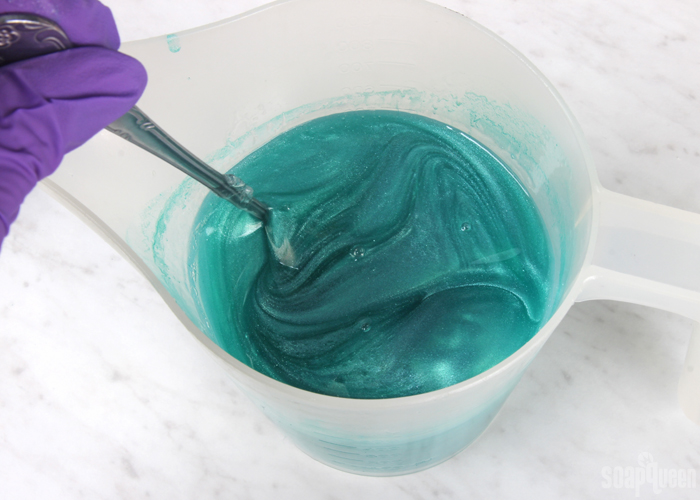
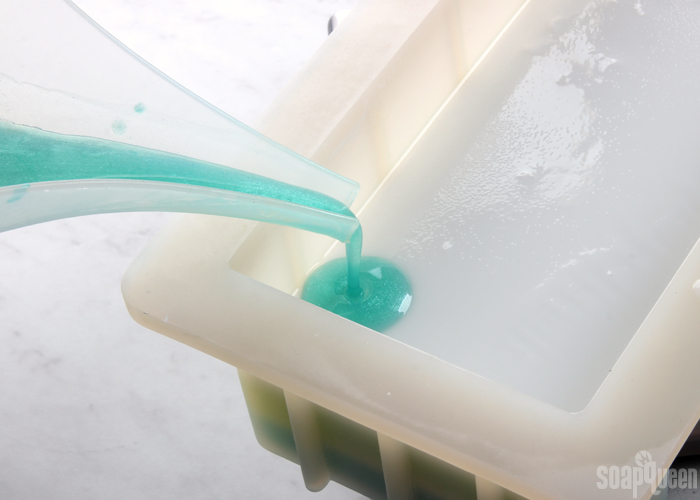
ONE: Chop and melt 16 ounces of the Clear Melt and Pour Soap in the microwave using 30-60 second bursts. Once melted, add all of the dispersed Aqua Pearl Mica and stir to fully combine. Add 0.2 ounces of the Amazon Lily & Rain Fragrance Oil and stir to fully combine.
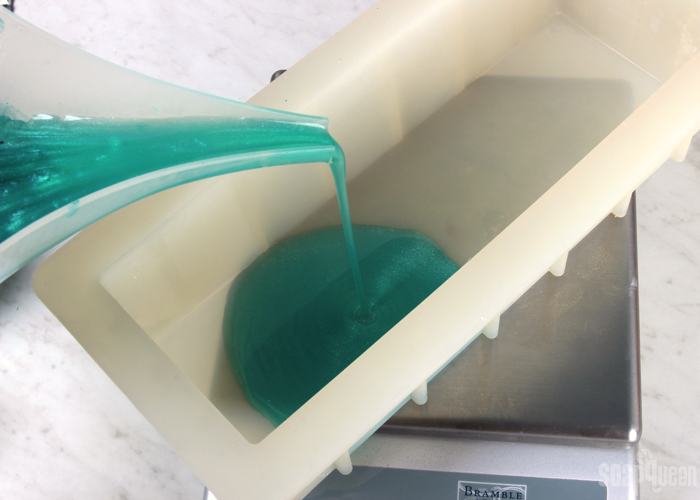
TWO: Spritz the mold with 99% isopropyl alcohol. This helps the soap spread smoothly into the mold. To keep the layers as exact as possible, place the mold on a scale and press the tare button. Pour 8 ounces of the blue soap into the mold and spritz with 99% isopropyl alcohol to get rid of bubbles.
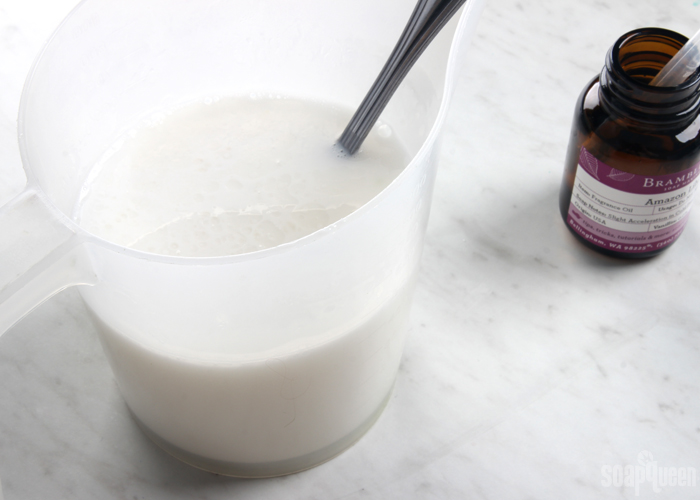
THREE: After about 5-10 minutes, test the bottom layer to see if it’s firm enough to support a layer on top. If it has formed a firm skin, chop and melt 16 ounces of the White Melt and Pour Soap Base using 30-60 second bursts. Once completely melted, add 0.2 ounces of Amazon Lily & Rain Fragrance Oil and stir to fully incorporate.
FOUR: Check the temperature of the white soap. If it’s poured into the mold while extremely hot, it may melt the layer below. If it’s below 130 ° F, spritz the blue layer with 99% isopropyl alcohol (this helps the layers stick together), and pour 5.3 ounces of the white soap into the mold. Spritz the top with 99% alcohol to help get rid of bubbles. Allow the layer to harden and cool for about 5-10 minutes.
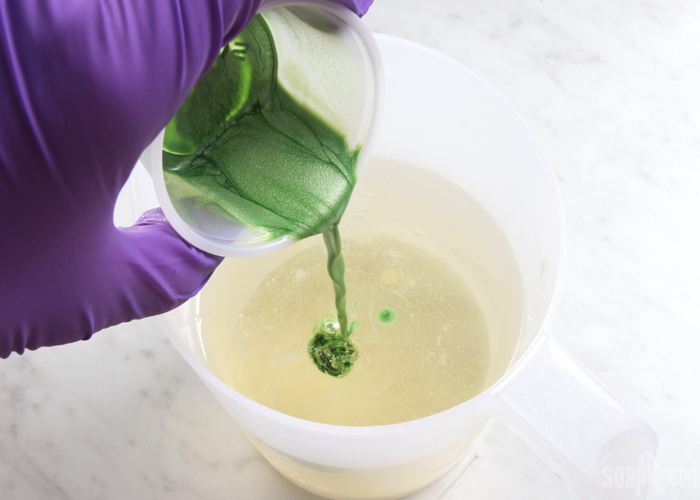
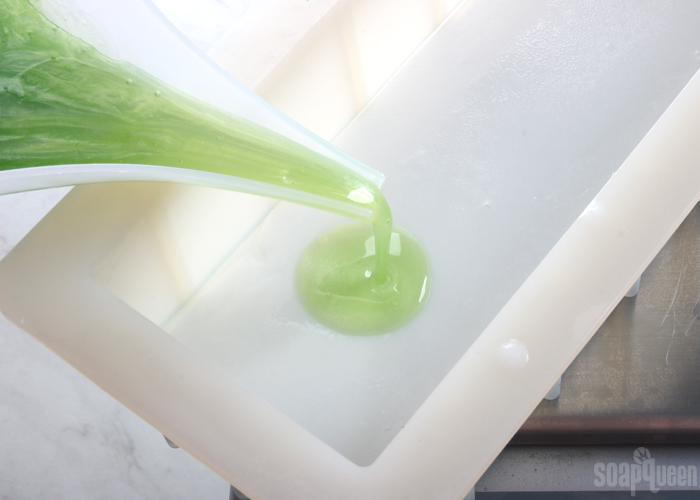
FIVE: Chop and melt 16 ounces of the Clear Melt and Pour Soap in the microwave using 30-60 second bursts. Once melted, add all of the dispersed Kermit Green Mica to the soap and stir to fully combine. Add 0.2 ounces of the Amazon Lily & Rain Fragrance Oil and stir to fully combine.
SIX: Test the white layer to make sure it’s firm enough to support the green layer. Test the temperature of the green soap. If the green soap is below 130 ° F, spritz the white soap with 99% isopropyl alcohol and pour 8 ounces of the green soap into the mold. Spritz the top with 99% isopropyl alcohol to get rid of bubbles. Allow to cool and harden for about 5-10 minutes.
SEVEN: Once the green layer has hardened, reheat the white container of soap in the microwave using 15 second bursts. Be careful to not scorch the soap. Once the green layer is firm and the white soap is below 130 ° F, spritz the bottom layer with 99% isopropyl alcohol and pour 5.3 ounces of white soap into the mold. Spritz the top with 99% isopropyl alcohol to get rid of bubbles. Allow to cool and harden for about 5-10 minutes.
EIGHT: Once the white layer has hardened, reheat the container of the blue soap in the microwave using 15 second bursts. Be careful to not scorch the soap. Once the white layer is firm and the blue soap is below 130 ° F, spritz the bottom layer with 99% isopropyl alcohol and pour the remaining 8 ounces of blue soap into the mold. Spritz the top with 99% isopropyl alcohol to get rid of bubbles. Allow to cool and harden for about 5-10 minutes.
NINE: Once the blue layer has hardened, reheat the remaining white soap in the microwave using 10-15 second bursts. Be careful to not scorch the soap. Once the blue layer is firm and the white soap is below 130 ° F, spritz the blue layer with 99% isopropyl alcohol and pour the remaining white soap into the mold. Spritz the top with 99% isopropyl alcohol to get rid of bubbles.
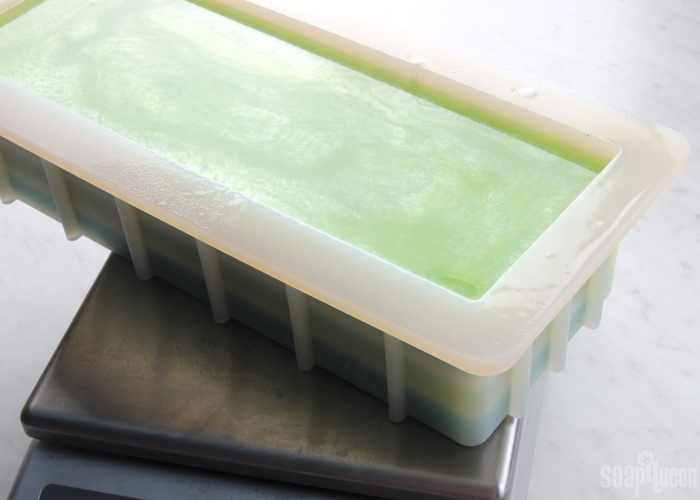
TEN: Once the white layer has hardened, reheat the green container of soap in the microwave using 15 second bursts. Be careful to not scorch the soap. Once the white layer is firm and the green soap is below 130 ° F, spritz the bottom layer with 99% isopropyl alcohol and pour the remaining 8 ounces of green soap into the mold. Spritz the top with 99% isopropyl alcohol to get rid of bubbles.
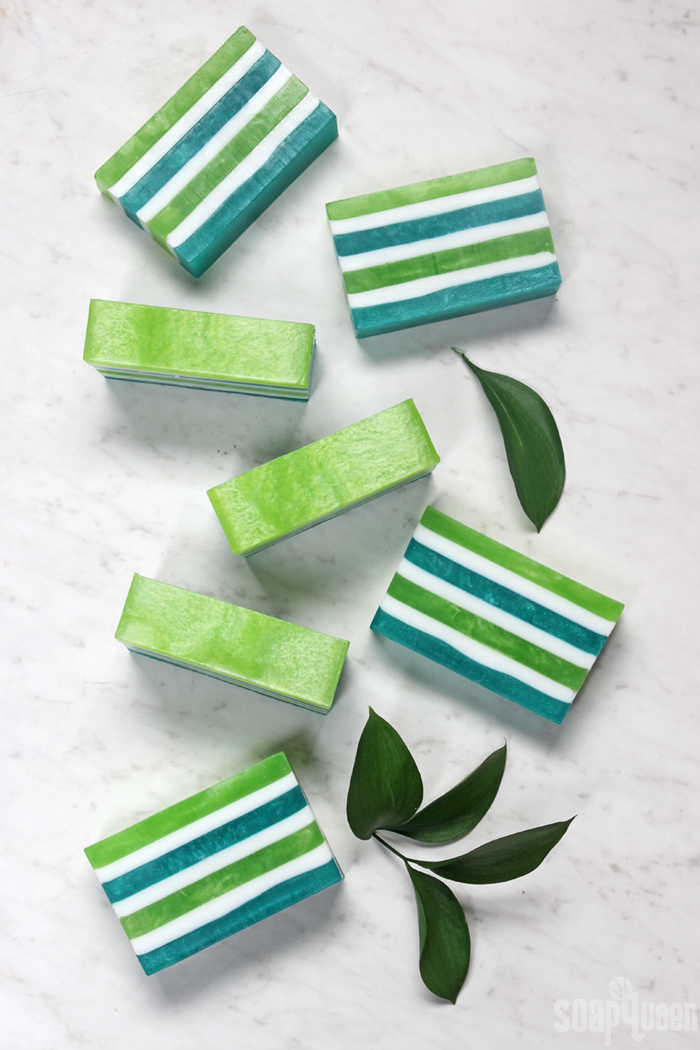
ELEVEN: Allow the soap to fully cool and harden for at least 4-5 hours or up to overnight. The soap needs to be completely cool and hard before it can be unmolded. Once it’s ready, pull away the sides of the mold to break the airlock. Push out the soap from the bottom. Cut the soap into bars and enjoy! Wrap the soap in plastic wrap after unmolding to prevent glycerin dew. Enjoy!
Lily & Rain Melt and Pour Soap Tutorial
Author: Soap Queen
Recipe type: Melt and pour soap
- 10″ Silicone Loaf Mold
- 32 oz. Clear Melt and Pour Soap Base
- 16 oz. White Melt and Pour Soap Base
- Kermit Green Mica
- Aqua Pearl Mica
- 0.6 oz. Amazon Lily & Rain Fragrance Oil
- 99% Isopropyl Alcohol in a Spray Bottle
- Recommended: Infrared Thermometer
- Chop and melt 16 ounces of the Clear Melt and Pour Soap in the microwave using 30-60 second bursts. Once melted, add all of the dispersed Aqua Pearl Mica and stir to fully combine. Add 0.2 ounces of the Amazon Lily & Rain Fragrance Oil and stir to fully combine.
- Spritz the mold with 99% isopropyl alcohol. This helps the soap spread smoothly into the mold. To keep the layers as exact as possible, place the mold on a scale and press the tare button. Pour 8 ounces of the blue soap into the mold and spritz with 99% isopropyl alcohol to get rid of bubbles.
- After about 5-10 minutes, test the bottom layer to see if it's firm enough to support a layer on top. If it has formed a firm skin, chop and melt 16 ounces of the White Melt and Pour Soap Base using 30-60 second bursts. Once completely melted, add 0.2 ounces of Amazon Lily & Rain Fragrance Oil and stir to fully incorporate.
- t's below 130 ° F, spritz the blue layer with 99% isopropyl alcohol (this helps the layers stick together), and pour 5.3 ounces of the white soap into the mold. Spritz the top with 99% alcohol to help get rid of bubbles. Allow the layer to harden and cool for about 5-10 minutes.
- Chop and melt 16 ounces of the Clear Melt and Pour Soap in the microwave using 30-60 second bursts. Once melted, add all of the dispersed Kermit Green Mica to the soap and stir to fully combine. Add 0.2 ounces of the Amazon Lily & Rain Fragrance Oil and stir to fully combine.
- Test the white layer to make sure it's firm enough to support the green layer. Test the temperature of the green soap. If the green soap is below 130 ° F, spritz the white soap with 99% isopropyl alcohol and pour 8 ounces of the green soap into the mold. Spritz the top with 99% isopropyl alcohol to get rid of bubbles. Allow to cool and harden for about 5-10 minutes.
- Once the green layer has hardened, reheat the white container of soap in the microwave using 15 second bursts. Be careful to not scorch the soap. Once the green layer is firm and the white soap is below 130 ° F, spritz the bottom layer with 99% isopropyl alcohol and pour 5.3 ounces of white soap into the mold. Spritz the top with 99% isopropyl alcohol to get rid of bubbles. Allow to cool and harden for about 5-10 minutes.
- Once the white layer has hardened, reheat the container of the blue soap in the microwave using 15 second bursts. Be careful to not scorch the soap. Once the white layer is firm and the blue soap is below 130 ° F, spritz the bottom layer with 99% isopropyl alcohol and pour the remaining 8 ounces of blue soap into the mold. Spritz the top with 99% isopropyl alcohol to get rid of bubbles. Allow to cool and harden for about 5-10 minutes.
- Once the blue layer has hardened, reheat the remaining white soap in the microwave using 10-15 second bursts. Be careful to not scorch the soap. Once the blue layer is firm and the white soap is below 130 ° F, spritz the blue layer with 99% isopropyl alcohol and pour the remaining white soap into the mold. Spritz the top with 99% isopropyl alcohol to get rid of bubbles.
- Once the white layer has hardened, reheat the green container of soap in the microwave using 15 second bursts. Be careful to not scorch the soap. Once the white layer is firm and the green soap is below 130 ° F, spritz the bottom layer with 99% isopropyl alcohol and pour the remaining 8 ounces of green soap into the mold. Spritz the top with 99% isopropyl alcohol to get rid of bubbles.
- Allow the soap to fully cool and harden for at least 4-5 hours or up to overnight. The soap needs to be completely cool and hard before it can be unmolded. Once it's ready, pull away the sides of the mold to break the airlock. Push out the soap from the bottom. Cut the soap into bars and enjoy! Wrap the soap in plastic wrap after unmolding to prevent glycerin dew. Enjoy!
3.3.3077
The post Lily & Rain Melt and Pour Soap Tutorial appeared first on Soap Queen.

Keine Kommentare:
Kommentar veröffentlichen