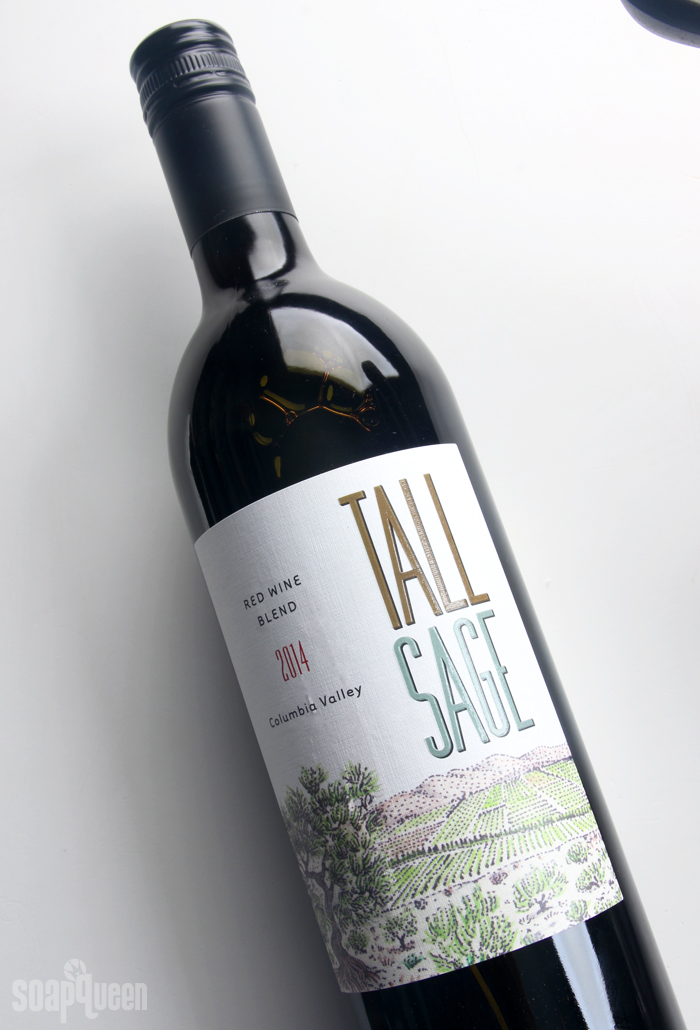
When I think of wine production, my mind immediately jumps to beautiful images of Napa Valley in California. But, you may be surprised to know that Washington state is the 2nd largest wine producer in the United States. Most of the wine is produced in Eastern Washington, where temperatures are warmer. To highlight this ingredient in my local area, the water in this recipe is swapped for wine produced in Washington state.
Working with wine in soap is not particularly difficult, but it does require some extra prep work. Alcohol and cold process soap don’t mix very well. So, when incorporating alcoholic beverages into recipes (such as beer, wine, etc.) the liquid needs to be boiled first to remove the majority of the alcohol. Then, I like to freeze the liquid and add the sodium hydroxide lye to the frozen liquid to keep temperatures cool.
Alternative liquids like wine have extra sugar, which scorches when mixed with lye. If the temperature of the liquid is kept cool, less scorching occurs. This keeps the liquid a slightly lighter color and reduces the unpleasant odor. Red wine is already quite dark, so if you’d like to skip freezing the wine you could. Keep in mind your soap batter might be slightly darker (and stinkier!). If you skip the freezing step, I do recommend allowing the wine to 50 ° F or cooler before adding the sodium hydroxide lye. Learn more about working with alcoholic beverages in soap here.
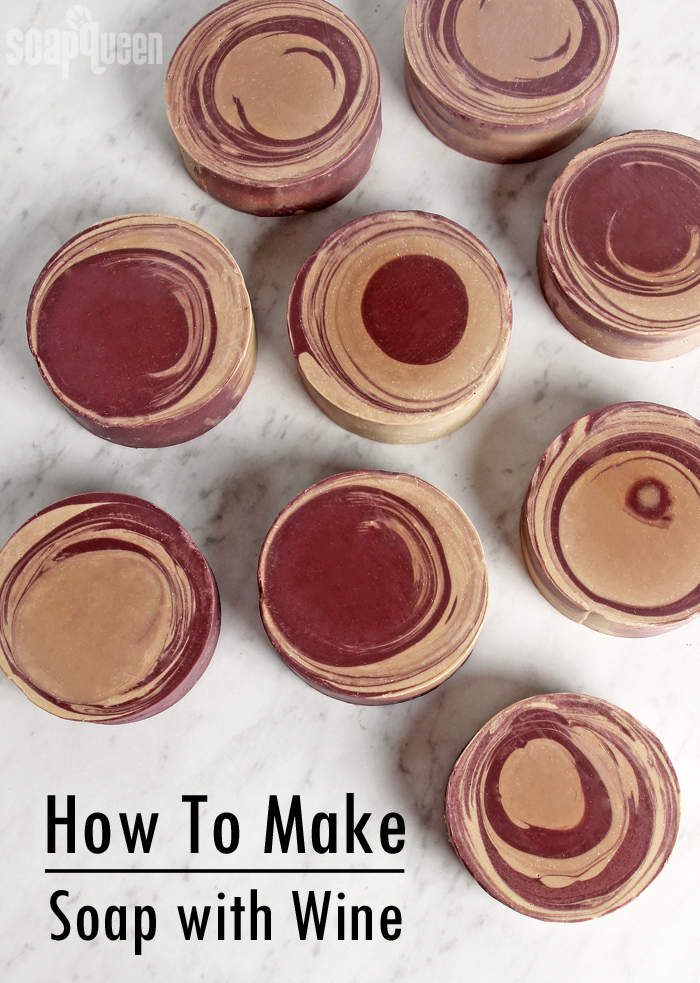
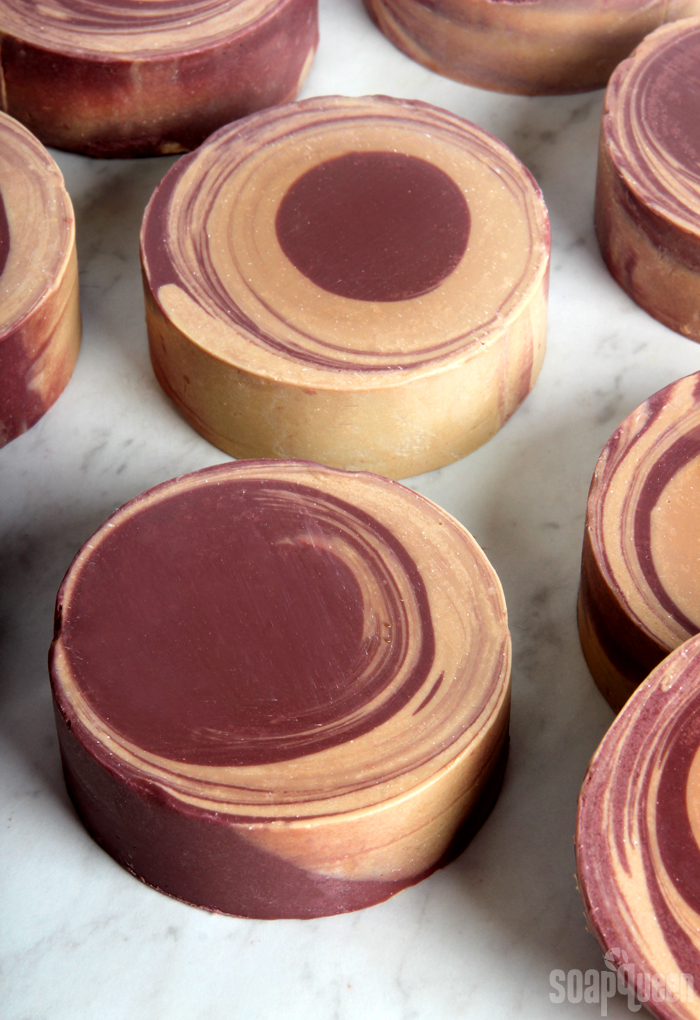
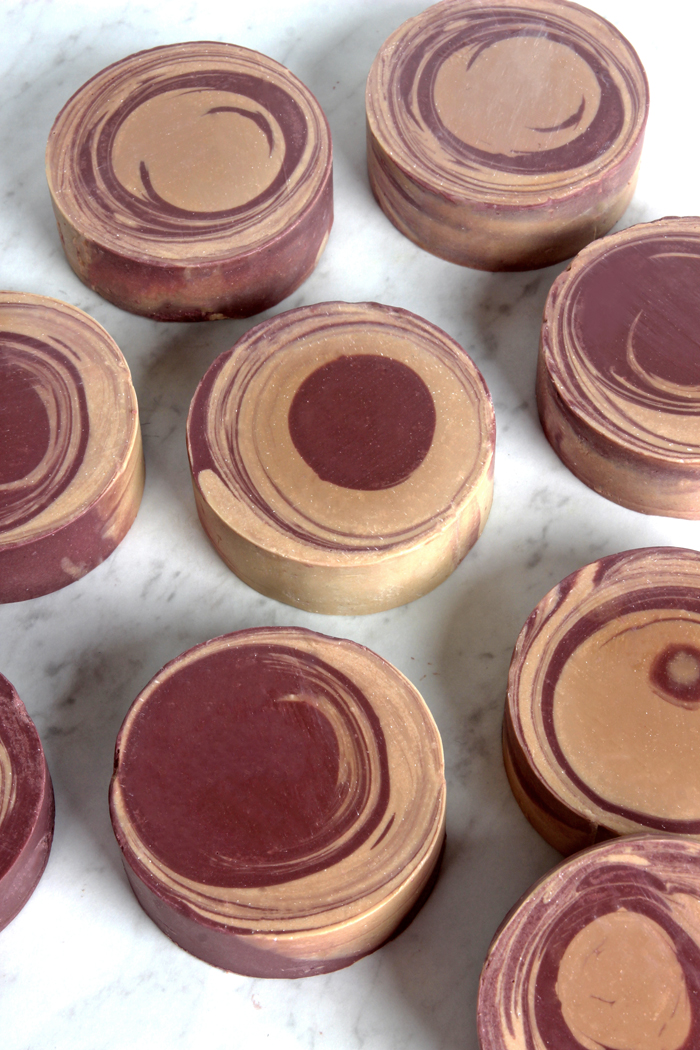
The red wine gives the soap batter a dark tan color. Titanium dioxide combats this a bit, creating a creamier color. A combination of Queen’s Purple Mica and Merlot Sparkle Mica create a rich burgundy-wine color. Berrywine Fragrance Oil gives the soap a realistic and slightly fruity scent. Berrywine Fragrance Oil does not smell great out of the bottle, but it smells good in soap – promise!
 Using a local wine is a great way to highlight local ingredients and show off your hometown pride!
What You’ll Need:
Silicone Column Mold
25 oz. Swirl Quick Mix
7.4 oz. Prepped Wine (10% water discount)
3.5 oz. Sodium Hydroxide Lye
1.5 oz. Berrywine Fragrance Oil
Titanium Dioxide
Queen’s Purple Mica
Merlot Sparkle Mica

Click here to add everything you need for this project to your Bramble Berry shopping cart!
If you've never made Cold Process soap before, stop here! I highly recommend checking out our FREE four part SoapQueen.tv series on Cold Process Soapmaking, especially the episode on lye safety. And if you'd rather do some reading, Bramble Berry carries a wide range of books on the topic, including my newest book, Pure Soapmaking. You can also checkout the digital downloads for that instant gratification factor.
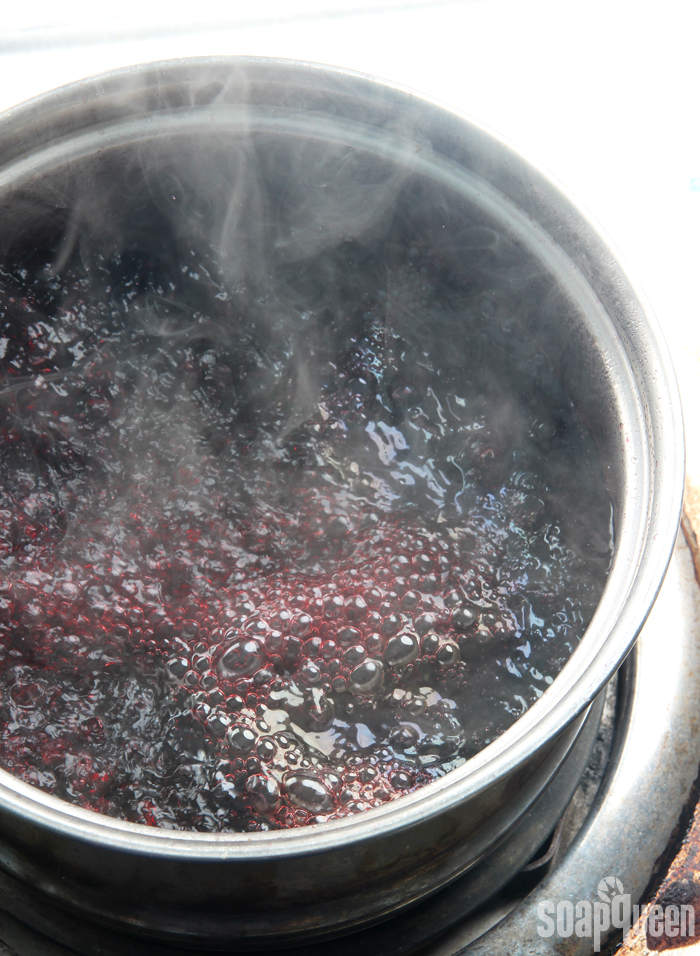
WINE PREP: The first step is to prep the wine for soaping. This should be done the day before you’d like to make soap. Alcohol and soaping don’t mix very well, so the wine needs to boiled to remove the majority of the alcohol. Add the wine to a saucepan. I would recommend adding about 1.5x-2x more than you need, because the wine boils off. For this recipe, I would recommend adding 12 ounces.
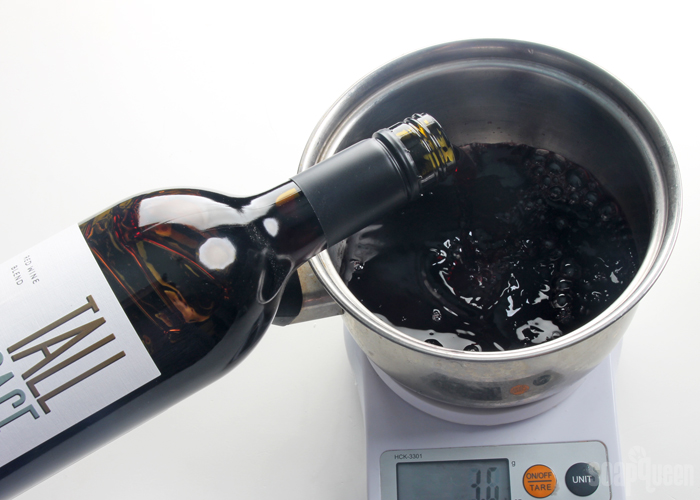
Bring the wine to a steady boil for 5-7 minutes. Do not leave the wine unattended or it could boil over. Once it has boiled, remove from the heat and weigh the amount you need in a separate container. If you have more wine than you need, save it for another batch. If you don’t have enough, don’t worry. Add distilled water to the boiled wine to make up for any amount of liquid that you’re missing.
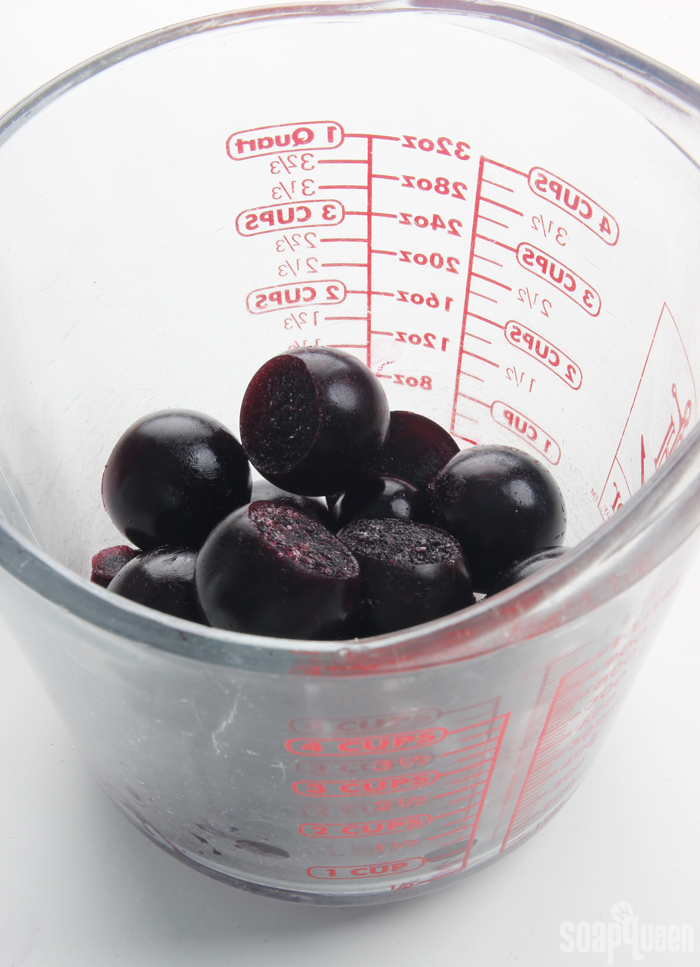
Once you have the correct amount of wine, pour it into ice cube trays (in this case we used Medium 9 Ball Silicone Molds). Place the prepped wine into the freezer and allow it to fully freeze. Once it’s frozen, place the wine ice cubes into a heat safe container suitable for mixing lye.
SAFETY FIRST: Suit up for safe handling practices! That means goggles, gloves and long sleeves. Make sure kids, pets, and other distractions and tripping hazards are out of the house or don't have access to your soaping space.
With your safety gear on, measure out the sodium hydroxide lye into a separate container. Then, add about 1/4 of the lye flakes directly to the frozen wine. Slowly, start to mix the two together.
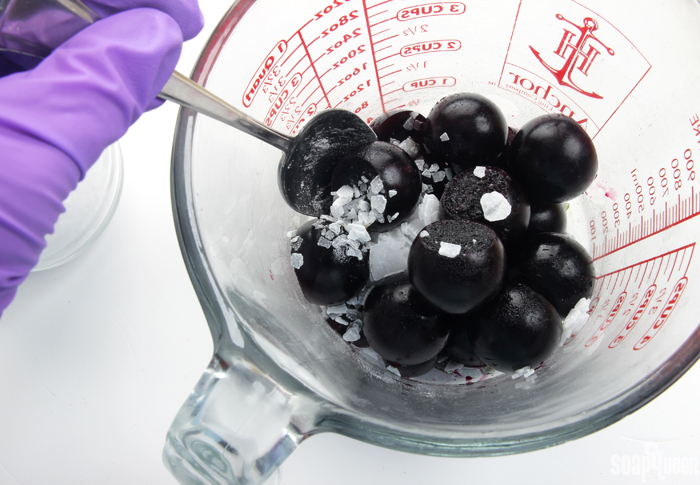
It takes a few minutes to get started, but the lye will begin to warm up the wine ice cubes and they will begin to melt. You will start to notice an unpleasant odor, and the color of the wine will change (notice the green hue in the photo below). Continue adding the lye flakes to the wine cubes. This process can take a while, so patience is key.
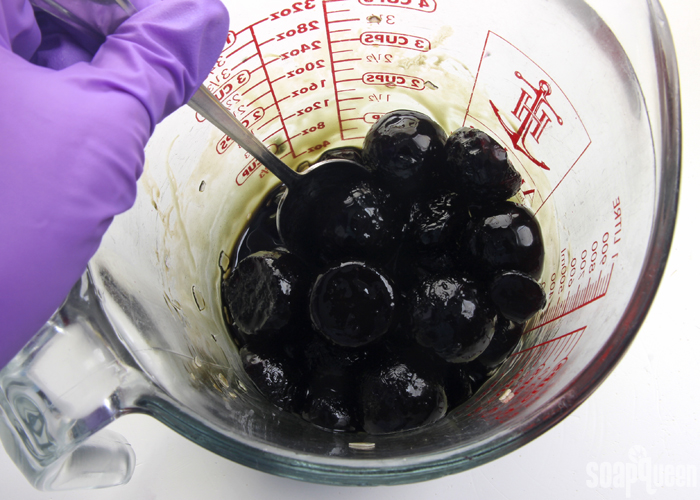
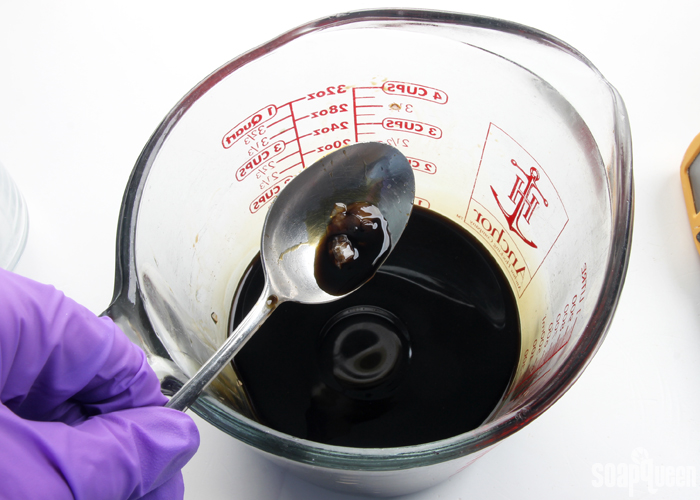
Once all the wine-ice has melted, continue to stir for several minutes. Make sure all the lye flakes have completely melted. In the photo below, all the ice is melted but there was still some lye flakes at the bottom of the mixture. Keep stirring until all the flakes are gone. This can take up to 10-15 minutes of stirring (patience is key!). To be extra safe, some soapers like to pour the lye mixture through a non-reactive mesh strainer to make sure all the flakes are gone.
Once the lye and wine are completely incorporated, we are ready to soap! Label the container of lye “DANGER: DO NOT TOUCH” and set it aside. Time to prep the other ingredients.
FRAGRANCE PREP: Measure out 1.5 oz. of Berrywine Fragrance Oil into a glass, fragrance oil safe container. Set aside.
COLOR PREP: To ensure that the Titanium Dioxide blends smoothly into the soap batter, we recommend micronizing it before dispersing it in oil. Please note this is an optional tip but it does help with the titanium dioxide clumping in the soap. To micronize colorant, simply use a coffee grinder to blend the colorant to break up any clumps of color and prevent streaks of white from showing in the final soap. We like to use a coffee grinder that has a removable, stainless steel mixing area for easy cleaning. Then, disperse 4 teaspoons of the colorant into 3 tablespoons of sunflower or sweet almond oil (or any other liquid oil). The color dispersion is slightly more concentrated to avoid adding too much extra oil. Then in separate containers, disperse 1 teaspoon Queen’s Purple Mica and 1 teaspoon Merlot Sparkle Mica into 1 tablespoon lightweight liquid oil. Use a mini mixer to help get rid of any clumps.
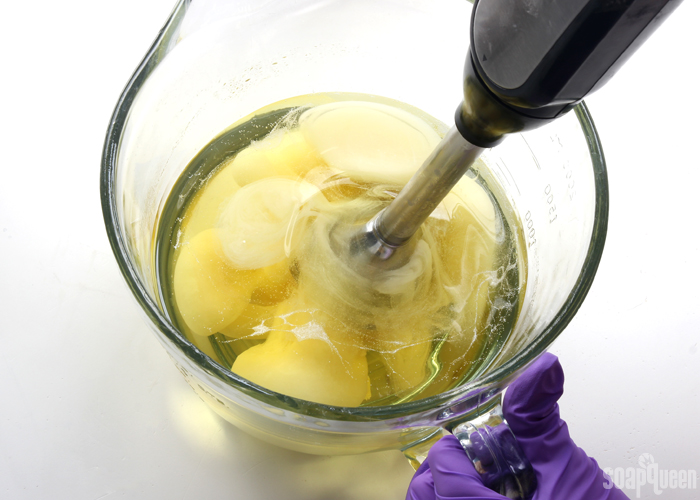
ONE: Fully melt the entire bag of Swirl Quick Mix until completely clear and there is no cloudiness. Shake the bag to mix up all the oils. Measure 25 oz. into your soaping bowl. Add 2 tablespoons of the dispersed titanium dioxide directly to the oils. Stick blend the colorant into the oils until they are completely combined. Adding the titanium dioxide to the oils helps get rid of more chunks in the colorant, and can be stick blended thoroughly without accelerating trace.
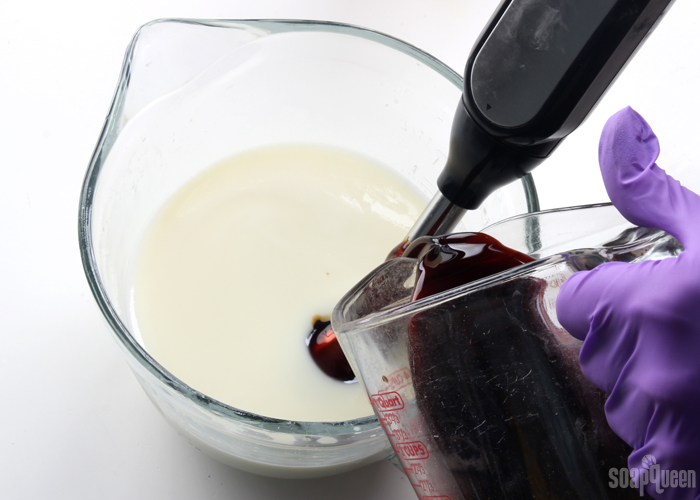
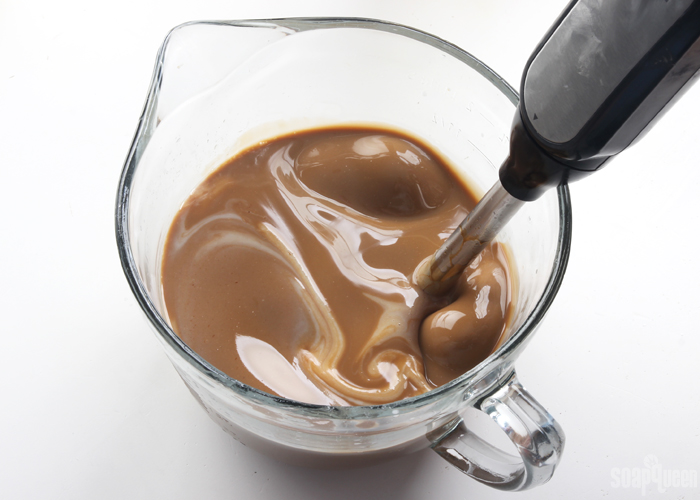
 TWO: Add the lye water to the oils and stick blend until thin trace. If you'd like a harder bar of soap that releases faster from the mold, you can add sodium lactate to the cooled lye water. Use 1 teaspoon of sodium lactate per pound of oils in the recipe. For this recipe, you'd add about 1.5 tsp. sodium lactate. Notice the color change of the soap batter!
THREE: Once you have reached a thin trace, split the batch in half. Each container should have about 500 mL of soap. To one container, add all the dispersed Merlot Sparkle Mica and all the dispersed Queen’s Purple Mica. To the other container of soap, add the remaining dispersed titanium dioxide. Use a whisk to thoroughly mix in the colorants.
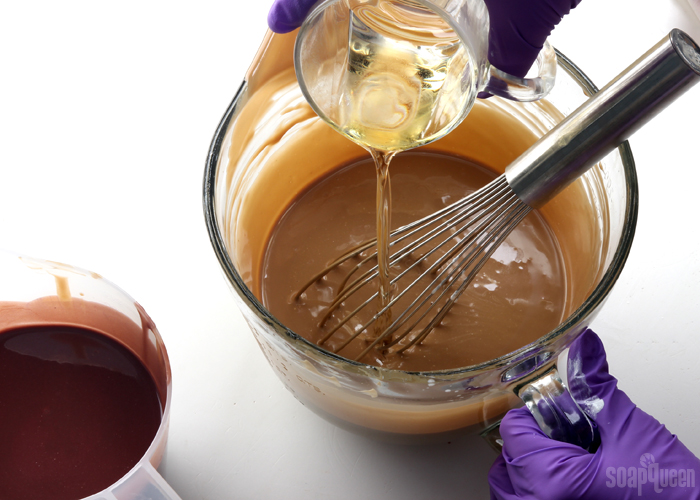
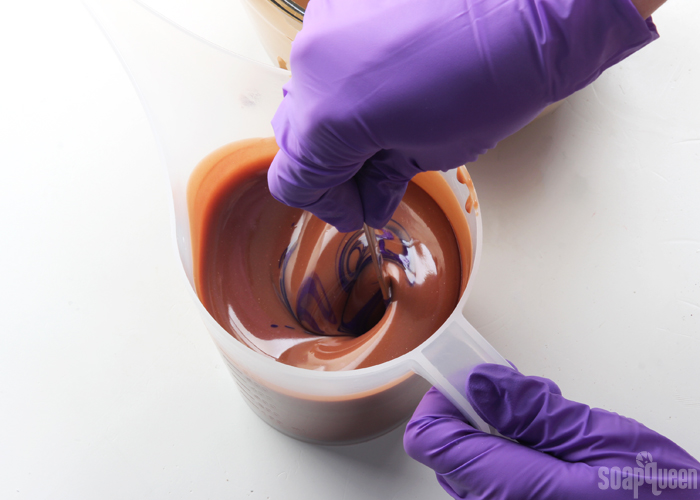 FOUR: Add half of the Berrywine Fragrance Oil to one container of soap, and the other half of the fragrance oil to the other container (it’s okay to eyeball it). Use a whisk to thoroughly mix in the fragrance oil.
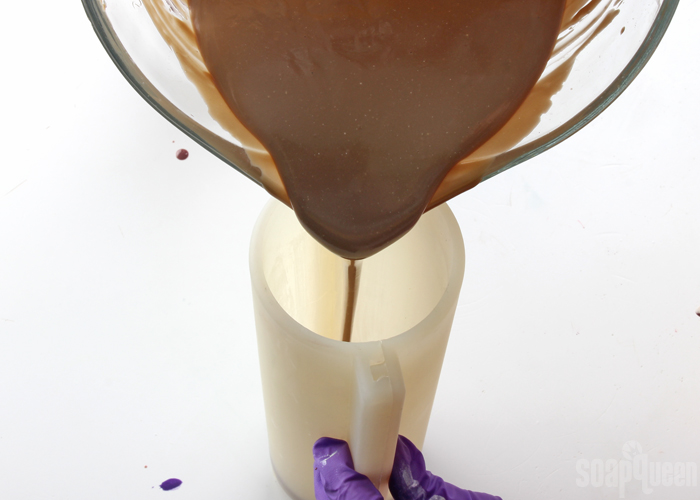
 FIVE: Pour some of tan soap into the mold, while counting to “1,2,3.” Then, pour the wine colored soap into the cream, directly in the center of the mold while counting to “1,2,3.” Counting helps keep the pours consistent. The colors should break through to the layer below.
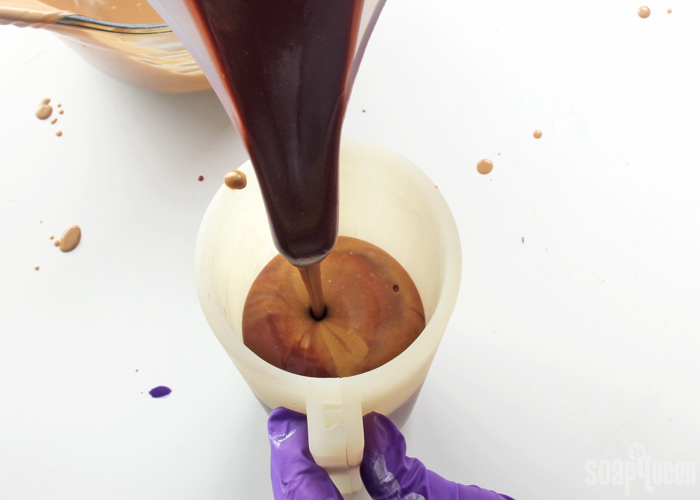
 SIX: Continue pouring each color into the mold, directly in the center. Continue pouring until the mold is completely full.
 SEVEN: While firmly holding on to the seals on the sides of the mold, very lightly tap the mold on the counter. Don’t tap too firmly, or the seal of the mold can unlock and your soap will spill everywhere! Set the mold aside in a safe area where it will not topple over.
Because of the extra sugar in the wine, this soap does have a tendency to warm up. Our soaping area is pretty cold this time of year, so we left the soap at room temperature for 3-4 days before unmolding. If you live in a hot climate, you may want to place the soap into the fridge for the first 3-4 hours to prevent overheating. Allow the soap to stay in the mold for 3-4 days. Because of the amount of colorant/extra oil in the recipe, we found it took a little longer to unmold. Once unmolded, slice into bars and allow to cure for 4-6 weeks. Enjoy!

How to Make Soap with Wine
- Silicone Column Mold
- 25 oz. Swirl Quick Mix
- 7.4 oz. Prepped Wine (10% water discount)
- 3.5 oz. Sodium Hydroxide Lye
- 1.5 oz. Berrywine Fragrance Oil
- Titanium Dioxide
- Queen's Purple Mica
- Merlot Sparkle Mica
- Fully melt the entire bag of Swirl Quick Mix until completely clear and there is no cloudiness. Shake the bag to mix up all the oils. Measure 25 oz. into your soaping bowl. Add 2 tablespoons of the dispersed titanium dioxide and add it directly to the oils. Stick blend the colorant into the oils until they are completely combined. Adding the titanium dioxide to the oils helps get rid of more chunks in the colorant, and can be stick blended thoroughly without accelerating trace.
- Add the lye water to the oils and stick blend until thin trace. If you'd like a harder bar of soap that releases faster from the mold, you can add sodium lactate to the cooled lye water. Use 1 teaspoon of sodium lactate per pound of oils in the recipe. For this recipe, you'd add about 1.5 tsp. sodium lactate. Notice the color change of the soap batter!
- Once you have reached a thin trace, split the batch in half. Each container should have about 500 mL of soap. To one container, add all the dispersed Merlot Sparkle Mica and all the dispersed Queen's Purple Mica. To the other container of soap, add the remaining dispersed titanium dioxide. Use a whisk to thoroughly mix in the colorants.
- Add half of the Berrywine Fragrance Oil to one container of soap, and the other half of the fragrance oil to the other container (it's okay to eyeball it). Use a whisk to thoroughly mix in the fragrance oil.
- Pour some of tan soap into the mold, while counting to "1,2,3." Then, pour the wine colored soap into the cream, directly in the center of the mold while counting to "1,2,3." Counting helps keep the pours consistent. The colors should break through to the layer below.
- Continue pouring each color into the mold, directly in the center. Continue pouring until the mold is completely full.
- While firmly holding on to the seals on the sides of the mold, very lightly tap the mold on the counter. Don't tap too firmly, or the seal of the mold can unlock and your soap will spill everywhere! Set the mold aside in a safe area where it will not topple over. Because of the extra sugar in the wine, this soap does have a tendency to warm up. Our soaping area is pretty cold this time of year, so we left the soap at room temperature for 3-4 days before unmolding. If you live in a hot climate, you may want to place the soap into the fridge for the first 3-4 hours to prevent overheating. Allow the soap to stay in the mold for 3-4 days. Because of the amount of colorant/extra oil in the recipe, we found it took a little longer to unmold. Once unmolded, slice into bars and allow to cure for 4-6 weeks. Enjoy!
3.3.3077
The post How to Make Soap with Wine appeared first on Soap Queen.


Keine Kommentare:
Kommentar veröffentlichen