If you make cold process soap, there's a good chance you've gotten soda ash. It creates an uneven, white, ashy film on the bars. Soda ash is harmless, but it can be frustrating. Learn how to prevent it in this post.
Soda ash forms when unsaponified lye reacts with naturally-occurring carbon dioxide in the air. It doesn't affect the final bars and the soap is safe to use. However, it can obscure more intricate designs. It typically shows up on top of soap, but in some cases it can run all the way through. Soda ash can also make the soap feel crumbly. It usually forms within 1-3 days.
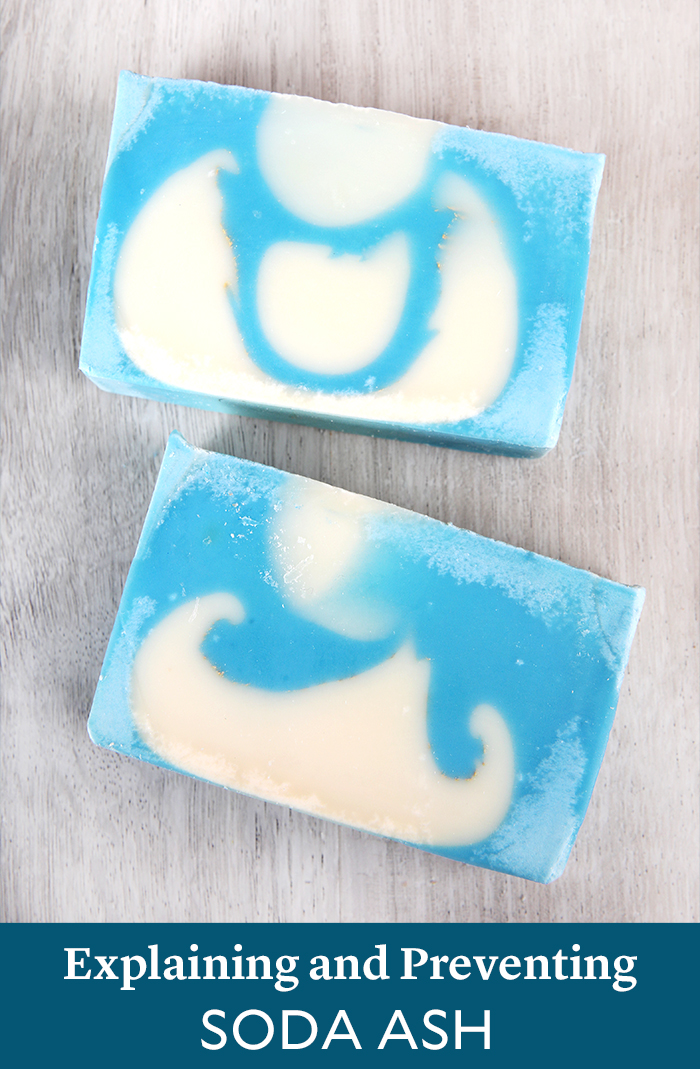
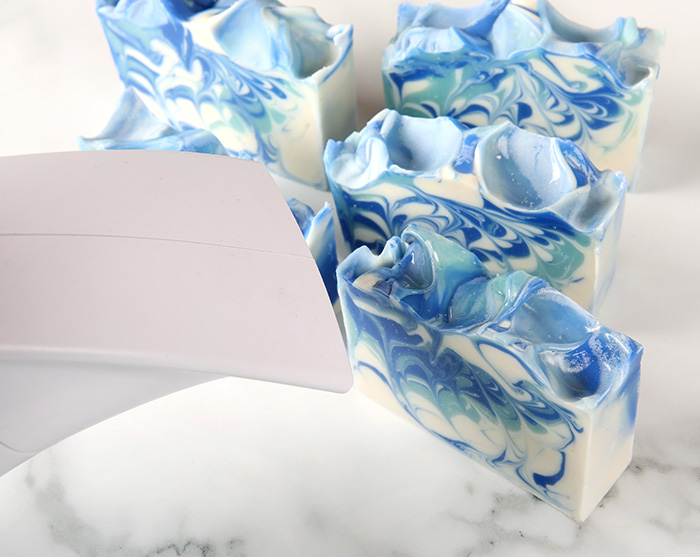
This is an example of deep soda ash – notice the crumbly texture.
How to prevent it
Soda ash most often forms with lower temperatures and when the soap is poured at thin trace. You may notice it more with swirl designs that require thin soap.
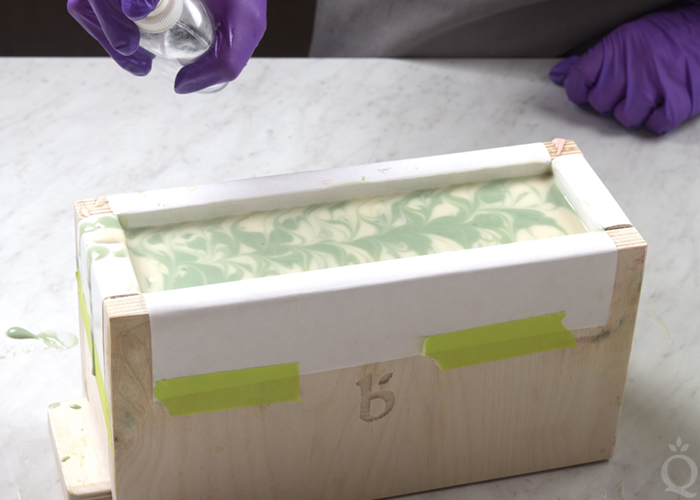
To help prevent it, make sure your lye and oils are 100°F or higher. We like to soap around 115-120°F. Then, pour the soap when it's closer to medium trace. Spray the top with 99% isopropyl alcohol right away, then again in 10-15 minutes. That helps create a protective barrier.
Finally, cover the soap with a piece of cardboard and a then towel or blanket. That keeps the soap warm and forces gel phase. If your house is cold, you may also want to place the mold on a heating pad set to medium for 30-60 minutes. Then, turn the heating pad off and leave the soap on it for 24 hours. Learn more about how to insulate soap here.
If your design requires a thin trace or if the steps above aren't working, there are other options. A water discount really helps. Not only does it prevent soda ash and glycerin rivers, but it helps the soap unmold and cure more quickly. A 5-10% water discount is a good place to start. You can also try reducing the superfat to 2-4%.
Adding 0.5% melted beeswax at thin trace is another option. It creates a barrier between the unsaponified lye and the air. It also helps harden the bars and gives them a slightly shiny appearance. Keep in mind, working with beeswax is an advanced technique. The lye and oils need to be around 160°F to keep the beeswax melted, and it will speed up trace.
How to clean it
Even with preventative measures, soda ash can still form. You can clean it off with the following methods.
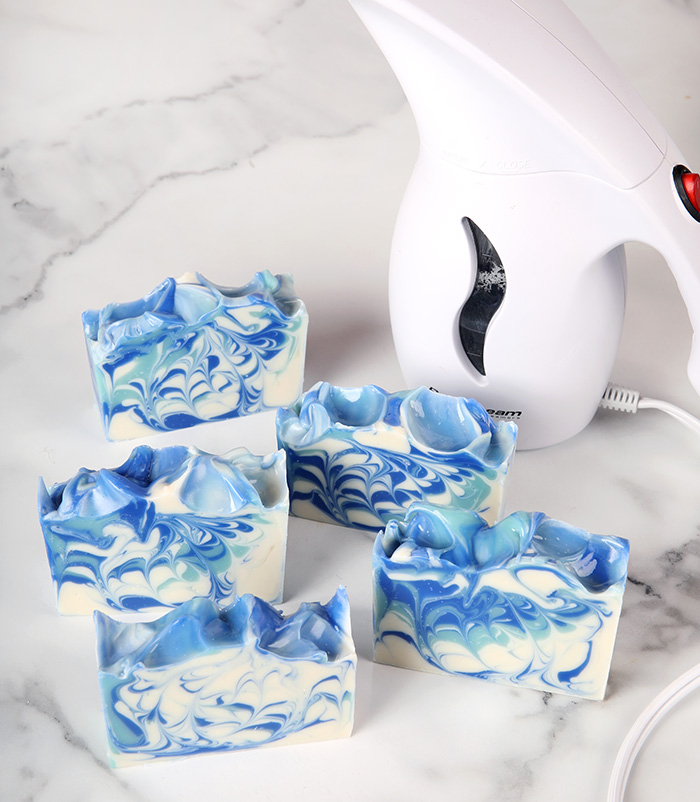
If you make a lot of soap, we recommend investing in a handheld steamer. It gets rid of the soda ash quickly. Hold the steamer about 1-5 inches above each bar of soap for 20-30 seconds. Once the bars are dry, they will be clean and shiny. This method works best for a light layer of soda ash on top of bars.
You can also give the bars a cold water wash. Make sure you’re wearing gloves so you don't leave fingerprints on the bars. Run the soap under cold water and scrub the areas that have soda ash with a paper towel. Once it's gone, rinse off any lather and let the bar dry.
Another method is scrubbing the bars with old nylons. Once you can't wear them anymore, cut the foot off and use it the same way as the paper towel. You can reuse the nylon – just rinse it off and hang to dry in between uses.
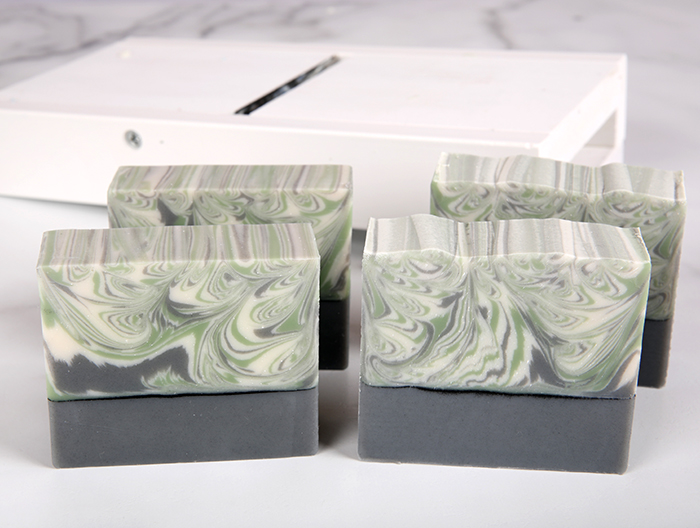
You can also use a Soap Shaver to remove the top layer of soda ash. In the photo below, the bars on the left have been run over the shaver. Not only did it remove soda ash, but it created a nice even top as well.
This post was updated in November 2018.
The post Explaining and Preventing Soda Ash appeared first on Soap Queen.

Keine Kommentare:
Kommentar veröffentlichen