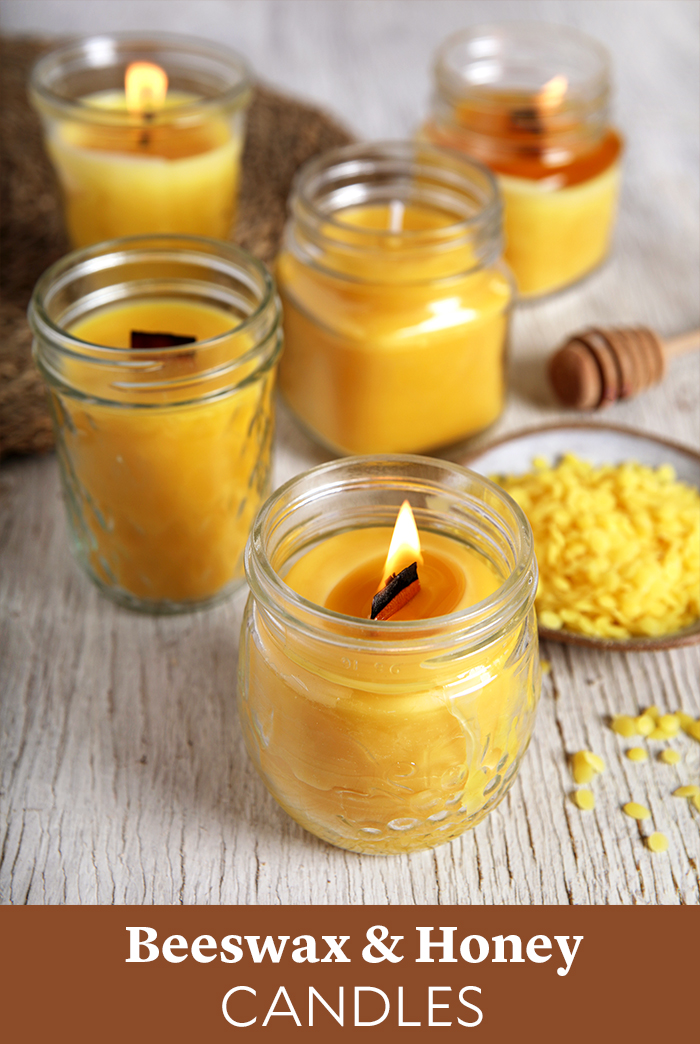
 You can use almost any small glass container to make these Beeswax & Honey Candles. That includes food jars, Mason jars, or empty candle containers. Just save any that look like the perfect size and give them a thorough wash. It’s a great way to reuse glass containers and candles are a perfect gift.
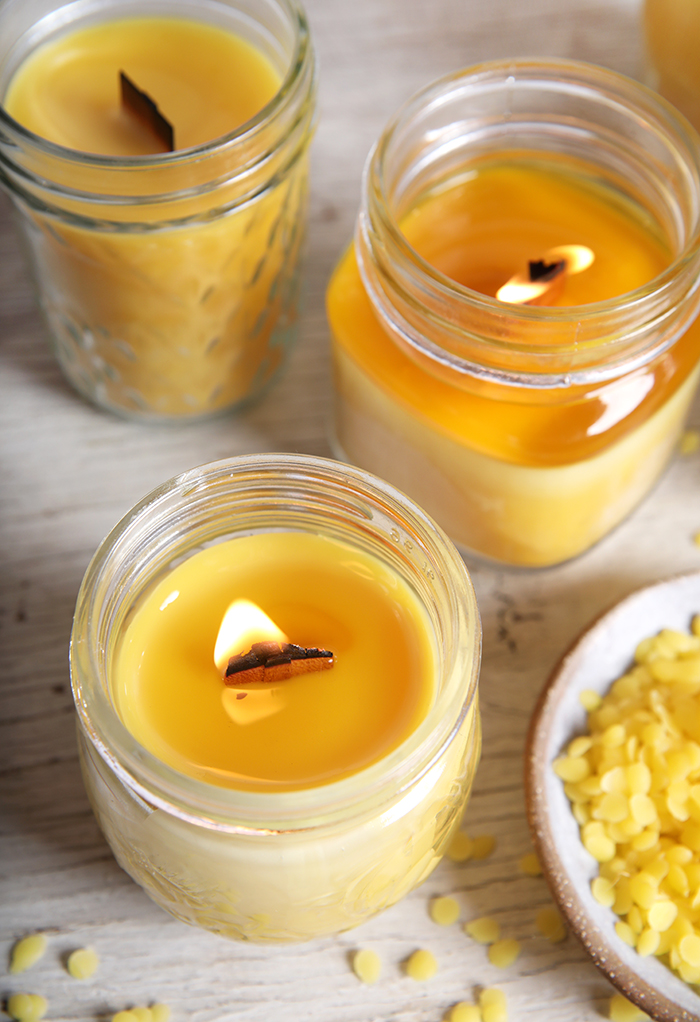
All you need from there is beeswax, wicks, and Pure Honey Fragrance Oil. The notes of honey, rose, and peach tea are the perfect complement to the natural smoky smell of beeswax. The wood wicks give the candles a rustic look and a comforting crackling sound as they burn.
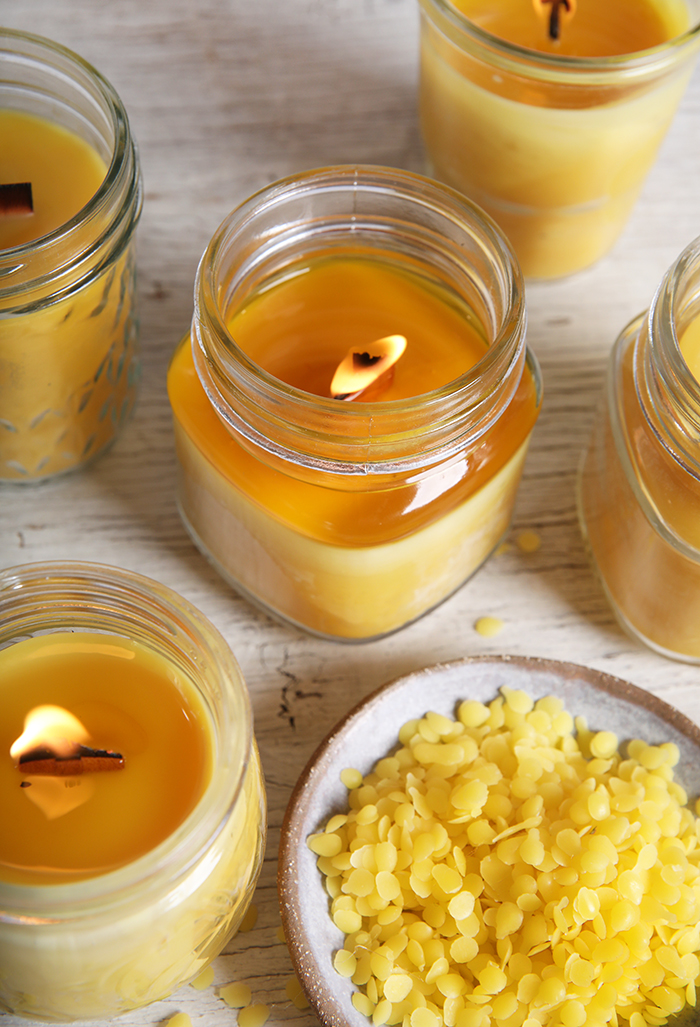
Beeswax is a hard, dense wax that has a high melting point. It needs a large flame to create an even burn pool. We recommend making these candles in containers that have a diameter of about 3″ or less. In our tests, the wide wood wicks worked well for containers with a diameter of about 2.5″ and smaller. Other large wicks, like the Wu-250 Brown Cotton Candle Wicks or the Cd-20 Wicks, also work well.
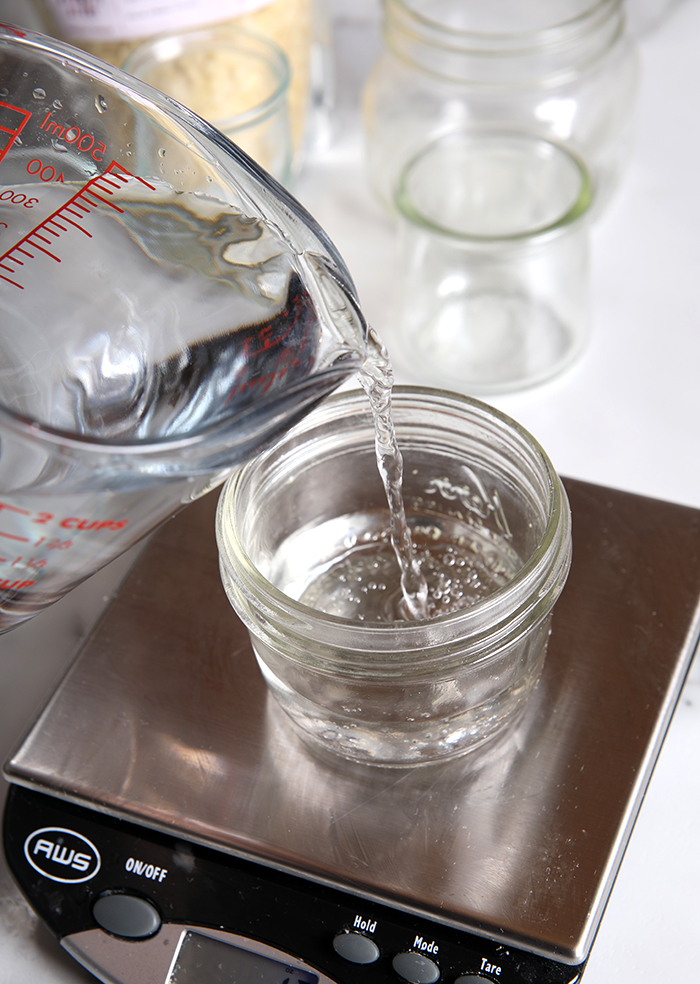
The amount of beeswax and fragrance you need for this project will depend on the size and quantity of your containers. To estimate how much wax you need, put your containers on a scale and fill them with water. Add up the total weight of the water – that will give you a rough estimate of how much wax to melt. Then, use the Fragrance Calculator to find out how much scent to use. We recommend using the strong recommendation so the scent fills the room.

The hardest part of this project is probably the cleanup. Beeswax can be a pain to clean off bowls, containers, and mixing utensils. If possible, have a bowl and mixing tool that’s just for wax. If that’s not an option, the easiest way to clean bowls is while the wax is still warm – wipe off as much as possible with a paper towel before washing it with very hot water and strong dish soap.
NOTE: You can melt beeswax a few different ways – we recommend using a double boiler. It’s possible to melt it in the microwave, but because beeswax has a high melting point it takes a long time to melt. The container needs to be very heat resistant so it won’t break.
PREPARE WICKS: Insert the wood wicks into the metal clip. Place the wick into the containers and cut the wick to the length necessary for each container. If you’re using a traditional wick, cut the wicks to the length necessary for each container.
ONE: Set up your double boiler and bring the water to boil. Place the smaller container over the water.
TWO: Weigh how much beeswax you need to fill your containers. To estimate how much wax you need, put your containers on a scale and fill them with water. Add up the total weight of the water – that will give you a rough estimate of how much wax to melt.
 THREE: Melt the wax slowly. Don’t allow it to exceed about 170° F, or it can start to lose its aroma.
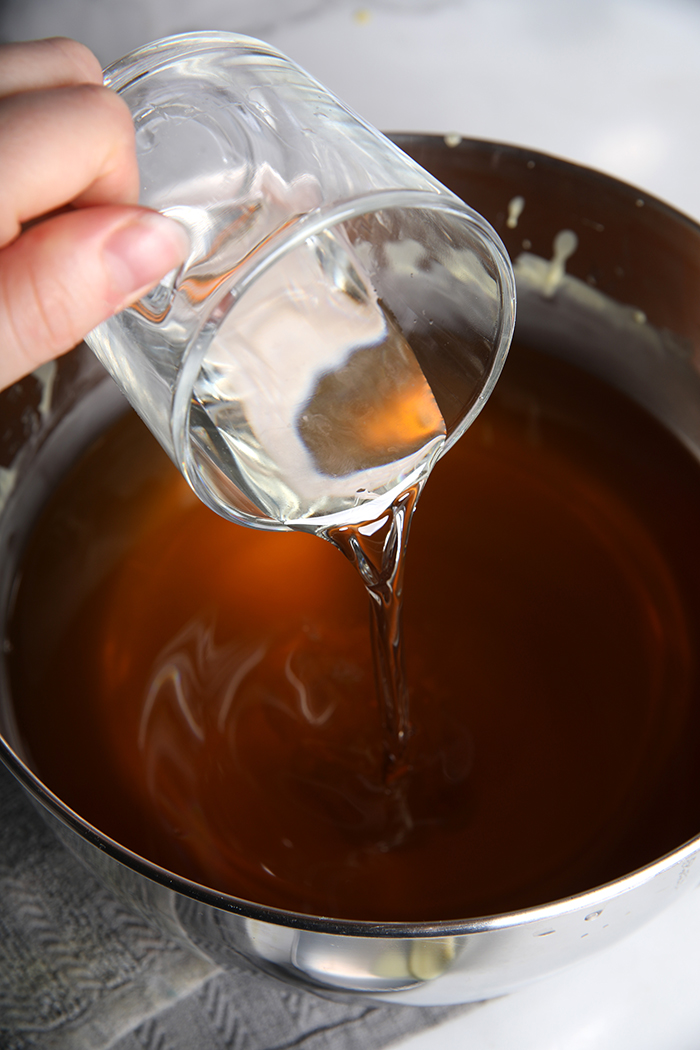
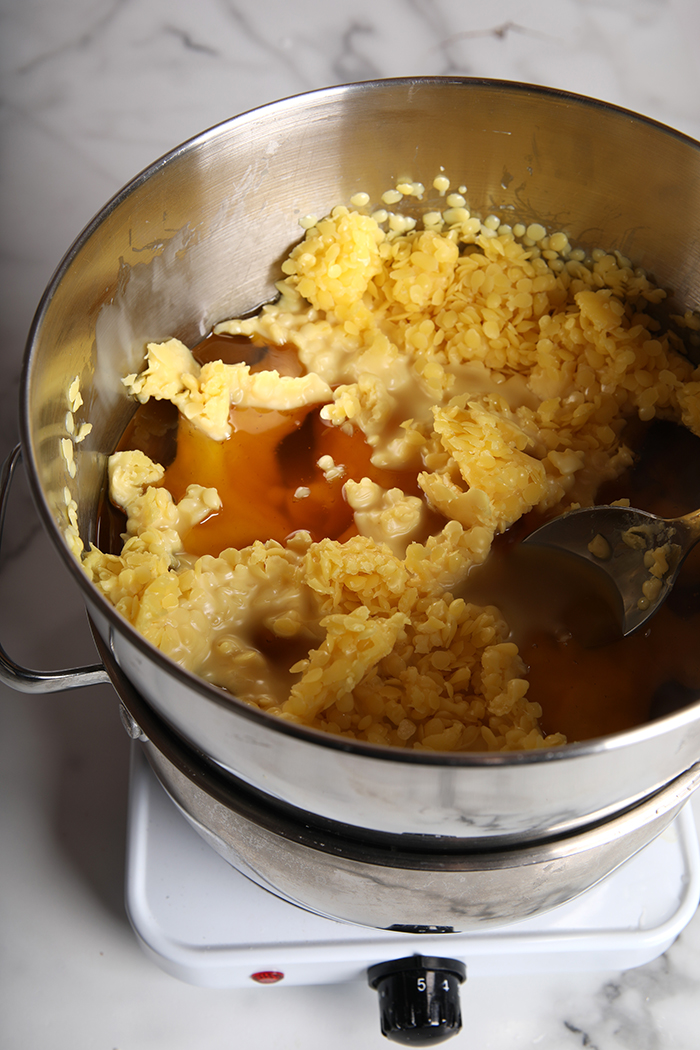 FOUR: Once the wax is completely melted, turn off the double boiler and remove the smaller container of wax. Add the Pure Honey Fragrance Oil and stir in thoroughly.
NOTE: Pure Honey Fragrance Oil has a flashpoint of 200° F+. In general, it’s recommended that fragrance is poured into wax that has cooled below the flashpoint of the fragrance oil. We poured in the fragrance when the wax was around 150° F.
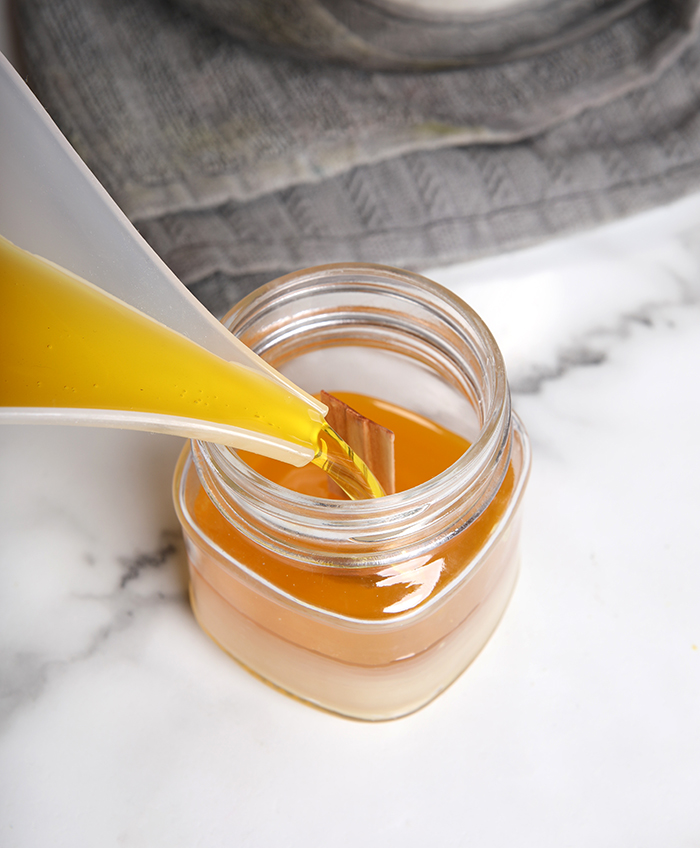
 FIVE: Carefully pour the wax into each container. We transferred it to an Easy Pour Mixing and Measuring Container to help.
TIP: Pouring the wax into the container with the wick already placed in the candle helps ensure you don’t pour too much and cover the top of the wick. Once the wax is poured, the wick can be moved and centered.
 SIX: Allow the candles to fully cool and harden. If there are a few air bubbles or imperfections on the top of your candle, use a heat gun to carefully melt the top layer and allow it to cool again.
NOTE: We found the wood wicks eventually begin to burn slightly with a lot of high heat from the gun.
 SEVEN: Allow the candles to fully cool and harden. Light the wick and enjoy!
Beeswax & Honey Candles
Author: Bramble Berry
Recipe type: Candles
- Beeswax & Honey Candles
- November 27, 2018 Filed Under: Home Crafts Leave a Comment (Edit)
- Difficulty: beginnerTime: About 1 hour
- Beeswax and Honey Candles
- You can use almost any small glass container to make these Beeswax & Honey Candles. That includes food jars, Mason jars, or empty candle containers. Just save any that look like the perfect size and give them a thorough wash. It's a great way to reuse glass containers and candles are a perfect gift.
- All you need from there is beeswax, wicks, and Pure Honey Fragrance Oil. The notes of honey, rose, and peach tea are the perfect complement to the natural smoky smell of beeswax. The wood wicks give the candles a rustic look and a comforting crackling sound as they burn.
- BeeswaxCandles4_700px
- Beeswax is a hard, dense wax that has a high melting point. It needs a large flame to create an even burn pool. We recommend making these candles in containers that have a diameter of about 3″ or less. In our tests, the wide wood wicks worked well for containers with a diameter of about 2.5″ and smaller. Other large wicks, like the Wu-250 Brown Cotton Candle Wicks or the Cd-20 Wicks, also work well.
- The amount of beeswax and fragrance you need for this project will depend on the size and quantity of your containers. To estimate how much wax you need, put your containers on a scale and fill them with water. Add up the total weight of the water – that will give you a rough estimate of how much wax to melt. Then, use the Fragrance Calculator to find out how much scent to use. We recommend using the strong recommendation.
- BeeswaxCandles1_700px
- The hardest part of this project is probably the cleanup. Beeswax can be a pain to clean off bowls, containers, and mixing utensils. If possible, have a bowl and mixing tool that's just for wax. If that's not an option, the easiest way to clean bowls is while the wax is still warm – wipe off as much as possible with a paper towel before washing it with very hot water and strong dish soap.
- Beeswax & Honey Candles
- What You Need:
- Small Glass Containers
- Yellow Beeswax
- Pure Honey Fragrance Oil
- Wide Wooden Wicks
- NOTE: Other large wicks like the Wu-250 Brown Cotton Candle Wicks or Cd-20 Wicks work as well
- Set up your double boiler and bring the water to boil. Place the smaller container over the water.
- Weigh how much beeswax you need to fill your containers. To estimate how much wax you need, put your containers on a scale and fill them with water. Add up the total weight of the water – that will give you a rough estimate of how much wax to melt.
- Melt the wax slowly. Don't allow it to exceed about 170° F, or it can start to lose its aroma.
- Once the wax is completely melted, turn off the double boiler and remove the smaller container of wax. Add the Pure Honey Fragrance Oil and stir in thoroughly. NOTE: Pure Honey Fragrance Oil has a flashpoint of 200° F+. In general, it's recommended that fragrance is poured into wax that has cooled below the flashpoint of the fragrance oil. We poured in the fragrance when the wax was around 150° F.
- Carefully pour the wax into each container. We transferred it to an Easy Pour Mixing and Measuring Container to help. TIP: Pouring the wax into the container with the wick already placed in the candle helps ensure you don't pour too much and cover the top of the wick. Once the wax is poured, the wick can be moved and centered.
- Allow the candles to fully cool and harden. If there are a few air bubbles or imperfections on the top of your candle, use a heat gun to carefully melt the top layer and allow it to cool again. NOTE: We found the wood wicks eventually begin to burn slightly with a lot of high heat from the gun.
- Allow the candles to fully cool and harden. Light the wick and enjoy!
3.3.3077
The post Beeswax & Honey Candles appeared first on Soap Queen.


Keine Kommentare:
Kommentar veröffentlichen