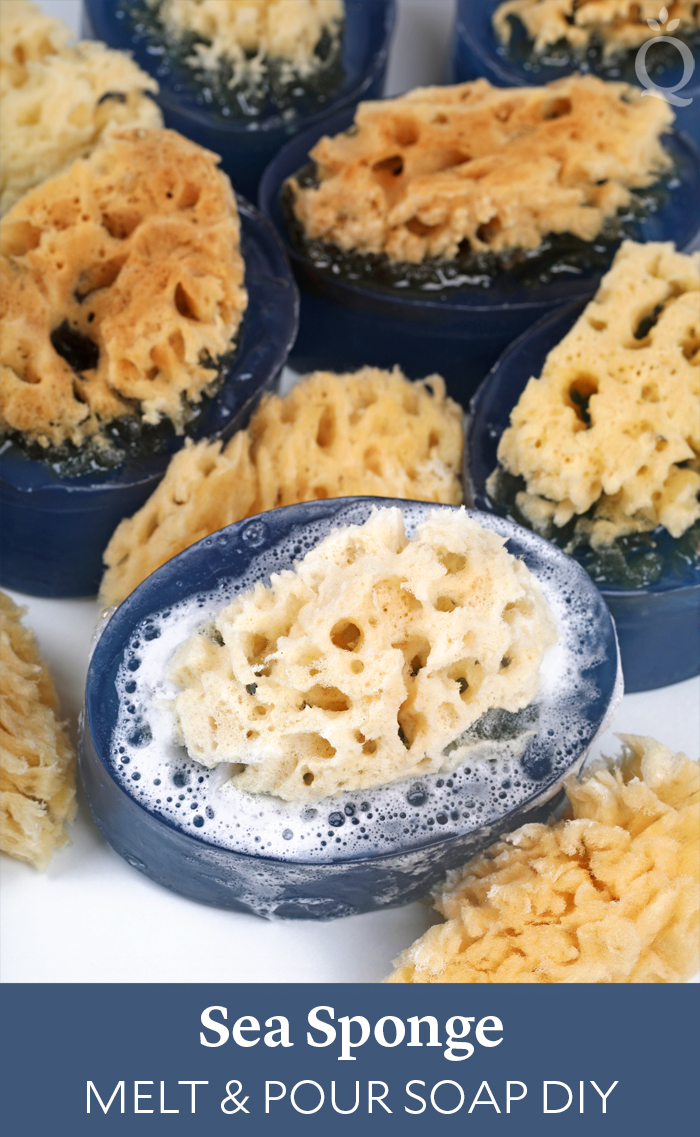
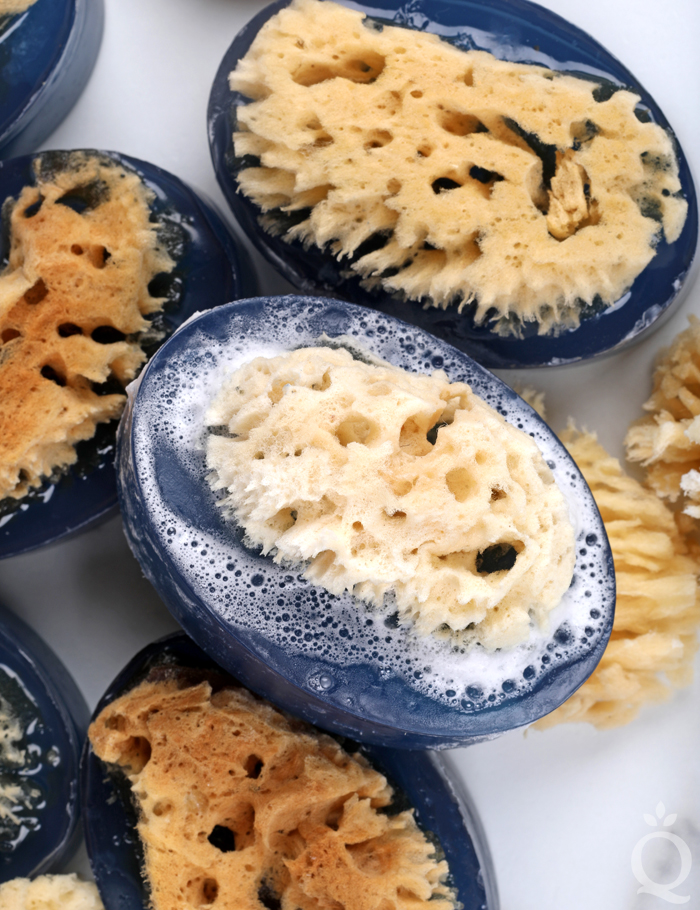
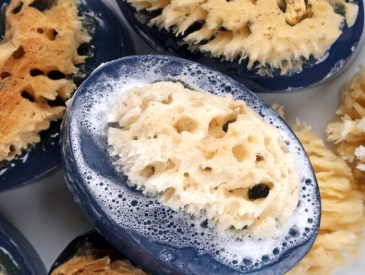
This melt and pour soap is easy to make and brings a bit of the sea into your home. The wool sea sponges are quite soft and help promote a dense lather. The deep color comes from jagua blue extract, a natural colorant.
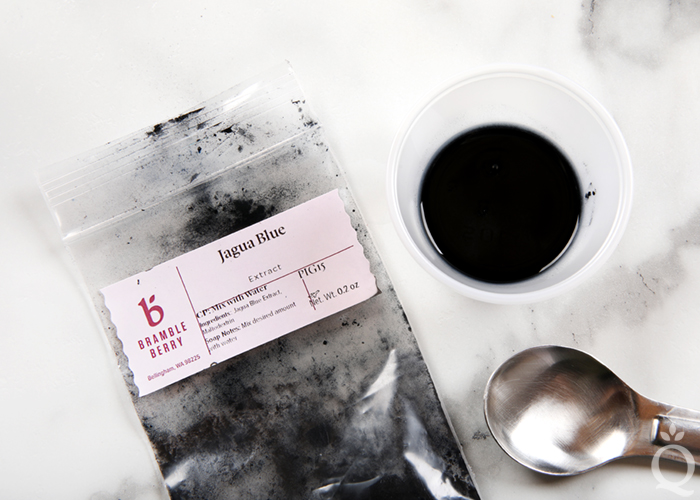
Jagua blue extract is a unique ingredient. It comes from the Genipa americana tree, which is native to tropical forests in North and South America. It’s very pigmented and a little goes a long way. To use in melt and pour, we like to mix it with 99% isopropyl alcohol to get rid of clumps and then add that directly to the melted soap.
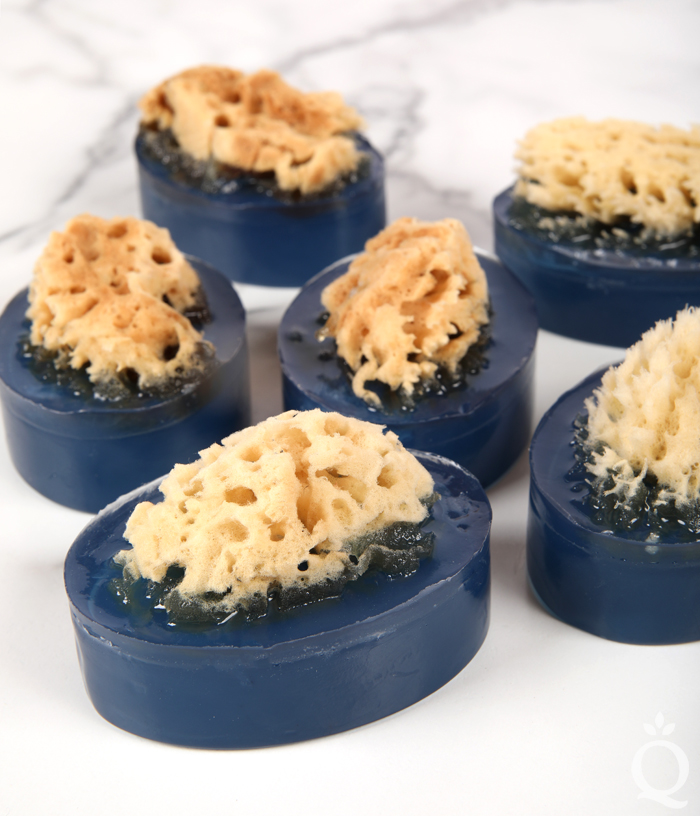
These soaps are scented with Midnight Waters Fragrance Oil. It’s a deep and complex scent with notes of bergamot, deep sea water, and patchouli. It does discolor to a light tan, so this recipe uses Vanilla Color Stabilizer. Midnight Waters Fragrance Oil, jagua blue extract, and sea sponges are part of the new Seascape Collection – explore all the products here.
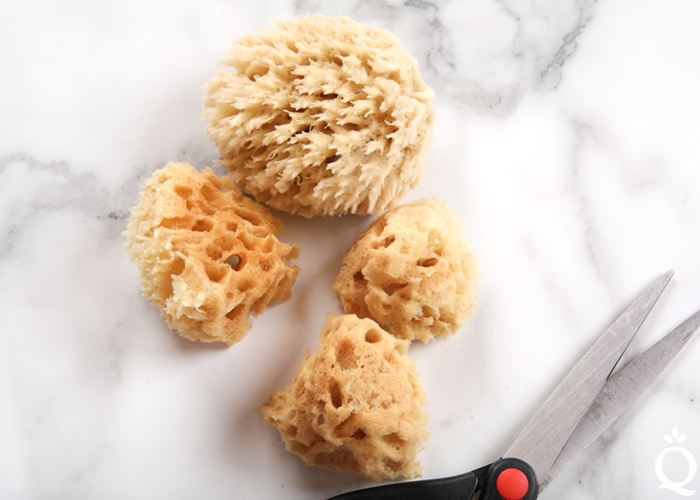
SEA SPONGE PREP: Cut the wool sea sponges into about 3-4 pieces. We cut them into 3 pieces, but you can make them smaller or larger if you want.
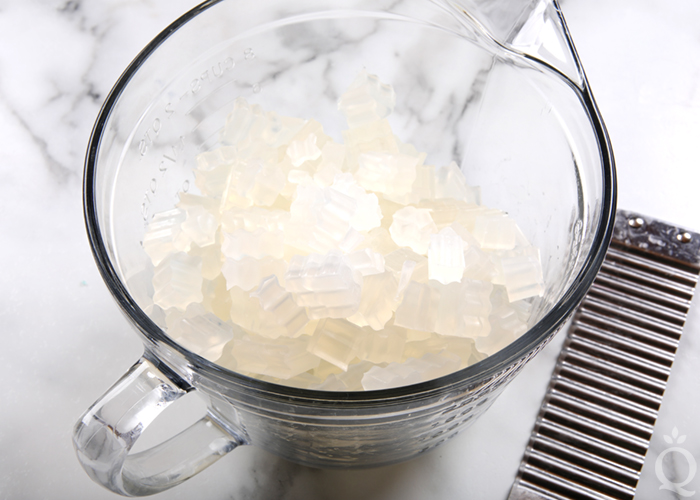
ONE: Chop 29 ounces of Clear Melt and Pour Soap Base into small, uniform cubes. Place them into a heat-safe container and melt in the microwave using 30-60 second bursts. Stir between each burst.
 TWO: While the soap is melting, mix together 1/16th teaspoon of jagua blue extract and 2 teaspoons of 99% isopropyl alcohol. Mixing the jagua blue extract with alcohol helps prevent clumps.
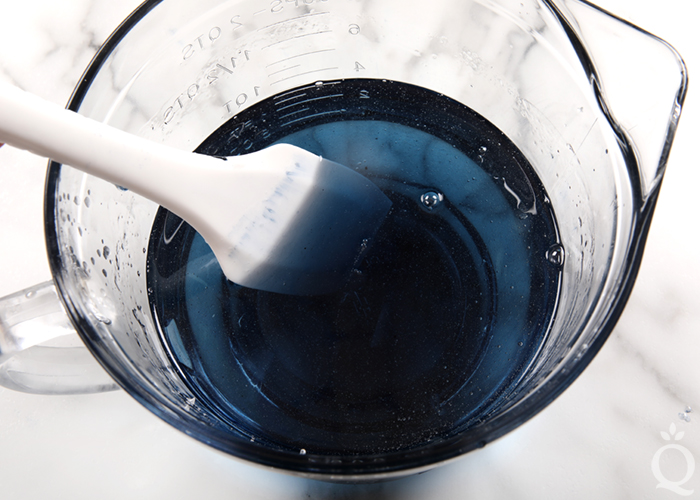
 THREE: Once the soap is melted, pour all of the dispersed jagua blue extract into the soap and stir until completely incorporated.
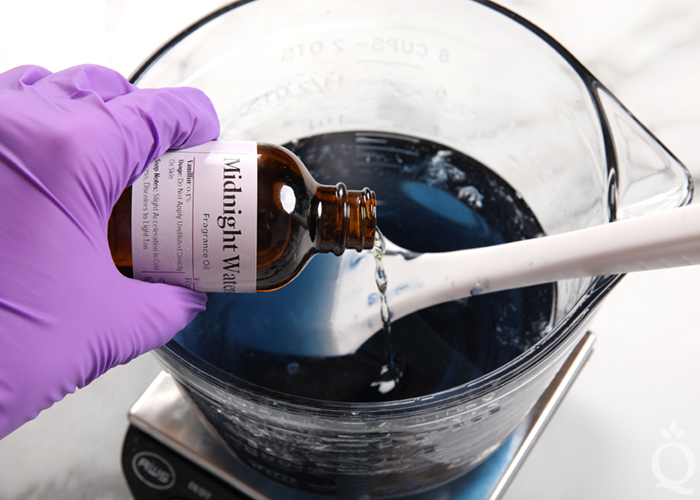
 FOUR: Add 0.6 ounces of Midnight Waters Fragrance Oil and 0.6 ounces of Vanilla Color Stabilizer. Mix together.
 FIVE: Fill each cavity of the mold about 80% full. Spritz the top with alcohol to help get rid of bubbles. Allow this layer of soap to harden and cool for about 15-20 minutes. The soap needs to build a strong enough skin to support the sea sponge.
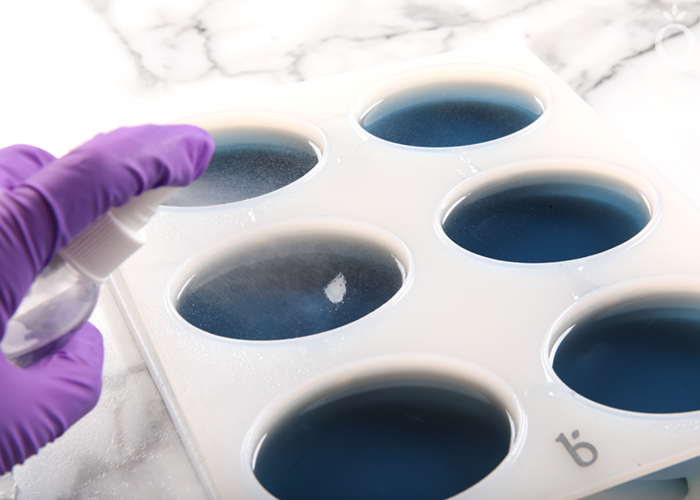
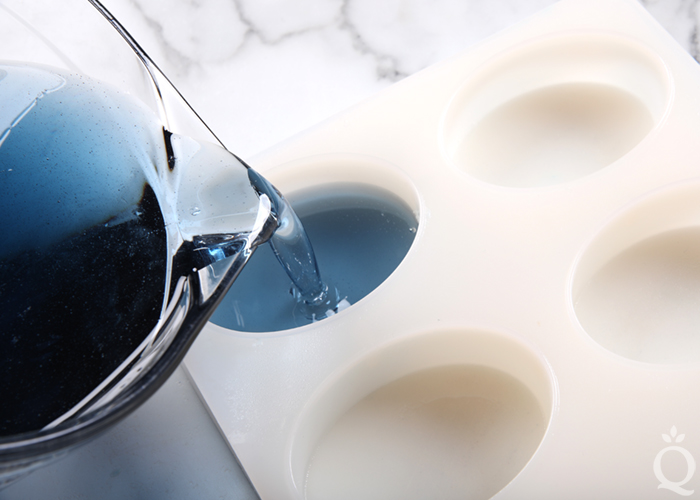 SIX: Once the soap has slightly hardened and formed a strong skin on top, reheat the remaining soap using 15 second bursts. Spritz all the cavities with 99% isopropyl alcohol to help the layers stick together.
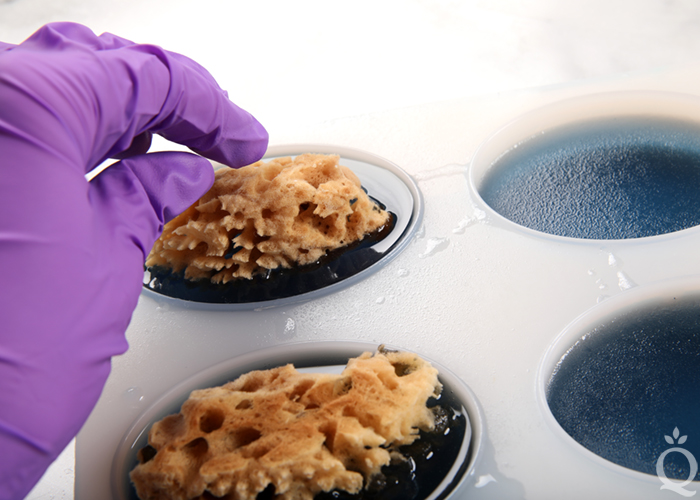
 SEVEN: Fill the cavity with melted soap. Once full, place the sea sponges into the soap. Spritz the soap with 99% isopropyl alcohol to get rid of any bubbles. Continue for each cavity.
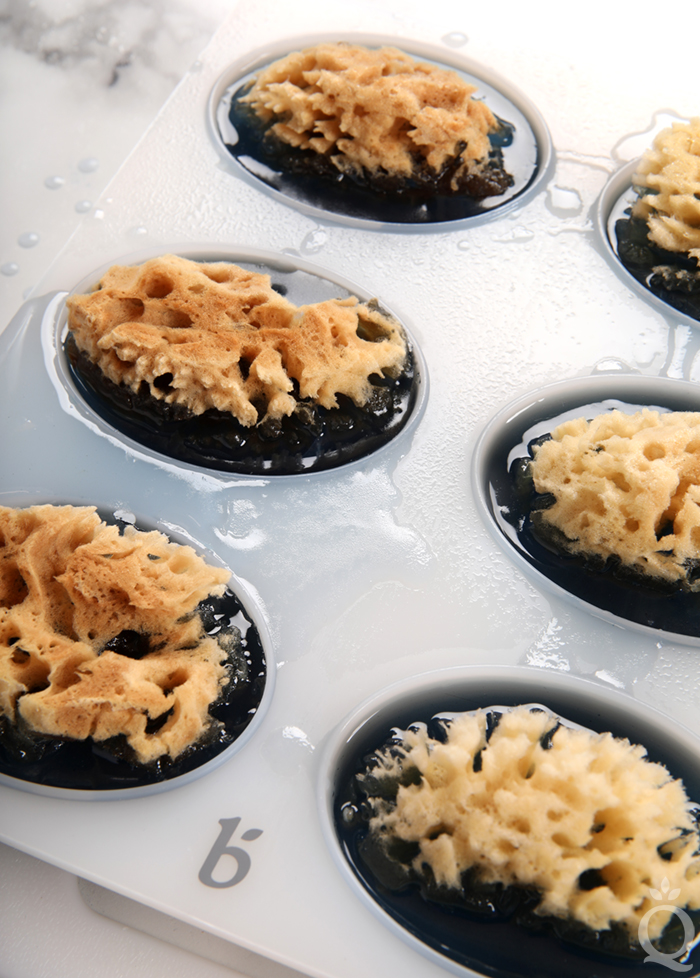
 EIGHT: Allow the soap to fully cool and harden for several hours or up to overnight. Once fully cool, remove the soap from the mold and enjoy. To prevent glycerin dew, wrap the soaps in plastic wrap and store in a cool, dry place.
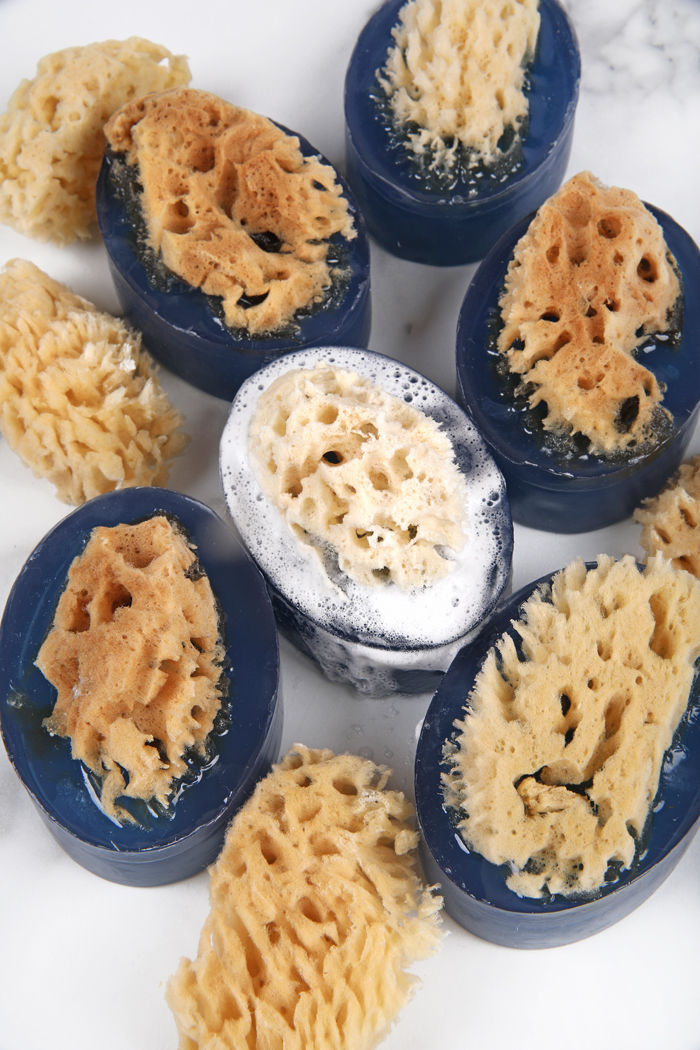
Sea Sponge Melt & Pour Soap DIY
Author: Soap Queen
Recipe type: Melt and Pour Soap
- 6 Bar Oval Silicone Mold
- 29 oz. Clear Melt & Pour Soap Base
- 2 Wool Sea Sponges
- Jagua Blue Extract
- 0.6 oz. Midnight Waters Fragrance Oil
- 0.6 oz. Vanilla Color Stabilizer
- 99% Isopropyl Alcohol in a Spray Bottle
- Chop 29 ounces of Clear Melt and Pour Soap Base into small, uniform cubes. Place them into a heat-safe container and melt in the microwave using 30-60 second bursts. Stir between each burst.
- While the soap is melting, mix together 1/16th teaspoon of jagua blue extract and 2 teaspoons of 99% isopropyl alcohol. Mixing the jagua blue extract with alcohol helps prevent clumps.
- Once the soap is melted, pour all of the dispersed jagua blue extract into the soap and stir until completely incorporated.
- Add 0.6 ounces of Midnight Waters Fragrance Oil and 0.6 ounces of Vanilla Color Stabilizer. Mix together.
- Fill each cavity of the mold about 80% full. Spritz the top with alcohol to help get rid of bubbles. Allow this layer of soap to harden and cool for about 15-20 minutes. The soap needs to build a strong enough skin to support the sea sponge.
- Once the soap has slightly hardened and formed a strong skin on top, reheat the remaining soap using 15 second bursts. Spritz all the cavities with 99% isopropyl alcohol to help the layers stick together.
- Fill the cavity with melted soap. Once full, place the sea sponges into the soap. Spritz the soap with 99% isopropyl alcohol to get rid of any bubbles. Continue for each cavity.
- Allow the soap to fully cool and harden for several hours or up to overnight. Once fully cool, remove the soap from the mold and enjoy. To prevent glycerin dew, wrap the soaps in plastic wrap and store in a cool, dry place.
3.3.3077
The post Sea Sponge Melt & Pour Soap DIY appeared first on Soap Queen.


 TWO: While the soap is melting, mix together 1/16th teaspoon of jagua blue extract and 2 teaspoons of 99% isopropyl alcohol. Mixing the jagua blue extract with alcohol helps prevent clumps.
 THREE: Once the soap is melted, pour all of the dispersed jagua blue extract into the soap and stir until completely incorporated.
 FOUR: Add 0.6 ounces of Midnight Waters Fragrance Oil and 0.6 ounces of Vanilla Color Stabilizer. Mix together.
 FIVE: Fill each cavity of the mold about 80% full. Spritz the top with alcohol to help get rid of bubbles. Allow this layer of soap to harden and cool for about 15-20 minutes. The soap needs to build a strong enough skin to support the sea sponge.
 SIX: Once the soap has slightly hardened and formed a strong skin on top, reheat the remaining soap using 15 second bursts. Spritz all the cavities with 99% isopropyl alcohol to help the layers stick together.
 SEVEN: Fill the cavity with melted soap. Once full, place the sea sponges into the soap. Spritz the soap with 99% isopropyl alcohol to get rid of any bubbles. Continue for each cavity.
 EIGHT: Allow the soap to fully cool and harden for several hours or up to overnight. Once fully cool, remove the soap from the mold and enjoy. To prevent

Keine Kommentare:
Kommentar veröffentlichen