This Swirled Rose Soap is a blend of old and new – it has a classic design and a modern scent. The subtle swirl is created with a technique known as an in-the-pot swirl. It's easy to do and every bar looks different. Once the soap is in the mold, ...

Yesterday on Soap Queen... |
|
|
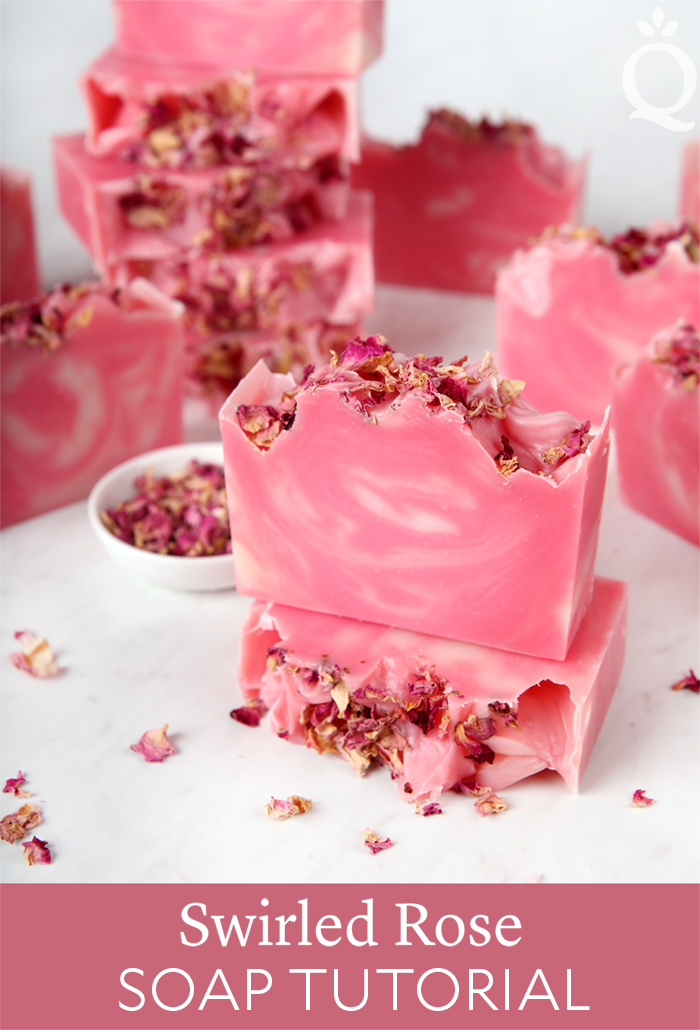
This Swirled Rose Soap is a blend of old and new – it has a classic design and a modern scent. The subtle swirl is created with a technique known as an in-the-pot swirl. It’s easy to do and every bar looks different. Once the soap is in the mold, pink rose petals are sprinkled on top. To cut, lay the soap on its side to prevent drag marks. The rose petals will turn brown when they come in contact with water, but they look so pretty that most don’t mind. All of the ingredients for this project can be found in the Modern Floral Soap Kit. It also includes printed instructions and labels. All you need to provide is distilled water and tools. What You Need:
*All items included in the Modern Floral Cold Process Kit
10″ Silicone Loaf Mold
33 oz. Lots of Lather Quick Mix
4.7 oz. Sodium Hydroxide Lye
10.9 oz. Distilled Water
2 tsp. Sodium Lactate
2 oz. Wild Rose Fragrance Oil
1/2 tsp. Rose Pearl Mica
Pink Rose Petals 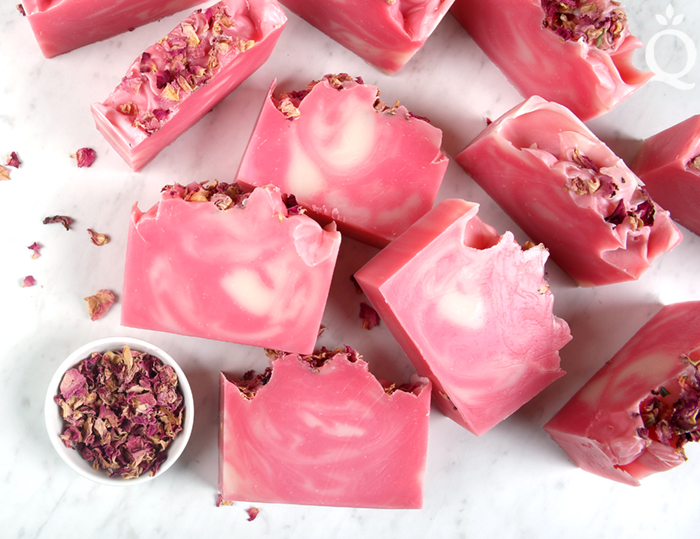
Swirled Rose Soap Tutorial Author: Soap Queen Recipe type: Cold Process Soap - 10" Silicone Loaf Mold
- 3 oz. Lots of Lather Quick Mix
- 4.7 oz. Sodium Hydroxide Lye
- 10.9 oz. Distilled Water
- 2 tsp. Sodium Lactate
- 2 oz. Wild Rose Fragrance Oil
- ½ tsp. Rose Pearl Mica
- Pink Rose Petals
- Slowly add the lye solution to the bowl of Lots of Lather Quick Mix. Pulse the blender on and off to mix. Continue to pulse and stir for about 1 minute. The soap will become the texture of thin pudding.
- Pour about half of the soap into a separate container (it's okay to eyeball it). To one container of soap, add all of the dispersed Rose Pearl Mica. Use a whisk to mix in the color thoroughly.
- Add the Wild Rose Fragrance Oil proportionally into each container of soap (it's okay to eyeball it) and use a whisk to thoroughly mix in the fragrance.
- Pour dollops of white soap into the pink soap in different areas and various heights. Use a spoon to stir the soap 2-3 times to create more swirls in the batter. Be careful to not overmix.
- Pour the batter into the mold and tap it firmly on the counter to release bubbles. Use a spoon to create texture on the top of the soap. If the soap is not holding its shape, allow it to sit in the mold for 2-3 minutes, then try again.
- Sprinkle pink rose petals on the top of the soap. Place the soap in a warm room-temperature area where it will not be disturbed. Let soap harden in the mold for 2-3 days.
- Pull two sides of the mold away from the soap. If it isn't sticking, pull the other two sides away and gently press the soap out from the bottom. If the sides of the mold do not easily release, let it harden for another day.
- Carefully remove the soap and place on a cutting board. Using a sharp, non-serrated knife, cut the soap into bars. Lay the soap on its side for a cleaner cut.
- Allow the bars to cure on a well-ventilated shelf for 4-6 weeks to create a firm, long-lasting bar. Enjoy.
3.3.3077 The post Swirled Rose Soap Tutorial appeared first on Soap Queen. |
|
Email subscriptions powered by FeedBlitz, LLC •

Keine Kommentare:
Kommentar veröffentlichen