Layered soap is a classic design. Depending on the technique, creating layers can be easy or difficult. This recipe is made using a technique known as the "spoon plop." The soap is plopped into the mold, which is easy to do and creates a ...

Yesterday on Soap Queen... |
|
|
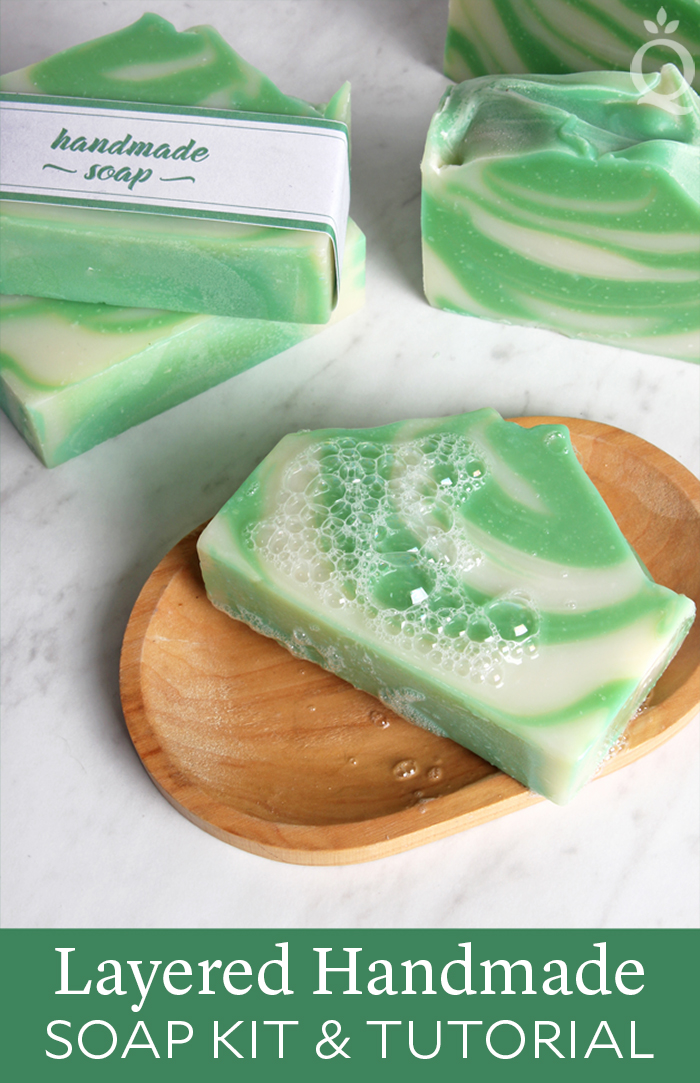
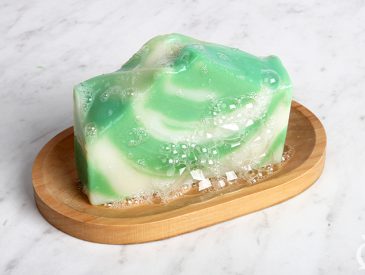
Layered soap is a classic design. Depending on the technique, creating layers can be easy or difficult. This recipe is made using a technique known as the “spoon plop.” The soap is plopped into the mold, which is easy to do and creates a completely different bar each time. To make the process even easier, the Layered Handmade Soap Kit includes all the ingredients and tools necessary for this soap. It was designed with complete beginners in mind, and includes everything from oils and lye to a stick blender and safety gear. It also SHIPS FREE to the lower 48 United States. Learn more about the kit here. 
Layered Handmade Soap Kit
Ingredients:
33 oz. Basic Quick Mix
10.9 oz. Distilled Water*
4.7 oz. Sodium Hydroxide Lye
2 tsp. Sodium Lactate
2.4 oz. Apple Sage Fragrance Oil
1 tsp. Kelly Green Mica Tools You'll Need:
10" Silicone Loaf Mold
Mini Mixer
Pair of Goggles
Pair of Disposable Gloves
Stick Blender
2 Quart Glass Bowl
Easy Pour Container
8 oz. Glass Measuring Cup
Spatula
Whisk
Thermometer
Scale
Measuring Spoons*
Two Stainless Steel Spoons*
Non-Serrated Knife*
The * indicates items not included in the kit In the video below, you can see the spoon plop technique in action. The great thing about the technique is how imprecise it is. By layering uneven plops of soap into the mold, each bar comes out unique. Once you make the recipe, you can order the Original Refill Kit, which includes more oil, fragrance, and colorant to complete another batch. If you’d like to make a slightly different bar, the Lavender Refill Kit includes a different colorant and fragrance oil for a new look and scent. If you’re looking to give cold process soap a try for the first time, check out the other all-in-one soap kits below. Each features different colors, fragrances, and techniques to suit your preference.
Exfoliating Handmade Soap Kit
Swirl Handmade Soap Kit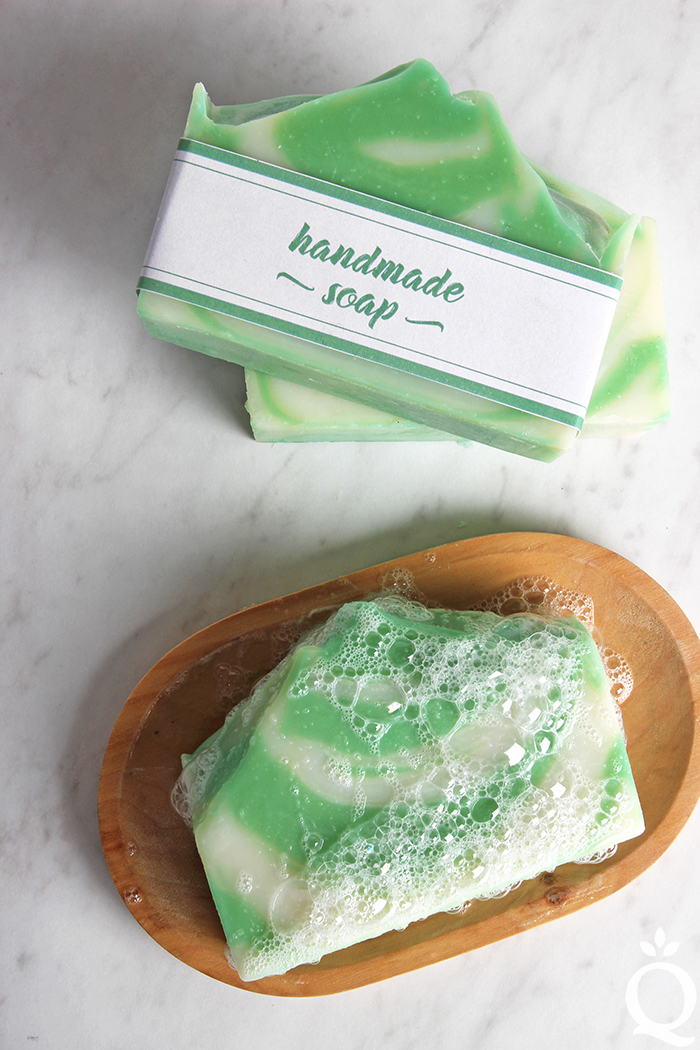 Layered Handmade Soap Kit & Tutorial Author: Soap Queen Recipe type: Cold Process Soap - 33 oz. Basic Quick Mix
- 10.9 oz. Distilled Water
- 4.7 oz. Sodium Hydroxide Lye
- 2 tsp. Sodium Lactate
- 2.4 oz. Apple Sage Fragrance Oil
- 1 tsp. Kelly Green Mica
- Slowly and carefully add the lye solution to the oils. Set the Easy Pour Container to the side to use again to hold soap. Don't worry about cleaning it out. Pulse the stick blender on and off to begin blending the oils and lye together. Continue to pulse the stick blender for 15-20 seconds and use the stick blender to stir the mixture.
- Once you start blending, the mixture will begin to look creamy. After about 1 minute of blending and stirring, the oils and lye are combined and the soap will be the texture of thin pudding.
- Add the fragrance oil to the soap batter. Use your whisk to combine thoroughly.
- Split half of the soap into the Easy Pour Container previously used for lye. To this container, add all of the dispersed green colorant and whisk in. It turns a mossy/army green at first, but don't worry! It will turn bright green after 24 hours.
- You now have a container of uncolored soap and a container of green soap. You want the soap to be slightly thick - it should look like cake batter. If it's still the consistency of thin pudding, stick blend each container from lightest to darkest color for 5-10 seconds. The thicker texture allows you to get defined layers.
- With one of spoons, place 3-4 large dollops of green soap in the mold. Then, place 3-4 dollops of uncolored soap on top of the green soap. Keep plopping green and uncolored soap into the mold in this pattern until it is used up. Every once in awhile, tap the mold on the counter to get rid of air bubbles. Vary the size of dollops to create interest.
- When the mold is full, tap it firmly on the counter again to release bubbles. Then, take a spoon and start pulling soap toward the center to create peaks. You can also create swirls or divots with the spoon. There is no right way to do this, so have fun with it!
- Once all the soap is in the mold, tap it on the counter to help get rid of bubbles. If you'd like the soap to go through gel phase, cover and insulate the soap for 24 hours.
- Allow the soap to stay in the mold for 3-4 days. To remove, pull the sides of the mold away from the soap to break the airlock. Push from the bottom to remove the soap. Cut into bars, and allow the bars to cure for 4-6 weeks. Enjoy!
3.3.3077 The post Layered Handmade Soap Kit & Tutorial appeared first on Soap Queen. |
|
Email subscriptions powered by FeedBlitz, LLC, 365 Boston Post Rd, Suite 123, Sudbury, MA 01776, USA.

Keine Kommentare:
Kommentar veröffentlichen