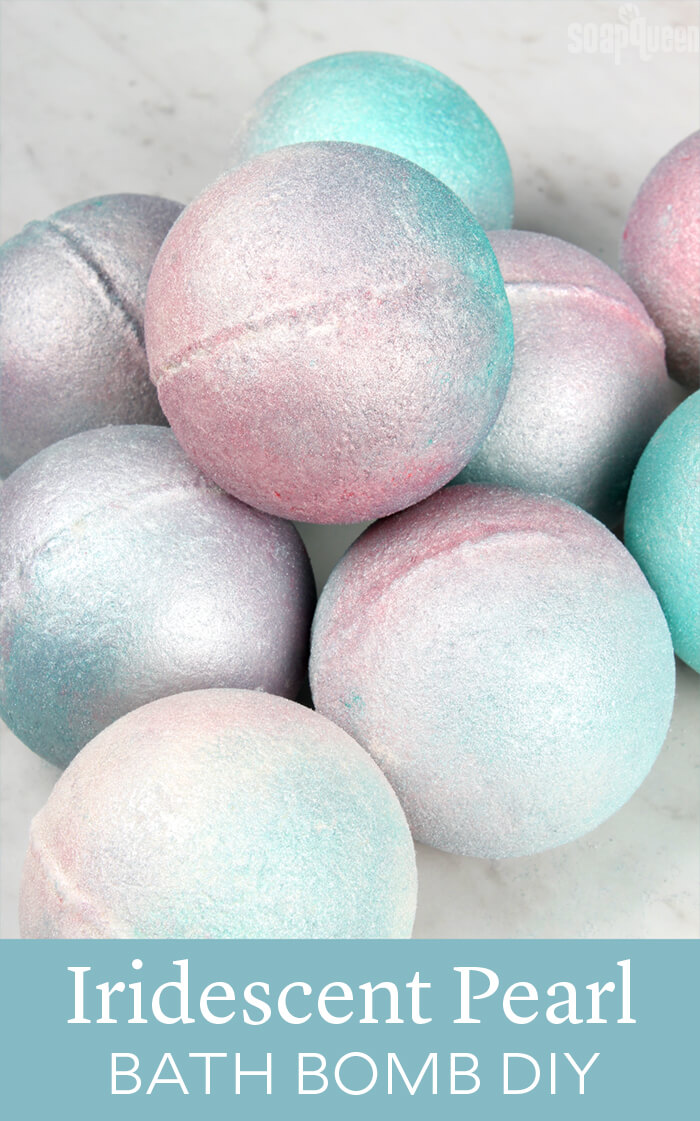
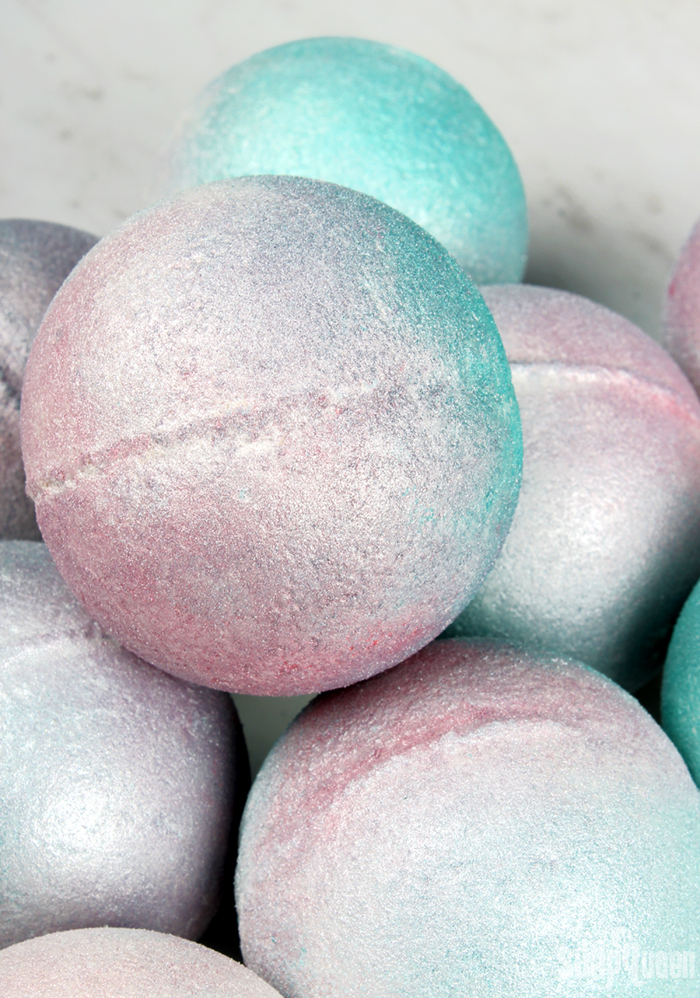
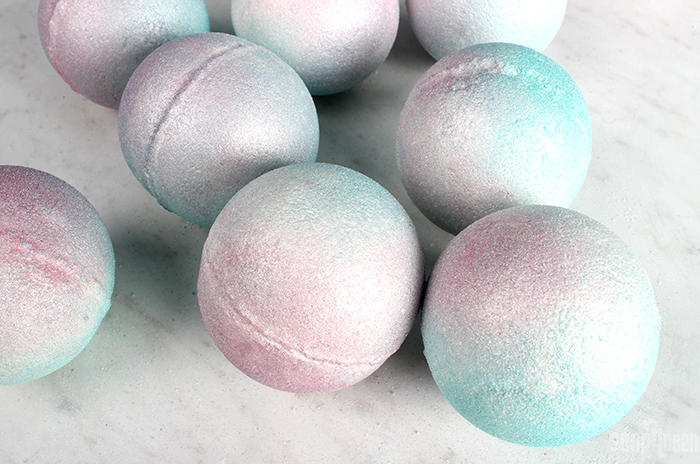
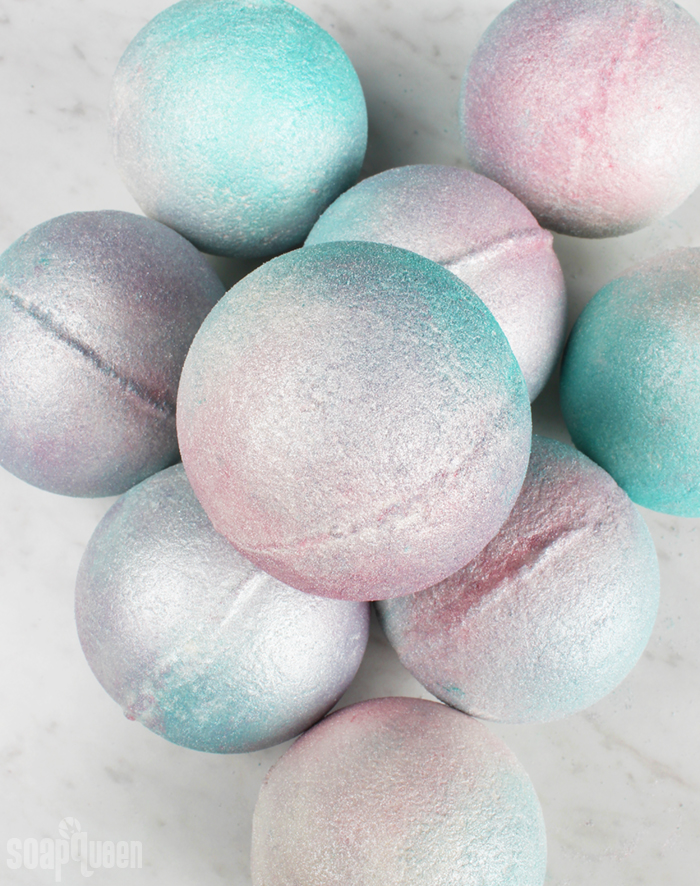
Ever since Anne-Marie dyed her hair light pink, we’ve been obsessed with hair color trends. The latest trend to catch our eye is pearlescent hair. The technique involves creating multi-colored locks with a holographic effect. Pearl hair inspired these Iridescent Bath Bombs. They are covered in Rose Gold Mica and Aqua Pearl Mica to create the subtle ombré effect.
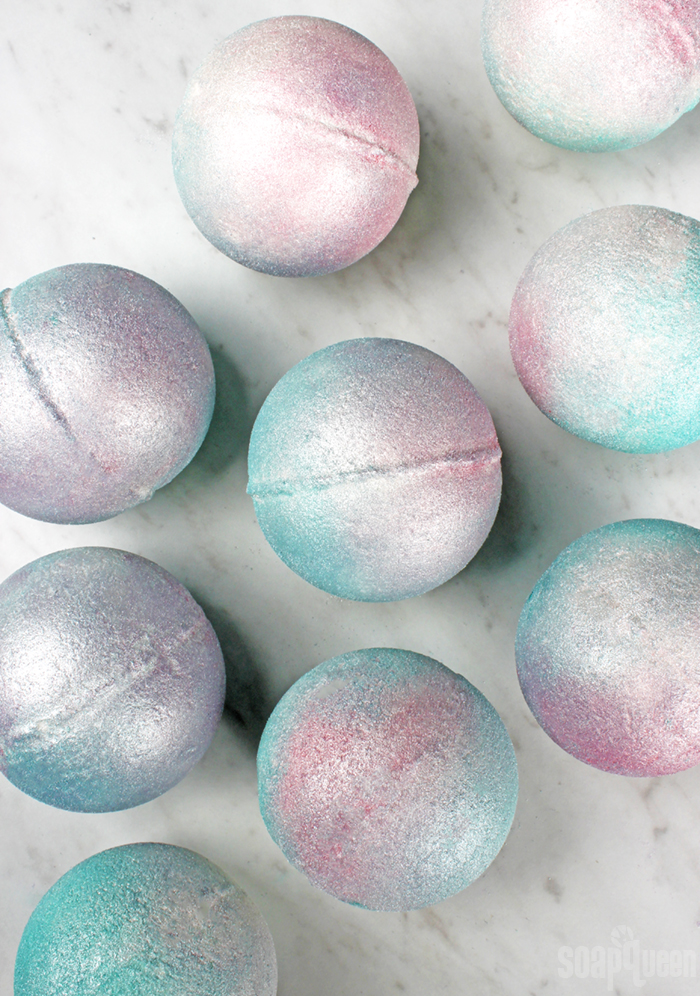
The great thing about this bath bomb technique is that it’s simple to do. Apply the mica directly to the bath bomb with your fingers and spread it around until you’re happy with the effect. There is no right or wrong way to do it. The process is a little bit messy though, so gloves and something to cover your surface is recommended.
What You’ll Need:
8-10 Bath Bomb Mold & Package
3 cups Baking Soda (Sodium Bicarbonate)
1.5 cups Citric Acid
3 oz. Shea Butter
0.5 oz. White Rose Fragrance Oil
0.5 oz. Polysorbate 80
Super Pearly White Mica
Rose Gold Mica
Aqua Pearl Mica
Witch Hazel in a Spray Bottle

Click here to add everything you need for this project to your Bramble Berry shopping cart!
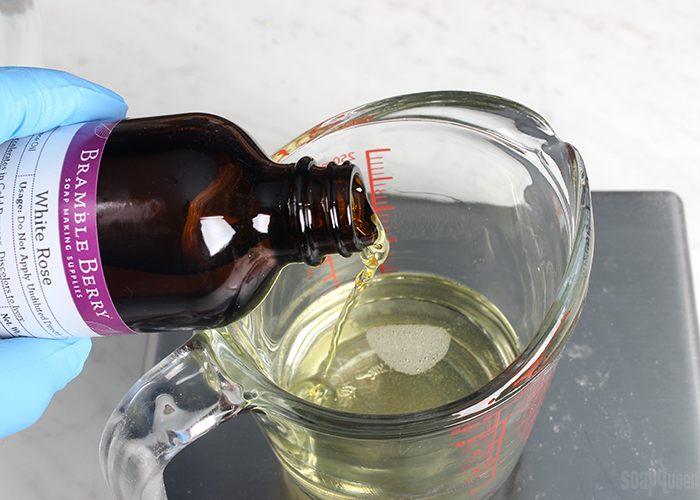
ONE: Add 3 ounces of shea butter to a small heat and fragrance oil-safe container and melt in the microwave using 30 second bursts. Add 0.5 ounces of Polysorbate 80 and 0.5 ounces of White Rose Fragrance Oil. Use a spoon to fully mix the ingredients together. The Polysorbate 80 is there to help disperse the color in the tub (less chance of color sticking to the sides of the tub).
TWO: In a large bowl, mix together the baking soda and citric acid. To get rid of clumps in the mixture, you can push the powders through a sifter or break them up with your fingers. Citric acid has a tendency to take off nail polish, so wear gloves to protect your manicure. Thoroughly stir the ingredients together.
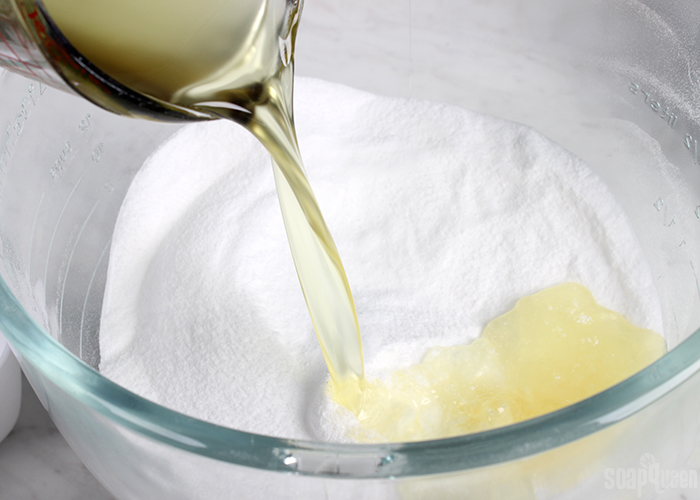
THREE: Add the shea butter mixture to the baking soda and citric acid. Use your hands to thoroughly mix all the ingredients together.
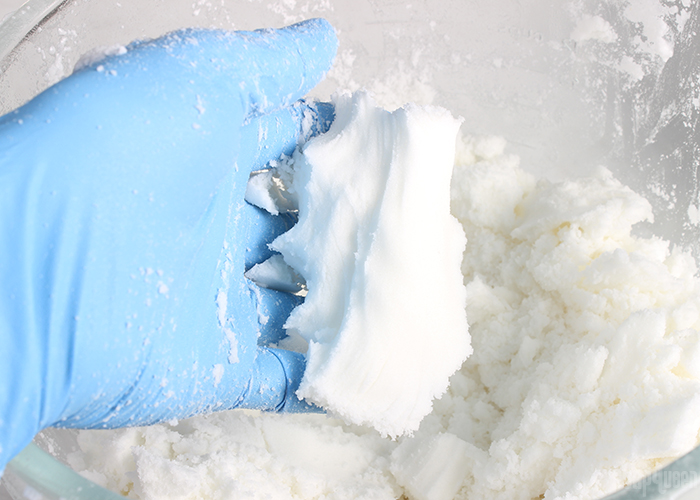
FOUR: Test the consistency of the bath bomb mixture. The perfect consistency for molding is a texture similar to damp sand that holds its shape when squeezed. If it's too dry, use one hand to spritz the mixture with witch hazel and one to mix. Continue spritzing until the mixture holds its shape when squeezed. Below, you can see that the mixture forms a ball when squeezed. This means that the mixture will hold its shape in the mold as well.
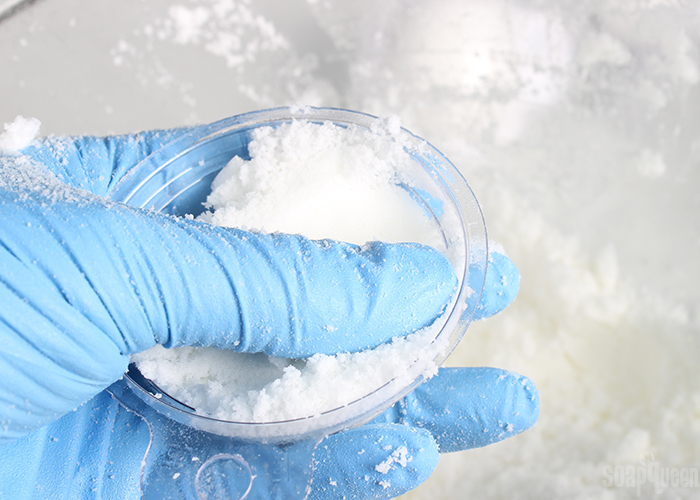
FIVE: Fill the two halves of the molds, gently pressing the bath bomb mixture in each so they hold their shape. Mound a little extra mixture in the center of each half of the molds. Wipe away any mixture that got in the seams of the mold, match the eyelets of each side up, and press together. To avoid any imperfections on your bath bomb, make sure to direct pressure to the edges of the mold rather than the center. Continue filling up the bath bomb molds until the mixture is gone.
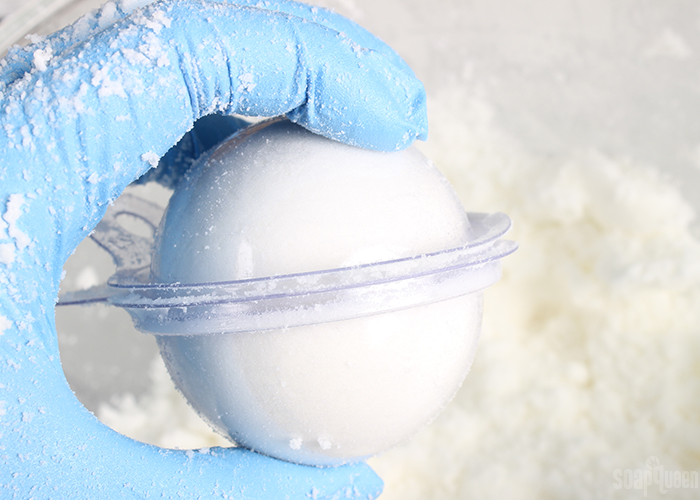
SIX: Allow the bath bombs to harden in the mold for 24 hours. Then, carefully remove them from the package. Fill a bowl with a few tablespoons of Super Pearly White Mica. The following steps can get a little messy, so you may want to lay down newspaper or another cover to aid in cleanup.
SEVEN: Spritz the outside of one bath bomb lightly with 99% isopropyl alcohol. Gently roll the bath bomb in the mica until completely covered. Use your fingers to carefully brush off any excess mica.
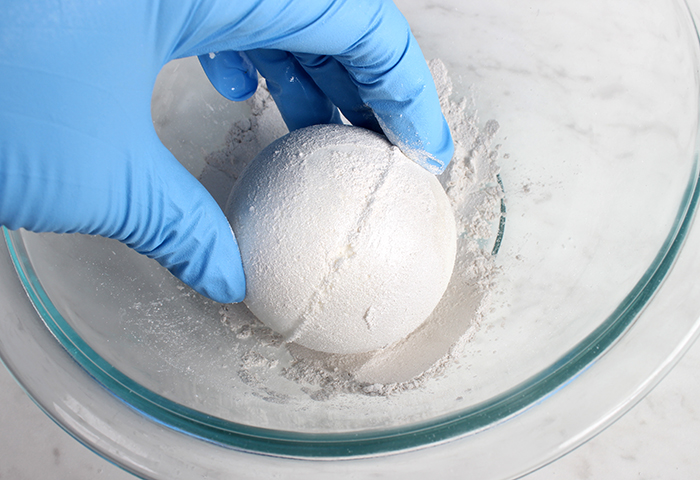
EIGHT: Once the bath bomb is coated in Super Pearly White, it’s time to play with color! Dip your finger into the Rose Gold Mica brush it onto the surface of the bath bomb. You can always add more color, so start with a light application. Spread the Rose Gold Mica around the bath bomb. There is no right or wrong way to place it, so just have fun. Once you’ve covered about 1/4 to 1/2 of the bath bomb, move on to the next color.
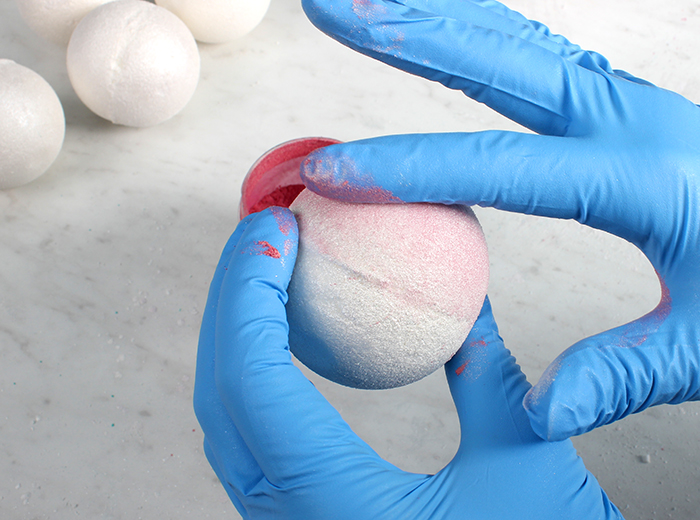
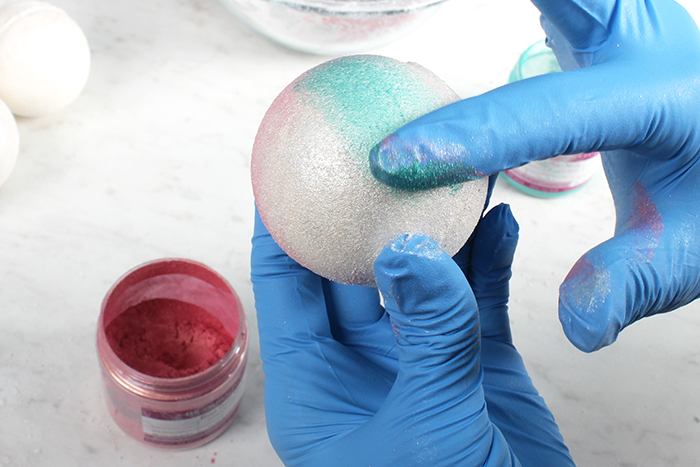
NINE: Dip your finger into the Aqua Pearl Mica and spread it onto the bath bomb in a different area. Once the colors begin to touch, blend them together with your finger. Continue blending the micas on the bath bomb in different areas until you’re happy with the effect. If necessary, sprinkle more Super Pearly White on the bath bombs to help blend the colors, add more sparkle, or lighten the colors.
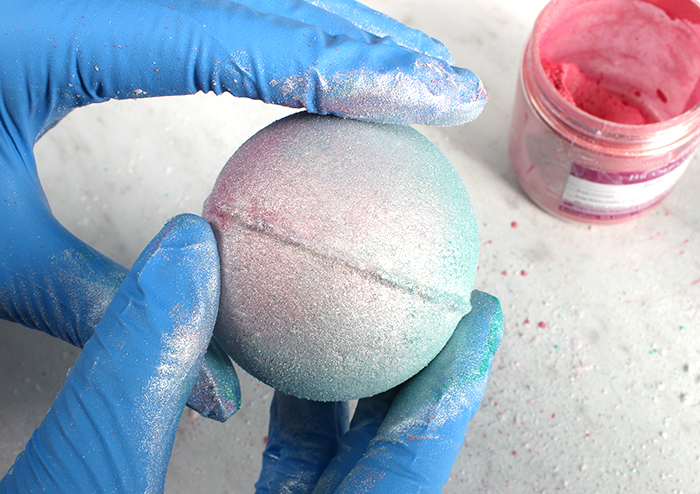
EIGHT: Repeat this process for each bath bomb until all are covered with color. Carefully place the bath bombs back into the mold and package until ready to use. Before placing them back into the package, you may want to wash the mold for a clean look. Just make sure they are completely dry before placing the fizzy back into the mold. To use, place the bath bomb into a hot bath and enjoy!
Pearl Bath Bomb DIY
Author: Soap Queen
Recipe type: Bath Bombs
- 8-10 Bath Bomb Mold & Package
- 3 cups Baking Soda (Sodium Bicarbonate)
- 1.5 cups Citric Acid
- 3 oz. Shea Butter
- 0.5 oz. White Rose Fragrance Oil
- 0.5 oz. Polysorbate 80
- Super Pearly White Mica
- Witch Hazel in a Spray Bottle
- Add 3 ounces of shea butter to a small heat and fragrance oil-safe container and melt in the microwave using 30 second bursts. Add 0.5 ounces of polysorbate 80 and 0.5 ounces of White Rose Fragrance Oil. Use a spoon to fully mix the ingredients together.
- In a large bowl, mix together the baking soda and citric acid. To get rid of clumps in the mixture, you can push the powders through a sifter or break them up with your fingers. Citric acid has a tendency to take off nail polish, so wear gloves to protect your manicure. Thoroughly stir the ingredients together.
- Add the shea butter mixture to the baking soda and citric acid. Use your hands to thoroughly mix all the ingredients together.
- Test the consistency of the bath bomb mixture. The perfect consistency for molding is a texture similar to damp sand that holds its shape when squeezed. If it's too dry, use one hand to spritz the mixture with witch hazel and one to mix. Continue spritzing until the mixture holds its shape when squeezed. Below, you can see that the mixture forms a ball when squeezed. This means that the mixture will hold its shape in the mold as well.
- Fill the two halves of the molds, gently pressing the bath bomb mixture in each so they hold their shape. Mound a little extra mixture in the center of each half of the molds. Wipe away any mixture that got in the seams of the mold, match the eyelets of each side up, and press together. To avoid any imperfections on your bath bomb, make sure to direct pressure to the edges of the mold rather than the center. Continue filling up the bath bomb molds until the mixture is gone.
- Allow the bath bombs to harden in the mold for 24 hours. Then, carefully remove them from the package. Fill a bowl with a few tablespoons of Super Pearly White Mica.
- Spritz the outside of one bath bomb lightly with 99% isopropyl alcohol. Gently roll the bath bomb in the mica until completely covered. Use your fingers to carefully brush off any excess mica.
- Once the bath bomb is coated in Super Pearly White, it's time to play with color! Dip your finger into the Rose Gold Mica brush it onto the surface of the bath bomb. You can always add more color, so start with a light application. Spread the Rose Gold Mica around the bath bomb. There is no right or wrong way to place it, so just have fun. Once you've covered about ¼ to ½ of the bath bomb, move on to the next color.
- Dip your finger into the Aqua Pearl Mica and spread it onto the bath bomb in a different area. Once the colors begin to touch, blend them together with your finger. Continue blending the micas on the bath bomb in different areas until you're happy with the effect. If necessary, sprinkle more Super Pearly White on the bath bombs to help blend the colors, add more sparkle, or lighten the colors.
- Repeat this process for each bath bomb until all are covered with color. Carefully place the bath bombs back into the mold and package until ready to use. Before placing them back into the package, you may want to wash the mold for a clean look. Just make sure they are completely dry before placing the fizzy back into the mold. To use, place the bath bomb into a hot bath and enjoy!
3.3.3077
The post Iridescent Pearl Bath Bomb DIY appeared first on Soap Queen.
Keine Kommentare:
Kommentar veröffentlichen